
(Zombie) Valentine's Day is less than a month away. While zombiesv are typically depicted as mindless, consumed by their biological imperative to eat human flesh, for at least some of our undead chums, the historical portrayal falls short. Sure, a zombie's gotta eat, but plenty are appalled by their kin who tear humans limb for limb in public, no less. For the next few weeks, I'll be showing you how to set up for a classy zombie dinner party.
Nothing says "I'm a fancy adult" like coasters. I mean, if you have coasters, their presence insinuates that you have wooden furniture that's worth preserving. These anatomical heart coasters are perfect for the zombie who wants to make it clear that they are different from their slovenly counterparts. Even if you're not a member of the undead, these coasters can be a nice touch to a Halloween or Valoween party, and could be nice for everyday use too, if you like a Gothic aesthetic.
If cutesy is more your Valentine's aesthetic, keep your eye out for my February Hey, Day videos. We'll be planning a Valentine's party, with plenty of pink and red table decor.
Materials:
*Matte photo paper
*Gold gel pen
*Ruler
*Self-adhesive laminating sheets
*Cork sheet
*Box cutter
*Photo safe adhesive
*Scissors
Directions:
*I found this anatomical heart freely available for use from the Graphics Fairy. Import it into the software program of your choice that you use for photo editing.
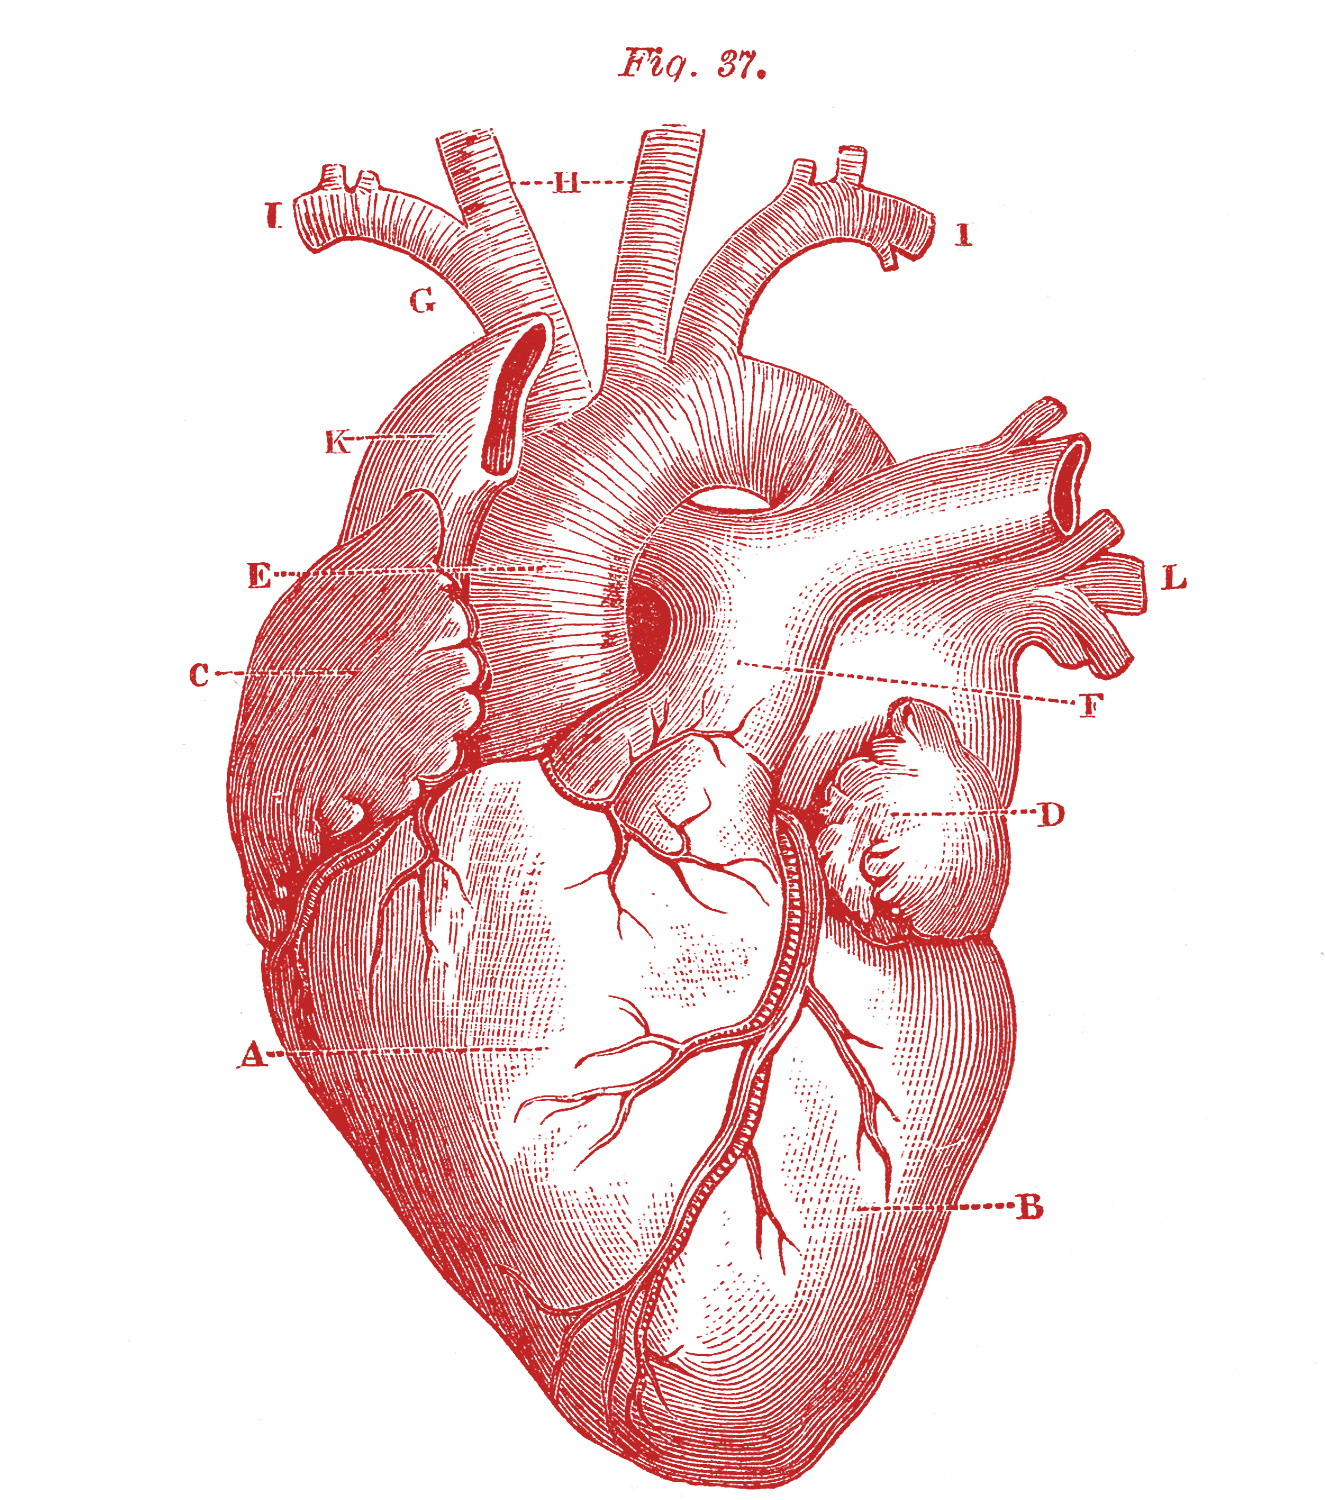
*Add some extra white space around the edges using your photo editing program to make the image into a square. Add a thin black border around the edge of the square.
*Print four copies of the image, each one 4"x4".

*Using a ruler or other straight edge and your gold gel pen, draw a thin gold border along the interior of the black square on each image.

*Cut out the squares.

*Place two squares on the self-adhesive laminating sheet, making sure that each square has plenty of laminating material around its edges.

*Cut out the squares, leaving a border of laminating material that is about 1/4" thick around each edge.
*Cut off the corners of the laminating material.

*Fold down the edges of the laminating material along the back of the photo one at a time. Use the ruler to smooth the edges.
*Using a box cutter or X-acto knife, cut out a 4"x4" cork square.

*Glue the photo to the cork board.
No comments:
Post a Comment