Thursday, November 26, 2020

DIY Little Debbie Christmas Tree Cake Dress


I love Christmas Tree Cakes.  They're a tradition in my family.  When I was a kid, my dad would buy a box or two at Christmas time for us to enjoy, and now as an adult, Brian and I make sure to snag some every year.  If I had to pick one flavor to represent Christmas, it would be Christmas Tree Cakes.

If you followed my craft blog last year, you may recall that I posted several Little Debbie snack cake themed crafts: this Christmas Tree Cake ornament, this Swiss Roll ornament, this Christmas Tree Cake throw pillow, and this gingerbread ornament.  I adore how most of those came out, but I still needed more Christmas Tree Cake fun in my life, so I figured, why not become a Christmas Tree Cake?

Materials:

*A white dress or romper that does not stretch (this is important!)
*Red ribbon
*Red thread
*Green thread
*Sewing needle
*Green rectangular rhinestones

Directions:

*Pick up a white dress or romper that does not stretch.  This is important.  I did not do this, and because the ribbon I used doesn't stretch, this means that it bunches awkwardly when I move certain ways.

*Using red thread, sew ribbons on the dress in diagonal stripes.

*Using green thread, sew on randomly placed rhinestones to look like sprinkles.  You'll notice that I didn't sew rhinestones onto the bottom part of the skirt.  That's partly because I was running out of rhinestones (okay, mostly because I was running out of rhinestones).  But also, if I do end up adding more rhinestones, I plan to glue them on instead of sewing them so that I won't have to worry about the thread showing through.

I'm not sure yet if I'm going to do all snack cake crafts again this holiday season, or if I'll try a few different things.  What kind of snack cake crafts would you like to see?  What other sort of holiday crafts would you like to see?  Let me know in the comments, or tag me on social media with your ideas.

Wednesday, November 18, 2020

DIY Shiny Alolan Meowth Plushie + Shiny Alolan Meowth Pokemonbound


As some of you may know, the Kanto region Meowth is my favorite Pokemon.  I'm still trying for a shiny Kanto Meowth, but I was lucky enough recently to catch a shiny Alolan Meowth.  Alolan Meowth is pretty cool too, so once I caught it, I knew I wanted to make an Alolan Meowth plushie to match, as well as an Alolan Meowth cosplay.  I ended up using the same Meowth ears template for my shiny Alolan Meowth that I used for my Kanto Meowth, so I won't be doing a separate post on that, but if you want to make your own shiny Alolan Meowth ears, you can use the template in this Meowth Pokemonbounding post and the Meowth color scheme in the post you are reading now.

First up, I have some pictures of my shiny Alolan Meowth look.  After that, I'll show you how I made my plushie.

Shiny Alolan Meowth Look

Here is my Meowth look, complete with my Meowth plushie and an AR photo of my in-game shiny Alolan Meowth.  My romper and shoes aren't quite the right color, so I'll have to keep my eyes out for periwinkle blue clothes, but I had fun with this look anyway, and on the whole, I'm happy with it.

And here's Meowth being ultra cute.

One last picture for good measure.  I'm trying to hold my hand like Meowth holds her paw.

DIY Shiny Alolan Meowth Plushie

Materials:

*Periwinkle blue felt
*Purple felt
*Black felt
*White felt
*Scissors
*Periwinkle blue headband (or one that matches your hair color)
*Fabric glue or all purpose adhesive
*Gold cardstock
*Pillow stuffing
*Blue thread
*Sewing needle

Directions:

*Print out a couple of copies of the Alolan Meowth template given below:

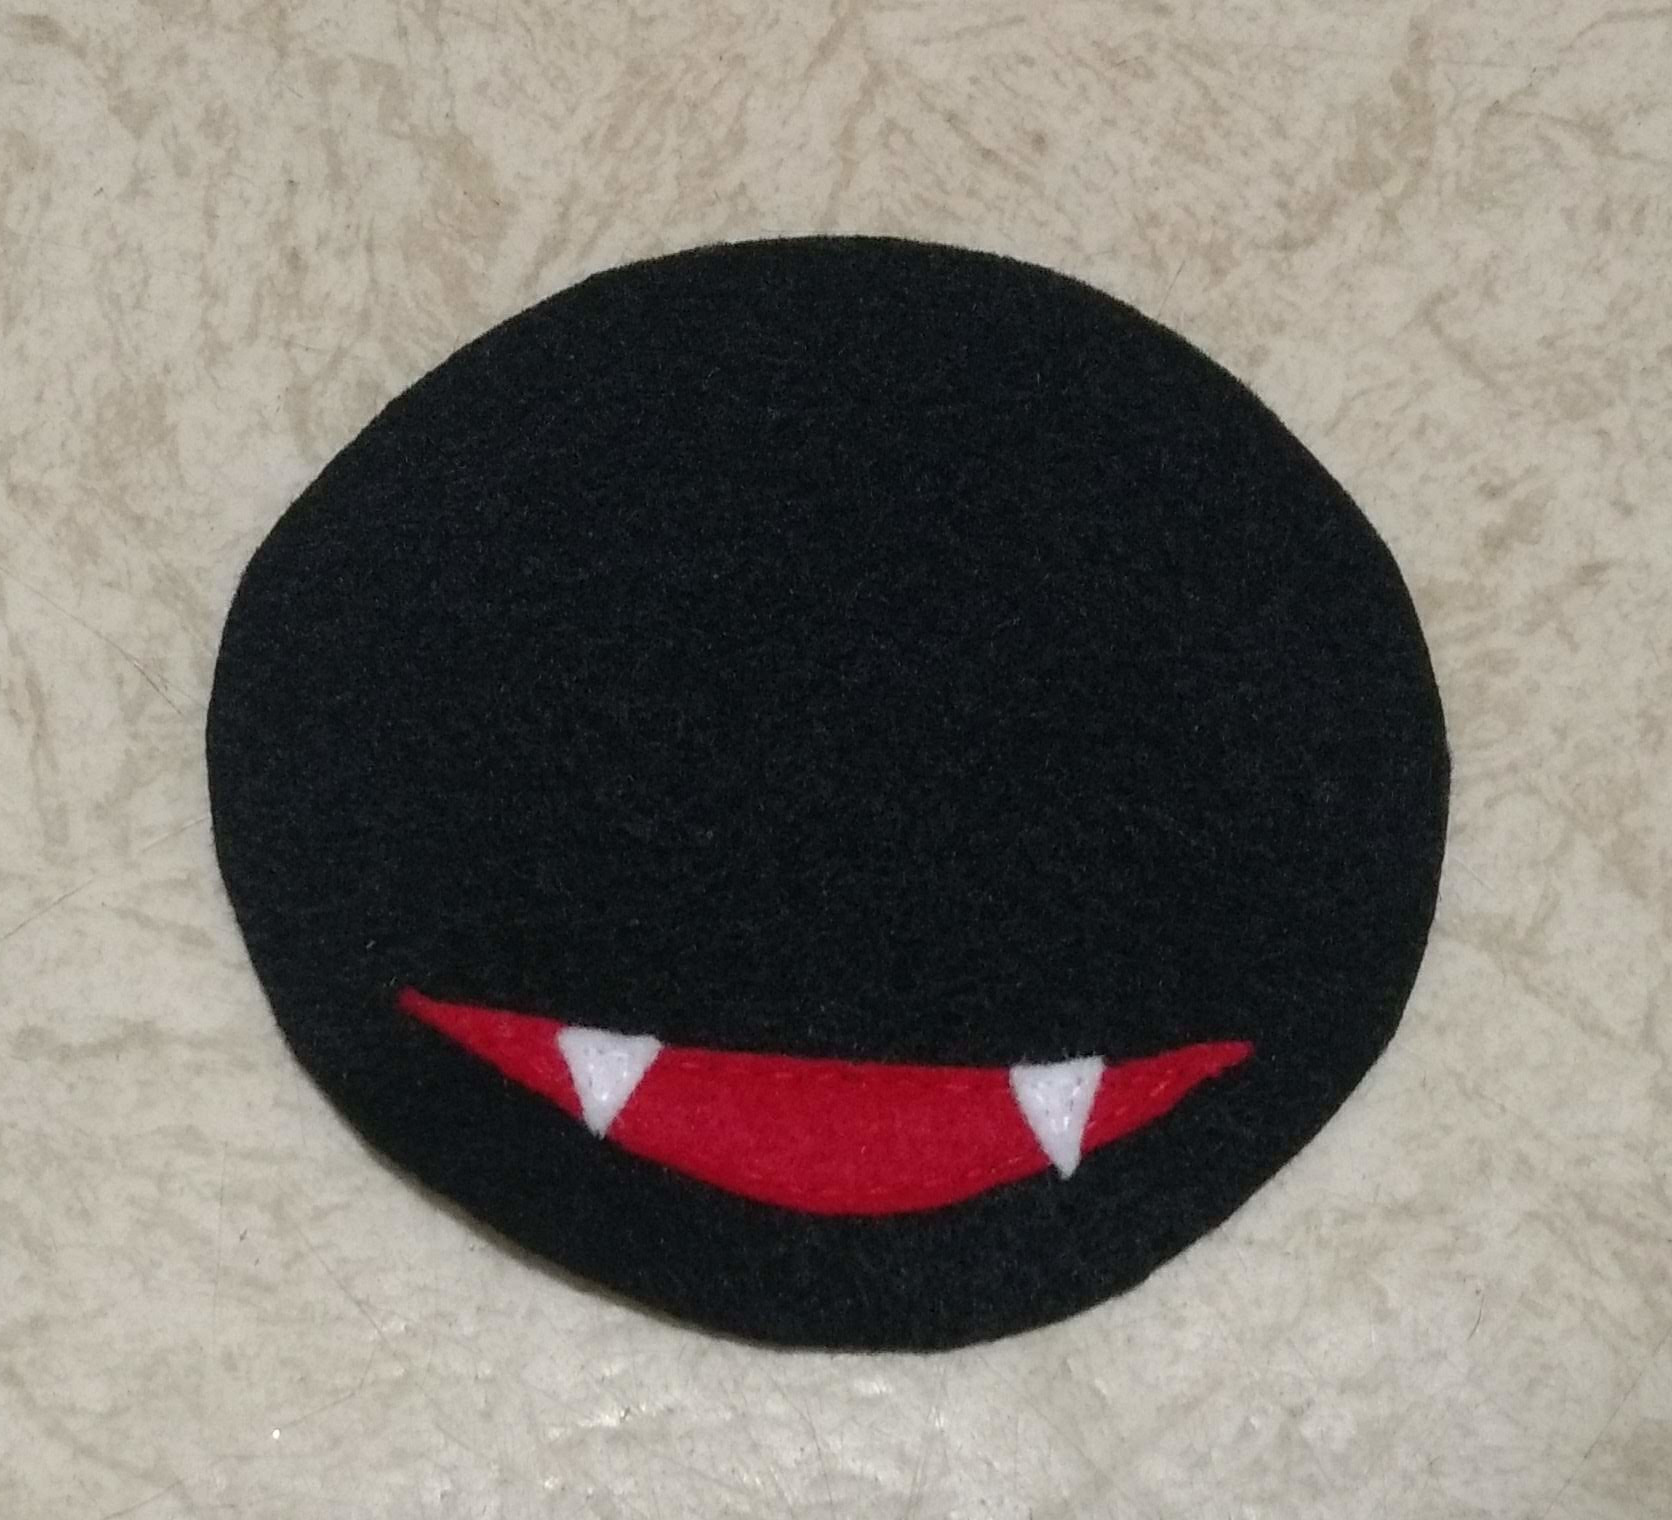
*Cut out the following pieces: Two copies of Meowth's body and head from periwinkle blue felt (one front piece and one back piece), four arm pieces from periwinkle felt (two front and two back), four leg pieces from periwinkle felt (two front and two back), two tail pieces from periwinkle felt (one front and one back), two ear shapes from black felt, two inner ear shapes from purple felt, two eye shapes from white felt, two pupil and lid pieces from black felt, one mouth from black felt, two teeth from white felt, one tip of tail piece from purple felt, two tip of feet pieces from purple felt, and a coin shape from gold cardstock.  Here is what all of these pieces look like when cut out:

*Glue the inner ear pieces onto the outer ear pieces.  Since my Meowth is going to live on a shelf, gluing seemed appropriate, but if you are planning on actively using your plushie, or making it for someone who will actively use it, in the steps where I glue, you'll want to sew.

*Glue the pupil and lid pieces to the eye pieces.

*Glue the tip of tail to one of the tail pieces.

*Glue the tip of feet pieces to two of the feet pieces

*Cut a long, thin strip of black felt and cut it into segments.  Glue those segments to the coin shape to create the coin details (see picture in the next step).

*Glue the face pieces and coin onto the head.  At this stage, these are the pieces you should have glued or sewed together:

*Now it's time to start sewing the appendages together.  Place two arms wrong sides together and sew using a blanket stitch, leaving an opening for stuffing.  Stuff and sew closed, and repeat the process with the other arm.

*Place two feet pieces wrong sides together and sew using a blanket stitch, leaving an opening for stuffing.  Stuff and sew closed.  Repeat the process for the other foot.

*Place the tail pieces wrong sides together and sew, using a blanket stitch.  The tail can be tricky to stuff with how thin and curvy it is, so you can either sew the pieces together without stuffing, or stuff and sew closed.  At this stage, you should have these pieces stuffed and sewn together:

*Now it's time to start assembling Meowth.  Sandwich the appendages and ears between the front and back parts of Meowth's head and torso.  Sew around the edge with a backstitch, leaving an opening for stuffing.  After sewing but before stuffing, Meowth should look something like this:

*Stuff and sew closed.

*I left Meowth's whiskers for last, gluing the front and back pieces together.  However, you could also trim the whiskers from the back piece for Meowth, since the whiskers don't really need reinforcement.

Wednesday, November 11, 2020

DIY Pikachu Plushie


This little electric mouse friend is too adorable not to love.  Here's how you can make a Pikachu plushie of your own.  Note that my template is for a girl Pikachu, but you just have to modify the tail piece if you want to make a boy Pikachu.

Materials:

*Yellow felt
*Red felt
*Black felt
*White felt
*Yellow thread
*Black thread
*White thread
*Red thread
*Scissors
*Sewing needle
*Pillow stuffing

Directions:

*Print out two copies of the template given below (you'll need a second one to cut out the tail):


Cut out two copies of Pikachu's body from yellow felt, one copy of her tail from yellow felt, two eyes from black felt, four ear tips (two of either ear tip) from black felt, a nose from black felt, a mouth from red felt, two cheeks from red felt, and two white eye pieces from white felt, as shown below:

*Sew on Pikachu's face to the front piece of Pikachu's body using the appropriate colors of thread, as shown above.

*Sew Pikachu's tail and ear tips to the back of Pikachu's body, as shown above.

*Sew the two halves of Pikachu's body wrong sides together, using a blanket stitch.  I used yellow thread for all but the ear tips, and switched out the yellow for black when going around the ear tips.  Leave an opening for stuffing.

*Stuff and sew closed.

Looking for more Pokemon craft ideas?  Be sure to check out the Pokemon section of my blog, where I have tutorials for plushies, costumes/cosplays, and more.  Plus, check back in next week, when I'll share one more Pokemon plushie with you.

Wednesday, November 4, 2020

Gastly Pokemon Plushie


Love Pokemon?  Or perhaps you're looking for handmade gift ideas for the Pokemon fans in your life.  Either way, Pokemon plushies are an adorable option that many Pokemon fans, perhaps even you, would love.  Today I'll be showing you how to make the ghost type Pokemon Gastly, but if Gastly isn't your favorite, then I have tutorials for Zubat, Snorlax, Meowth, and Magikarp.  Plus, stay tuned for two more Pokemon plushie tutorials coming later this month.  Also, if you love Gastly, be sure to check out the Gastly inspired look I made this summer.

Materials:

*Purple felt

*Black felt

*White felt

*Red felt

*Pillow stuffing

*Red, black, and white thread

*Purple tulle (optional)

Directions:

*I unfortunately didn't make a template for this one; I just kind of eyeballed the pieces.  I have a tutorial on making your own Pokemon plushie template here, though, so if you don't want to wing it, you can follow these steps to make your own template.  You'll want to cut out two large circles from black felt, four eye shapes (two front and two back) from white felt, two pupils from black felt, a mouth from red felt, two little fangs from white felt, and a gas cloud shape from purple felt, and also from the purple tulle if you're using tulle.


*Begin by sewing the pupils to the eyes with black thread.


*Next, it's time to construct the eyes.  Place two eye pieces wrong sides together and sew along the edge using white thread and a blanket stitch.  Leave an opening for stuffing.

*Stuff and sew closed.

*Repeat the process to make the second eye.


*Next, it's time to work on the mouth.  Sew the fangs to the mouth using white thread, and then sew the mouth to the body using red thread.


*Sew one of the black circles (the one without the face) to the gas cloud shape using a running stitch.


*Start sewing the circle with the face over top the plain circle, also using a running stitch.  Leave an opening for stuffing.


*Stuff and sew closed.


*Lastly, it's time to sew on eyes.  I don't really have a good explanation for what I did here.  I just brought the needle through the bottom layer of the eye felt and the top layer of Gastly's felt a bunch of times, until the eyes seemed like they were on securely.

If you love Pokemon and plushies, stay tuned, because I have two more Pokemon plushie tutorials I'll be releasing later this month.  Since I'm going to be posting a bunch of Pokemon plushie tutorials this month, I'm considering waiting until December to do my next Pokemonbounding video.  If you have any Pokemon you'd like to see as either bounds/costumes or as plushies, let me know.  I'm thinking potentially an ice type for December, but I don't have a specific Pokemon in mind.