Showing posts with label Fuse Beads. Show all posts

Thursday, March 9, 2017

Perler Fuse Bead Floral Wreath Coasters


Materials:
*Fuse beads (e.g. Perler beads)
*Small hexagonal peg board
*Iron

Directions:
*Design your creation by arranging beads on a hexagonal peg board as shown below:


*Cover the designs with a sheet of waxed paper and iron the first side.  Make sure to iron the edges especially well, as the beads may not stick together and may fall off if you don't.

*Remove the fuse bead project from its peg board, cover with waxed paper, and iron the other side.

Thursday, March 10, 2016

Perler Fuse Bead Easter Eggs


     Celebrate Easter and spring's arrival with these fuse bead Easter eggs.  For some fun spring themed fuse bead magnets, check out this post.

Materials:
*Fuse beads (e.g. Perler beads)
*Large square peg board
*Iron

Directions:
Design your fuse bead creations by arranging beads on a peg board, following the patterns given below:

The rainbowy egg is supposed to look like a melted crayon art egg.

I love Easter eggs with faces, so I decided that I had to make one for this craft.


*Cover the designs with a sheet of waxed paper and iron the first side.  Make sure to iron the edges especially well, as the beads may not stick together and may fall off if you don't.
*Remove the fuse bead project from its peg board, cover with waxed paper, and iron the other side.

Thursday, October 29, 2015

More Halloween Perler Fuse Bead Magnets


     A few years ago I wrote a blog post about my Halloween Perler fuse bead refrigerator magnets.  I decided it was about time to add a few more to my collection.

Materials
*Fuse Beads kit
*Round magnets
*Adhesive

*Iron

Directions:
*Design your fuse bead creations by arranging beads on a peg board, following the patterns below:


*Cover the designs with a sheet of waxed paper and iron the first side.  Remove the fuse bead project from its peg board, cover with waxed paper, and iron the other side.  For more detailed instructions, visit Perler's website.
*Glue round magnets to the backs of your fuse bead creations.

Thursday, November 13, 2014

Thanksgiving/Fall Perler Fuse Bead Magnets


     Last week's craft centered around what is most important to me about Thanksgiving: family.  This week's craft focuses largely on the second most important thing: pie.  Apple pie, pumpkin pie, chocolate pudding pie topped with whipped cream . . . so many delicious choices.


Basically I am Pusheen.  I also like seeing the leaves change color this season, so I made a fall leaf magnet for good measure.

Materials:
*Fuse bead kit (e.g. Perler beads kit)
*Iron
*Magnetic backing
*Glue (if your magnetic backing is not self-adhesive)
*Scissors

Directions:
*Design your fuse bead creations by arranging beads in the desired pattern on a large square peg board.
*Cover your beaded project with a sheet of waxed paper and iron the first side, then remove from the peg board, flip over, put waxed paper on top and iron the second side.  You can find more detailed directions here.
*Cut off a small section of magnetic backing about 1" in length and about 1/4" to 1/2" inches in width
*Adhere magnetic strip to the fuse bead craft.  If using glue, let dry before placing on the refrigerator.

Thursday, August 21, 2014

Halloween Perler Fuse Bead Spider Web Coasters


     Hi everyone!  So as you may have noticed, I recently took a hiatus from crafting for several weeks.  I was recovering from oral surgery and in the midst of a writing project that I wanted to finish before school started up again in September, so I decided to let my crafting take a backseat for a few weeks.  However, I'm back now with some fun Halloween crafts.
     Last year I wanted to host a Halloween party (and by host a Halloween party I mean invite my siblings over to my creepily decorated house to eat cupcakes), but between coursework, teaching, and writing my master's thesis I did not have the time I needed to plan one.  However, this semester my schedule is looking a little lighter, so I'm hoping that I'll be able to and have been planning my crafts accordingly.  First up are these fun Halloween spider web coasters.  Hope you enjoy!  Also, if you're looking for more Halloween craft or costume ideas, be sure to check out my Halloween section of my blog.

Materials:
*Fuse bead kit (e.g. Perler beads kit)
*Iron

Directions:
*Arrange beads on a hexagonal pegboard, using the pattern shown above for guidance (for more detailed instructions with pictures, see here).
*Cover your pattern with a sheet of waxed paper and iron the first side, then remove from the peg board, flip over, put waxed paper on top and iron the second side.  You can find more detailed directions here.
*Perhaps it's because I tend to use a hotter setting on my iron, but I've noticed that my fuse bead creations have a tendency to curl slightly.  To prevent this, while the coaster is still hot, press it underneath a heavy book for several minutes.

Thursday, June 12, 2014

Pirate Themed Perler Fuse Bead Coasters


     I found some of these patterns on these sites and also in one of the Perler Mega Ideas books, while others I came up with on my own.

Materials:
*Fuse bead kit (e.g. Perler beads kit)
*Iron
*Black felt
*Black embroidery floss
*Scissors
*All purpose adhesive

Directions:
*Arrange beads on a small square peg board, following the patterns shown above for guidance.
*Cover your pattern with a sheet of waxed paper and iron the first side, then remove from the peg board, flip over, put waxed paper on top and iron the second side.  You can find more detailed directions here.
*For the octopus coaster, glue a scrap of black felt to a piece of black embroidery floss to create an eye patch.
*Thread the embroidery floss through the holes in the coaster and tie in the back to fasten it to the octopus's head.
*Glue the eye patch in place.

Thursday, April 24, 2014

Perler Fuse Bead Drink Covers


     Warmer weather is here (unless you live in Maine like I do, in which case it could still transition back to winter at any moment), which for many of us means we'll be eating some meals outdoors.  Tired of finding drowned insects in a beverage you've had outside?  Try making one of these drink covers.

Materials:
*Fuse bead kit (e.g. Perler beads kit)
*Iron

Directions:
*Arrange beads on either a circular or hexagonal pegboard, using the patterns shown above for guidance.  There are two different styles of drink cover, one to allow for a hole through which to put a straw and one that you would have to remove to take a sip of your drink.  Either pattern can easily be altered to become the other by adding or removing a few beads.
*Cover your pattern with a sheet of waxed paper and iron the first side, then remove from the peg board, flip over, put waxed paper on top and iron the second side.  You can find more detailed directions here.
*Perhaps it's because I tend to use a hotter setting on my iron, but I've noticed that my fuse bead creations have a tendency to curl slightly.  To prevent this, while the drink cover is still hot, press it underneath a heavy book for several minutes.
*Note: These designs will only work on small drinking glasses.  You can make larger versions by using large fuse bead pegboards and adding additional beads.

Thursday, February 6, 2014

Perler Fuse Bead Zombie Valentine's Owl


     Need another zombie Valentine's craft?  Here's an cute little zombie owl that you can make from fuse beads.  You can also use this pattern to make a non-zombie owl by modifying the eyes.

Materials:
*Fuse bead kit (e.g. Perler beads kit)
*Large square fuse bead pegboard
*Iron

Directions:
*Arrange beads on a large square pegboard in the pattern shown above.  If you would prefer to make a non-zombie owl, you can easily modify the eyes to make a non-zombie Valentine's owl.
*Cover your owl with a sheet of waxed paper and iron the first side, then remove from the peg board, flip over, put waxed paper on top and iron the second side.  You can find more detailed directions here.

Thursday, December 12, 2013

Perler Fuse Bead Ornaments: Another Technique


Materials:
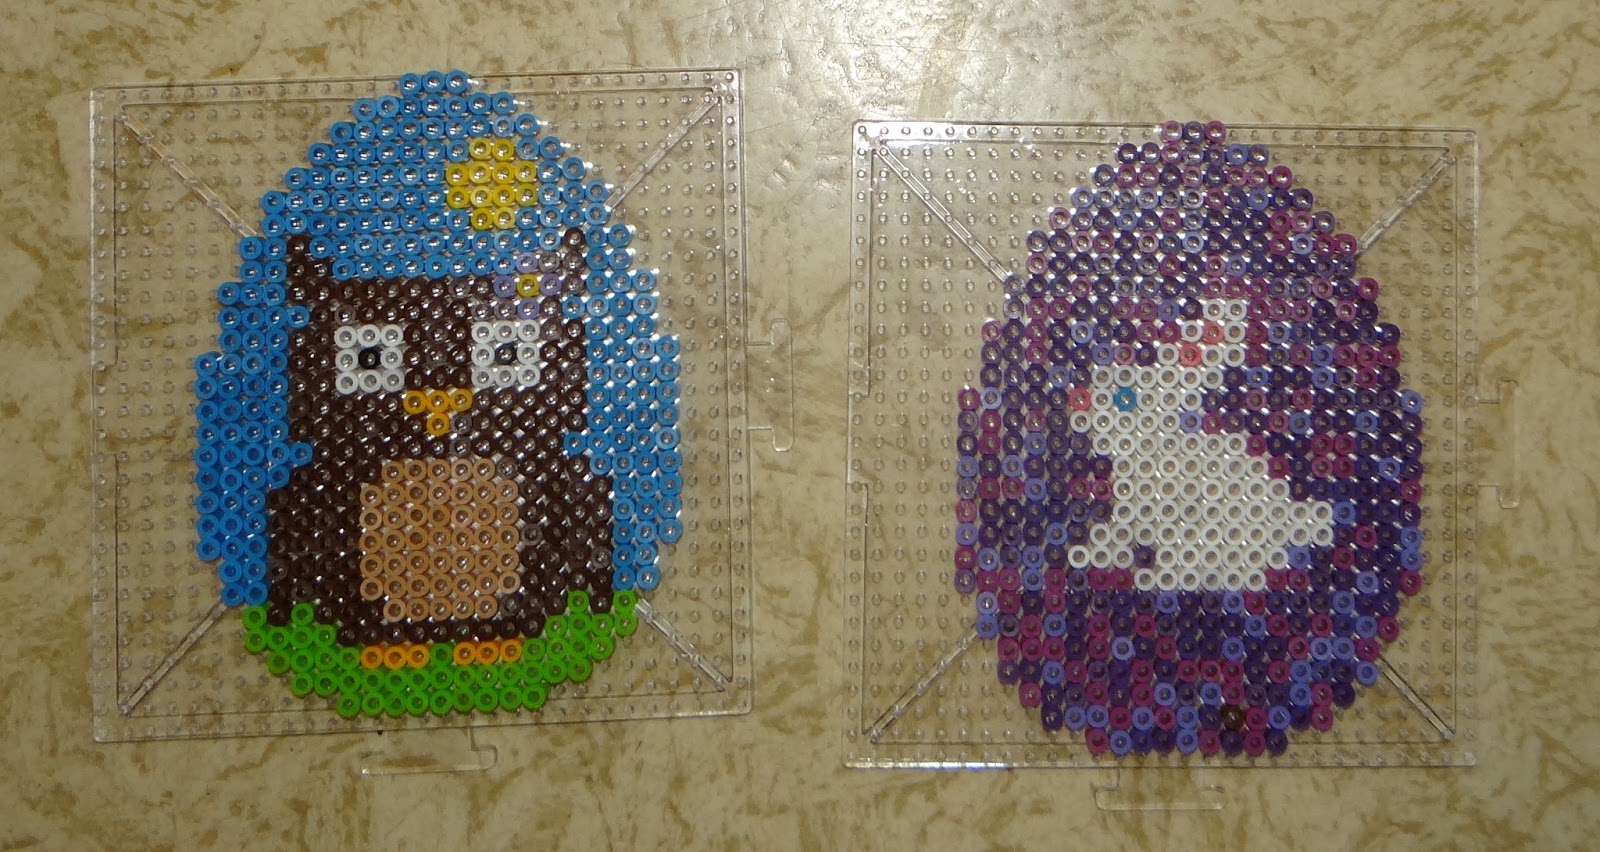
*Fuse bead kit (e.g. Perler bead kit)
*Metal cookie cutters
*Cooking spray
*Cookie sheet
*Parchment paper
*Scissors
*All purpose adhesive
*Metallic thread

Directions:
*Preheat the oven to 425 degrees F.
*Line the cookie sheet with parchment paper.
*Place the desired cookie cutters onto the parchment paper.
*Coat the cookie cutters and paper thoroughly with oil.  Since melted fuse beads can be very difficult to remove, I recommend using cookie cutters that you would not mind ruining for this project.
*Pour some fuse beads into the cookie cutters, making sure to fill in as much space as you can.  You may even consider adding a second layer of beads to make sure that you do not end up with any gaps in your finished project.
*Pop the cookie sheet into the oven and heat for 5-10 minutes, depending on how melted you want your ornaments to be.
*Once the ornaments are melted to your liking, remove them from the oven.  Carefully peel them off the parchment paper and drop them into a bowl of warm water.
*Let the ornaments sit until the metal and plastic are cool enough to handle, then remove from the water and dry off.
*Remove the ornaments from the cookie cutters.
*Trim off any excess or awkward looking plastic with scissors.
*Glue metallic thread to the back of the plastic to turn your creations into ornaments.

Bonus Idea: Miniature Model Ornament


     If you have someone in your family who enjoys making models, here is a great way to get this individual involved in the holiday decorating.  

Materials:
*Miniature model kit
*Thread
*Scissors

Directions:
*Assemble the model following the instructions given in the package.
*Tie a piece of string around the model to hang it from your tree.

Friday, November 29, 2013

Perler Fuse Bead Ornaments


Materials:
*Fuse bead kit (e.g. Perler beads kit)
*Scissors
*Iron
*Gold or silver thread

Directions:
*Select the appropriate peg board for the ornament you would like to make.  Both the owl and the penguin require a large square pegboard, the candy cane uses the small heart pegboard, the shoe needs only a small square pegboard, and the ornament takes a small circle pegboard.
*Arrange beads on the peg board in the desired pattern.  I forgot to take pictures of the arrangement of the beads for the owl ornament, but here are the other ones:


*Cover your beaded project with a sheet of waxed paper and iron the first side, then remove from the peg board, flip over, put waxed paper on top and iron the second side.  You can find more detailed directions here.

Wondering why I made a shoe ornament?  I am rather fond of shoes and so for the past couple of years I have received shoe ornaments for Christmas.  I decided to make the shoe ornament a tree tradition and plan to add a new one each year, starting with this fuse bead shoe.  Does your family collect a specific type of ornaments for your tree?  Try making one out of fuse beads.  You can find fuse bead patterns online for almost anything, or you could always design your own .

Also, if you're looking for more fuse bead ornament patterns for your tree, check out my snowflake designs in this post.

Thursday, January 24, 2013

Fuse Bead Adorned Silverware


Materials:
*Silverware
*Fuse beads
*Cooking spray
*Aluminum foil
*Cookie sheet
*X-acto knife
*Sandpaper

Directions:
*Cover the cookie sheet with aluminum foil, then spray the aluminum foil with a generous amount of cooking spray.
*Spray the handles of the silverware with cooking spray, then place the silverware on the cookie sheet.
*Arrange fuse beads on top of the handles of the silverware like this:


*As you begin working on the last piece of silverware, turn the oven on to 400 degrees F.
*Once you have finished covering the handles in fuse beads, slide the cookie sheet into the oven.  Cook for about 8 minutes or until the fuse beads have sufficiently melted.
*Remove from the oven and set aside to cool.
*Once cool, peel the silverware off of the aluminum foil.  Rinse off oil residue using dish soap and water.
*Some of your fuse beads may have melted over the side of the silverware.  If this is the case, carefully cut off the excess plastic with an X-acto knife.
*Use sandpaper to smooth out any rough edges.

Make your own colorful fuse bead dinnerware set by adding some fuse bead napkin rings and incorporate a fuse bead bowl into your centerpiece.

Thursday, January 17, 2013

Fuse Bead Napkin Rings


Materials:
*Fuse beads
*Cooking spray
*Narrow drinking glass or wide shot glass (preferably one that is not tapered)
*Aluminum foil
*Waxed paper
*X-acto knife
*Cookie sheet

Directions:
*Preheat the oven to 400 degrees F.
*Spray the inside of the glass with a generous amount of cooking spray.
*Wad up some aluminum foil so that it fits in the center of the glass you have chosen with enough space around the foil for the beads.  Cover the foil in waxed paper, then place in the center of the glass.
*Carefully pour in beads around the waxed paper wrapped aluminum foil, making sure that the beads are sticking to the wall of the glass in a single layer, like this:


*Place the glass on a cookie sheet.
*Pop in the oven for about 10 minutes.
*Take out of the oven and set aside to cool for a few minutes.  I found with these napkin rings that it was easiest to pry them out when the beads were still a little warm.  However, this can be dangerous since the glass was still very hot, so if you choose to remove the napkin rings before they have fully cooled, proceed with caution.
*The napkin rings may stick to the glass a bit.  If this happens, use a butter knife to peel away from the sides of the glass.
*The waxed paper covered aluminum foil should have mostly prevented beads from reaching the bottom of the glass, but you may end up with some beads that do so anyway.  If this is the case, carefully cut away excess plastic at the bottom with an X-acto knife.
*If made wide enough, these napkin rings should be suitable for any size cloth napkins.  However, the beads may be a little rough in places, particularly in spots where they were cut with the X-acto knife.  Pull them over napkins carefully so as to avoid damaging your napkins. 

If you enjoyed this craft, you may also like my Fuse Bead Decorative Bowls.

Thursday, January 10, 2013

Fuse Bead Snowflake Magnets


Materials:
*Fuse beads kit
*Magnetic backing
*Adhesive (if your magnetic backing does not have an adhesive or has a weak adhesive)
*Scissors
*Iron

Directions:
*Select the appropriate peg board for the snowflake you would like to make.  Choose a color scheme for your snowflake, then arrange the beads on the peg board in the pattern shown below:


*If you would like a stronger magnet, you may want to fill in the empty pegs with a neural color so that you will be able to add a larger piece of magnet to the back of the snowflake.
*Cover your beaded project with a sheet of waxed paper and iron the first side, then remove from the peg board, flip over, put waxed paper on top and iron the second side.  You can find more detailed directions here.
*Cut off strips of magnetic backing and adhere them to the back of the snowflake.  If using glue to adhere the magnetic backing, let dry before placing the magnet on the refrigerator. 

If you are looking forward to spring, check out my fuse bead spring magnets.

Thursday, June 14, 2012

Fuse Bead Decorative Bowls


Here's a craft my friend Meg directed me to.  I'm including a link to the original post I worked from in addition to my own, slightly modified directions.

Materials:
*Fuse beads
*Cooking spray
*Bowl (preferably one that is not very valuable to you)
*Cookie sheet

Directions:
*Preheat the oven to 400
*Spray the inside of the bowl with a generous amount of cooking spray
*Take a couple of handfuls of fuse beads and drop them into the bowl
*Smooth out the beads so that you have only one layer of beads.  They should just migrate up the sides of the bowl on their own if you press on a spot with multiple layers of beads
*Alternately, you can arrange beads in the bowl in a pattern, like I did with the tie dye bowl.  It may take a lot more time, but you can get some pretty neat results
*Place the bowl on a cooking sheet
*Pop in the oven for 10-15 min
*Take out of the oven and let cool
*Ideally, the fuse bead bowl should pop right out, but that's not what happened for me.  If you use a new bowl without any wear to the glaze and you use a lot of cooking spray you will probably have better results
*If the fuse beads do stick to the bowl, use a butter knife to peel it off the bowl
*These cute little bowls can serve many purposes as candy dishes, key holders, etc., and even wall art

Friday, March 23, 2012

Fuse Bead Spring Magnets


Materials:
*Fuse Beads kit
*Magnetic backing
*Adhesive (if your magnetic backing does not have adhesive or has a weak adhesive)
*Scissors
*Iron

Directions:
*Design your Fuse Bead creations by arranging beads in the desired pattern on a peg board.  For the sodas, the sun, and the bumble bee I used the hexagonal board, for the ice cream I used the square board, for the butterfly I used the heart peg board, and for the umbrella I used the circular peg board
*Cover your beaded project with a sheet of waxed paper and iron the first side, then remove from the peg board, flip over, put waxed paper on top and iron the second side.  You can find more detailed directions here
*Cut off a small section of magnetic backing about 1" in length and about 1/4" to 1/2" inches in width
*Adhere magnetic strip to the fuse bead craft.  If using glue, let dry before placing on the refrigerator 

Thursday, October 6, 2011

Fuse Bead Halloween Magnets

     I have fond memories from my childhood of making fuse bead creations with my mom and siblings and I think this craft can be a great activity if you have children and you’re looking for Halloween crafts you can make with them.

Materials:
*Fuse Beads kit
*Magnetic backing
*Adhesive (if your magnetic backing does not have an adhesive backing)
*Scissors
*Iron

Directions:
*Design your fuse bead creations by arranging beads on a peg board, then cover with a sheet of waxed paper and iron the first side.  Remove the fuse bead project from its peg board, cover with waxed paper, and iron the other side.  For more detailed instructions, visit http://www.eksuccessbrands.com/perlerbeads/creative/4-easy-steps.htm. 
*Cut a small section of the magnetic backing for each fuse bead critter you have made. 
*If magnetic backing has a built-in adhesive, affix the backing to the fuse bead creatures.  Some of the built-in adhesives on such magnetic backings can be rather weak, so you may need some all purpose glue to get it to stick properly
*If your magnetic backing does not have a built-in adhesive, or if the built-in adhesive does not work well, dab a small amount of all purpose adhesive on the back of the magnet, then adhere to the fuse bead creation.  Let dry.  Once the glue has dried, you can decorate your refrigerator with these fuse bead creatures.