This past Saturday Brian and I held out annual Halloween party. We had a ton of fun and we hope all of our guests did as well. Here's a recap of our party, including two new crafting and activity ideas.
Usually I devote a section to food, but Brian and I were too busy to do any food crafting this time around. We went with pizza and pretzel sticks and our friends Ayesha and Ken brought cookies and ice cream, so there was still plenty to eat. However, if you're looking for something a bit spookier, check out
last year's post for some ghoulish goodies.
Outdoor Decor
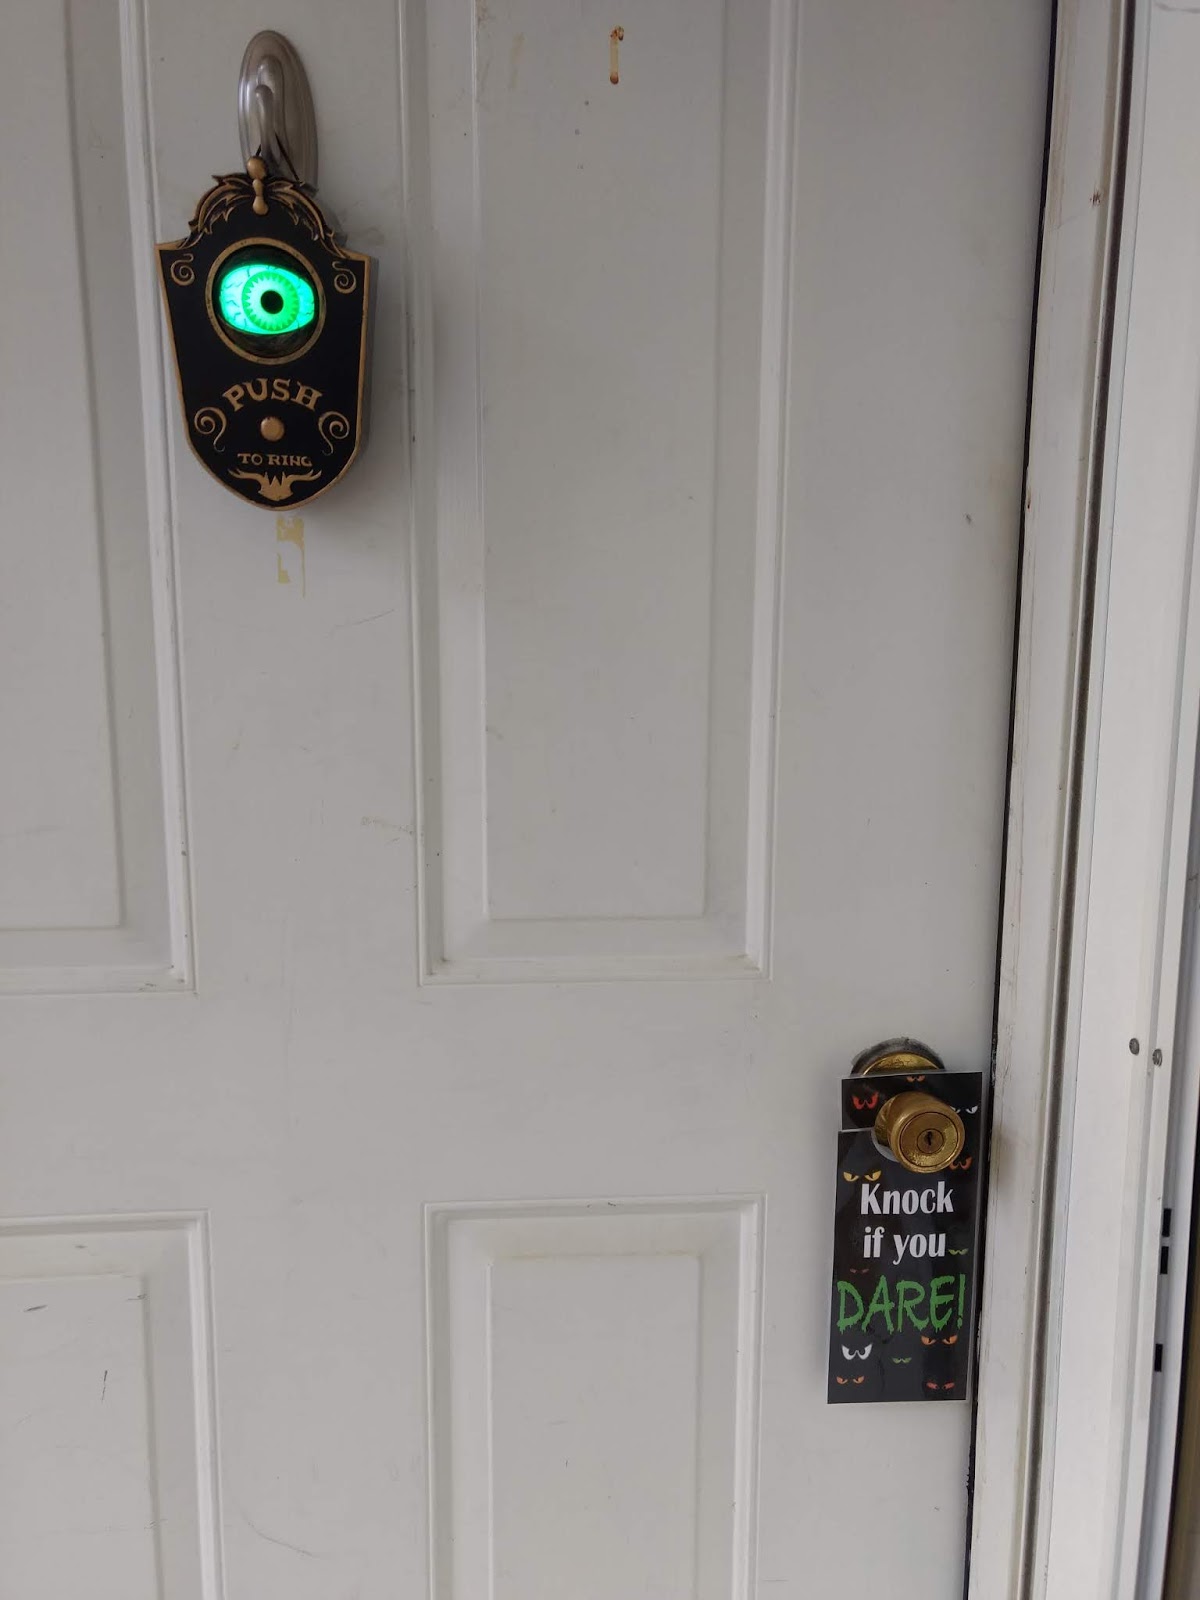
Here's what the front door looked like. We got a hanger for the
Wayton Manor sign so we didn't have to hang it off the mailbox this year. My
spooky doorbell suffered a fall earlier this season which messed up the speaker, but Brian managed to fix it, so it was back in working order for the party. My jack-o'lantern lights got dashed around during last October's wind storm, but they returned this year, minus the one jack o'lantern that split in two when the wind bashed the door against it. I also put up my "knock if you dare" door hanger, which I downloaded as a PDF from Family Fun years ago and have not been able to find online in the years since.
My little cemetery was the core outdoor decoration. Five of the tombstones are handmade, and you can find the tutorials
here,
here,
here, and
here. The other stones are from
Target and Dollar Tree. The
fencing and the zombie fog accessory are also from Target. The bat gate posts are from Dollar Tree, although I
painted them black, so if you see them in store, they won't look quite like this. My
cemetery angel is also hiding out in the back there. The haunted hedge eyes, which are peeking out from behind the bat tombstone, I got from Target years ago. The "Haunted: Keep Out!" tape I picked up from A.C. Moore years ago.
Here's the "
Beware of Werewolf" setup again. It has become a Halloween staple.
We also had a new display this year, although I almost didn't get a chance to put it out because it was raining at the beginning of the party. I decided to do a gothic take on Alice in Wonderland, what I call Alice in Halloweenland. To accompany my costume, I decided to make some decorations, including
clay mushrooms,
skeleton flamingos, a giant paper mache mushroom (tutorial to come), and oversized roses (tutorial to come). Unfortunately I don't have anywhere to store all of the oversized props, so this one is probably a one time display.
Indoor Decorations
If you've been following my blog for a while now, many of these decorations may look familiar to you, although the arrangement is a little different from what I've done in the past in many instances. For one thing, I moved the
haunted mirror and the lenticulars to the wall. I also reframed some of the lenticulars to give them a more uniform appearance and brought out one that had been sitting in storage because I didn't have a frame for it. The lenticulars came from Dollar Tree except for the vampire couple on either side of the mirror. Those two were from Rite Aid, although I got all of the lenticulars years ago, so I don't know if anywhere sells those exact ones anymore.
Here's an overview of the living room. My sister loves Stephen King, so I brought out my framed Stephen King
DVD cover wall art once again. You'll also see my
spooky sign in the background.
This was another little spooky setup I had. The figurines and ghostly grove came from A.C. Moore years ago. The "Beware" sign I got from Target a while back. The
spooky radio Brian picked up for me from Joann earlier this month.
This is how I decorated the couch. I have tutorials for the
zombie throw pillows and the
eyeball throw pillow. The "creepy cloth" came from Dollar Tree.
Here's my potions shelf. On this shelf you'll see my
creepy rag doll, my
Pet Sematary inspired potion bottles, my
monster blood, my
spell book (plus another spell book I made but have not blogged about yet), my
gingerbread zombie, my
Halloween 2017 "Best Couples Costume" trophy, more
potion bottles, my
nebula in a bottle, my
spooky faced candle, and my
2016 "Best Couples Costume" trophy. The skull,
test tubes, beakers, and tea light candles are all from Target. The spider web candle I got from Kohl's years ago.
Here are my
creepy dolls. The
antique haunted radio I got from Target two years ago and the haunted phone also came from Target. They have a
similar phone at Target this year, although I don't think it looks nearly as nice as this one.
Here is the fortune telling setup, new as of this year. Brian's mom gave me a Target gift card for my birthday, so of course I saved it to buy Halloween stuff. The
wheel of fate,
candelabra,
candles, and
crystal ball are all from Target. Brian usually does tarot readings at our party, so I ordered some
Alice in Wonderland tarot cards from Amazon. However, we ended up forgetting about them.
Last up we have the bathroom, which I decorated as
room 217 from The Shining once again. I put up "redrum" on the wall and added a replica of the invite Jack finds in the Overlook scrapbook, as I have done in previous years. I also added a
paper masquerade mask, a tube of lipstick, and a floor 2 passkey, which hopefully I'll have a tutorial of for next year. I placed the
roque mallet in the bathtub again as well.
Party Hat Craft
Several years ago I made some
paper witch hats to use in a Halloween Yankee swap. The hats had been sitting in storage for the past several years and so I decided that it might be fun to let people make wearable hair accessories by taping or gluing the hats to headbands. I had my
pom pom critters on the table with the hats and people ended up using them in their hair accessories too. Both the witch hats and the pom pom critters are relatively easy to make, so if you're looking for a party activity, this could be a fun one. Make a few hats and/or critters in advance (or let your partygoers craft them) and offer some glue and duct tape to attach to headbands. The headbands make good party favors too.
Alice in Halloweenland Costume
Brian and I went as gothic Mad Hatter and Alice for my party. Here's how I made the
pinafore apron, the
bow, the
White Rabbit plushie and its
bag, and the
Mad Hatter Hat. The romper and heels I got from Love Culture and the socks came from Joann. For more costume ideas, keep reading.
The Costume Contest
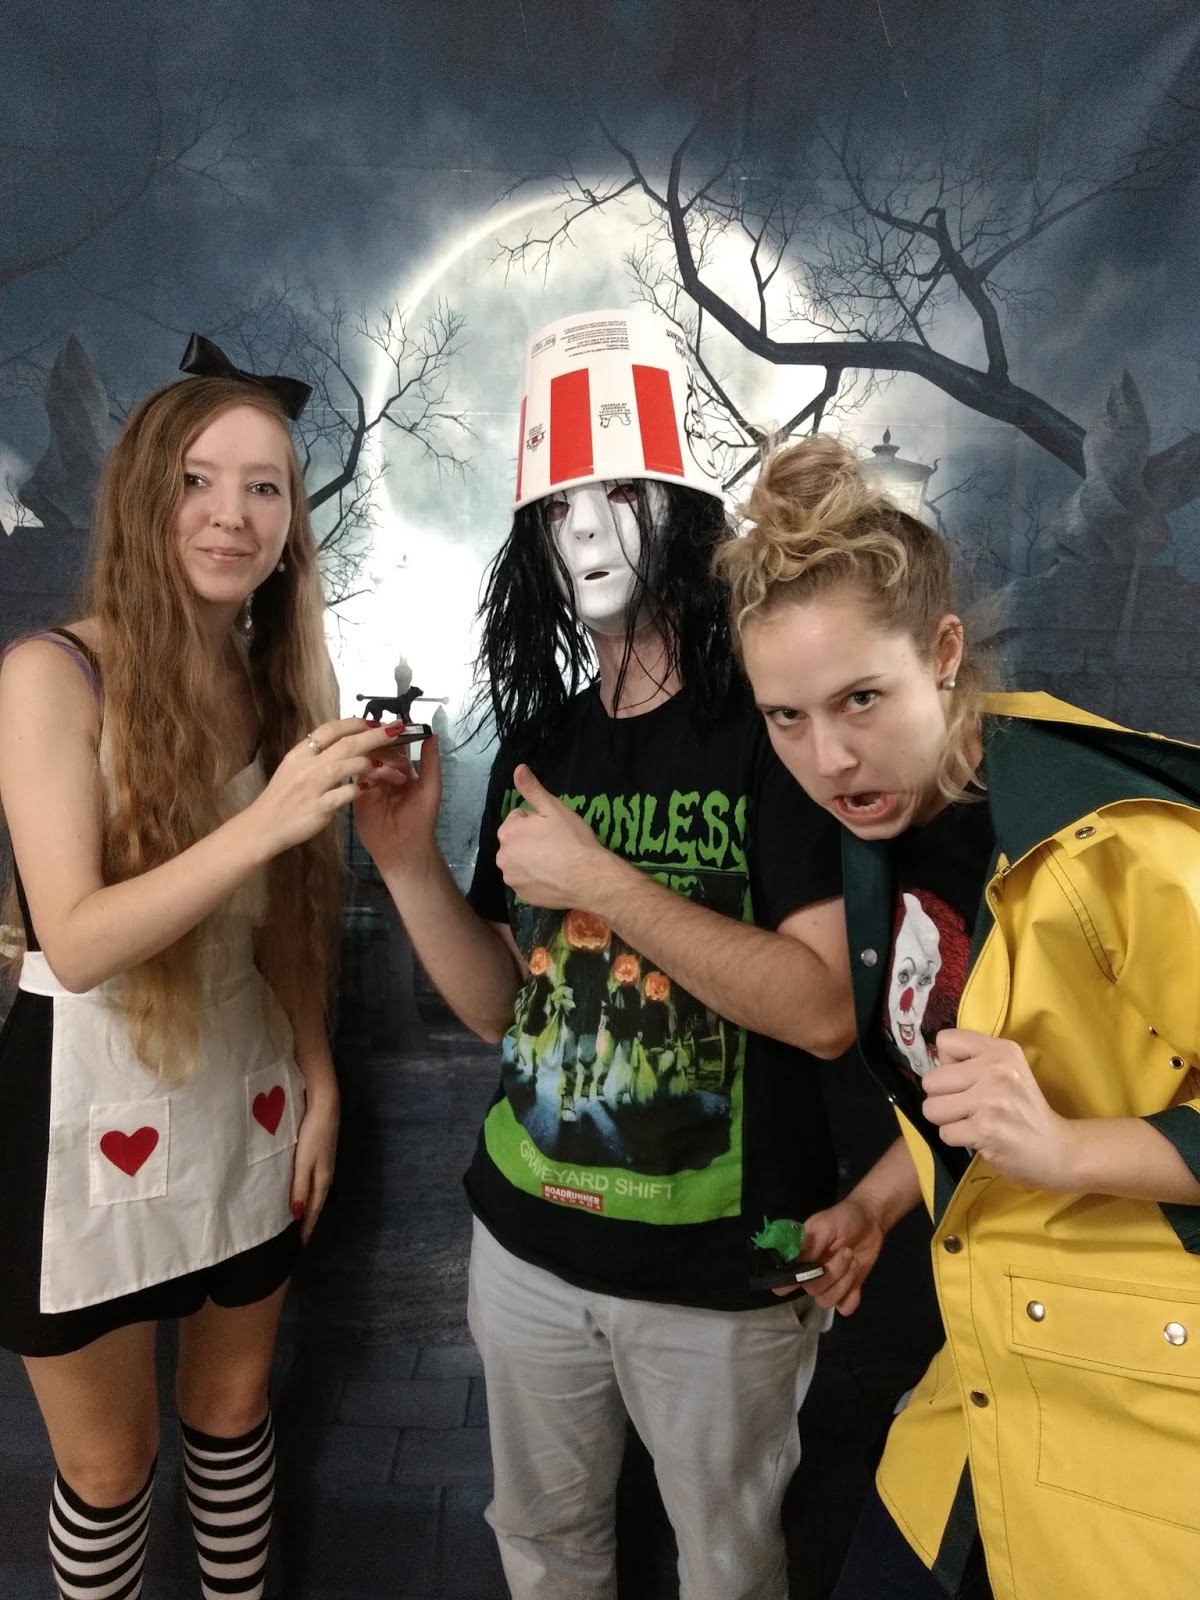
Here are most of our costumes. Brian's mom was a red hat lady, Katie was Georgie from It, Jacob was Buckethead (see below), mom was a jack-o'-lantern, and Ken was a werewolf. As you can see, there were a lot of good costumes, but only three trophies.
Katie won "Best Costume."
Jacob won "Most Creative" costume.
Brian and I won "Best Couples Costume."
Halloween Trophies
Below are the 2018 costume contest trophies. To make the trophies, I hot glue cat figurines to jar lids and paint the lid and the cats black. Using a nail art brush or something similarly thin, I give the cats red eyes. I type up the trophy label, print it out, and glue it to the jar lid.
For the couple's costume, I made the cats into Freddy Kreuger and Nancy from A Nightmare on Elm Street. For the Nancy cat, I glued some doll hair to her head. For the Freddy cat, I painted on the sweater and glove. To make the hat, I punched a circle from brown cardstock. The circle became the top of the hat. I cut a circle around the hole and that became the brim of the hat. I cut a thin strip of cardstock and rolled it into a cylinder, then glued the cylinder to the brim and the circle to the top of the cylinder. That's how I made the hat.
The "Most Creative" costume was inspired by Katie's
mock Goosebumps cover. It's supposed to be "cat got your tongue." I cut tongue shapes from pink felt, drew a line down the middle using black pen, and glued them to the jar lid. I then painted red "blood" over the end of the tongue and part of the lid.
The "Best Costume" was originally supposed to be a dinosaur, but it ended up looking like a multi-finned green shark. That's probably because I made it basically the same way I made my
shark cat trophy last year.
Hopefully you've enjoyed this glimpse into this year's Halloween party. For more cool food and activity ideas, check out my posts from
2017,
2016,
2015, and
2014, plus my
The Shining and
Goosebumps themed birthday parties.