Showing posts with label Easter. Show all posts

Sunday, March 25, 2018

Pastel Easter Egg Nails


     Get ready for Easter with these Easter egg inspired nails.

Materials:

*Pastel nail polish in five colors
*White nail art nail polish
*Nail art dotting tool
*Glitter nail polish
*Base coat
*Top coat

Directions:

*Paint nails with base coat.  Let dry.

*Paint each nail on a given hand a different pastel color.  Let dry.

*Using the nail art brush, paint one nail on each hand with horizontal stripes and another with diagonal stripes.

*Using the dotting tool, add dots to one nail on each hand.

*Add a glitter coat to one nail on each hand.

*Let nails dry.

*Seal with a clear top coat.

Thursday, April 6, 2017

Mini Easter Basket


     Transform an old medicine cup into an adorable mini basket.

Materials:
*Plastic medicine cup
*Twine
*All purpose adhesive
*Green tissue paper
*Mini foam eggs
*Ribbon rose
*Scissors

Directions:
*Cut three lengths of twine long enough that they could reach from the bottom of the medicine cup, loop up to form a handle, and reach down to the bottom on the other side.
*Braid the three pieces of twine together and then glue on to form the handle.
*Wrap twine around the medicine cup, gluing down as you go.  Let dry.
*Once you've finished gluing down the twine, embellish with a ribbon rose or other decoration of your choice.
*Wad up some paper (tissue paper would work fine, but you could also use scrap paper) and stuff it in the bottom of the medicine cup.
*Cut very thin strips of green tissue paper to create the Easter "grass."  Layer it atop the paper,
*Add a few teeny eggs and you're ready for your very own mini egg hunt.


Happy egg hunting!

Thursday, March 2, 2017

Spring Shapes Cinnamon Sugar Tortilla Bites


     While spring may still be weeks away, and perhaps even further here in Maine, that doesn't mean that you can't make things feel springy inside.  Bring some spring cheer to your snacking with these cinnamon sugar tortilla bites, which are as tasty as they are adorable.

Materials:
*Spring shaped cookie cutters
*Flour tortilla
*Butter
*Cinnamon
*Sugar

Directions:
*Preheat your oven to 350 degrees F.
*Cut spring shapes from your flour tortilla and place these shapes on a baking sheet.
*Melt butter and brush it across your shapes so that each one has a light coating.
*Sprinkle on some cinnamon sugar.
*Bake in the oven for about 5 minutes, or until golden brown.

Thursday, March 10, 2016

Perler Fuse Bead Easter Eggs


     Celebrate Easter and spring's arrival with these fuse bead Easter eggs.  For some fun spring themed fuse bead magnets, check out this post.

Materials:
*Fuse beads (e.g. Perler beads)
*Large square peg board
*Iron

Directions:
Design your fuse bead creations by arranging beads on a peg board, following the patterns given below:

The rainbowy egg is supposed to look like a melted crayon art egg.

I love Easter eggs with faces, so I decided that I had to make one for this craft.


*Cover the designs with a sheet of waxed paper and iron the first side.  Make sure to iron the edges especially well, as the beads may not stick together and may fall off if you don't.
*Remove the fuse bead project from its peg board, cover with waxed paper, and iron the other side.

Thursday, March 26, 2015

Non-Candy Easter Egg Surprises

     Looking to surprise someone with an Easter egg hunt, but want something more personal than candy and little store bought trinkets?  Here are a few crafty ideas:

Mini Origami


     What could be more adorable than tiny origami critters?  For this craft, resize your origami paper to a fraction of its original size and then make your favorite animal as you normally would.

Egg of Quotes


     This craft is basically a miniaturized version of the quote jar idea that I had heard of, wherein you make a jar of funny or heartwarming things people say.  Brian says many silly and bizarre things and I make sure to jot down the best of them.  I printed off a bunch of his quotes, cut the paper into strips, with one quote per strip, and then folded them up and stuffed them inside the egg.  Alternately, you can use some of your favorite quotes, or perhaps write up a short story and cut out strips with one sentence per strip, then see if your recipient can piece them together to figure out the whole story.

Mini Paper Doll Set


     Draw your own paper dolls or find a pattern and shrink it so that the dolls will fit inside the egg.  I created these "paper dolls" using Paint.  These are the Happy Candy Corn and their various friends and foes.  They're from a comic strip that I drew for Brian.

Things I Love about You


     All you need for this craft is a heart template, colored cardstock, and a pen.  Cut out a bunch of hearts and write on them various things that you love about the recipient.

A Puzzle


     Draw or print out a picture, cut it into pieces, and hide the pieces in the eggs.  Alternately, you could buy a puzzle and place the pieces inside the eggs.

Customize Toys with a Message


     Want to make a store bought item feel more personal?  Write a personal note to go with it.  If it's an animal or something else that tends to be treated anthropomorphically, come up with a personality for the toy, one that will match your recipient's.

For the Jewelry Lover

Spring Pinwheel Earrings
Clay Owl Earrings
Rose and Crystal Drop Earrings
Easy Earrings
Duct Tape Rose Ring
Clay and Button Pendants

Other Ideas

 Note: some of these might be a little large to hide in a standard sized Easter egg, but could still make nice presents for an Easter basket, so I decided to include them anyway.

Pom Pom Chick
Dollhouse Miniatures
Spring Butterfly Bookmarks
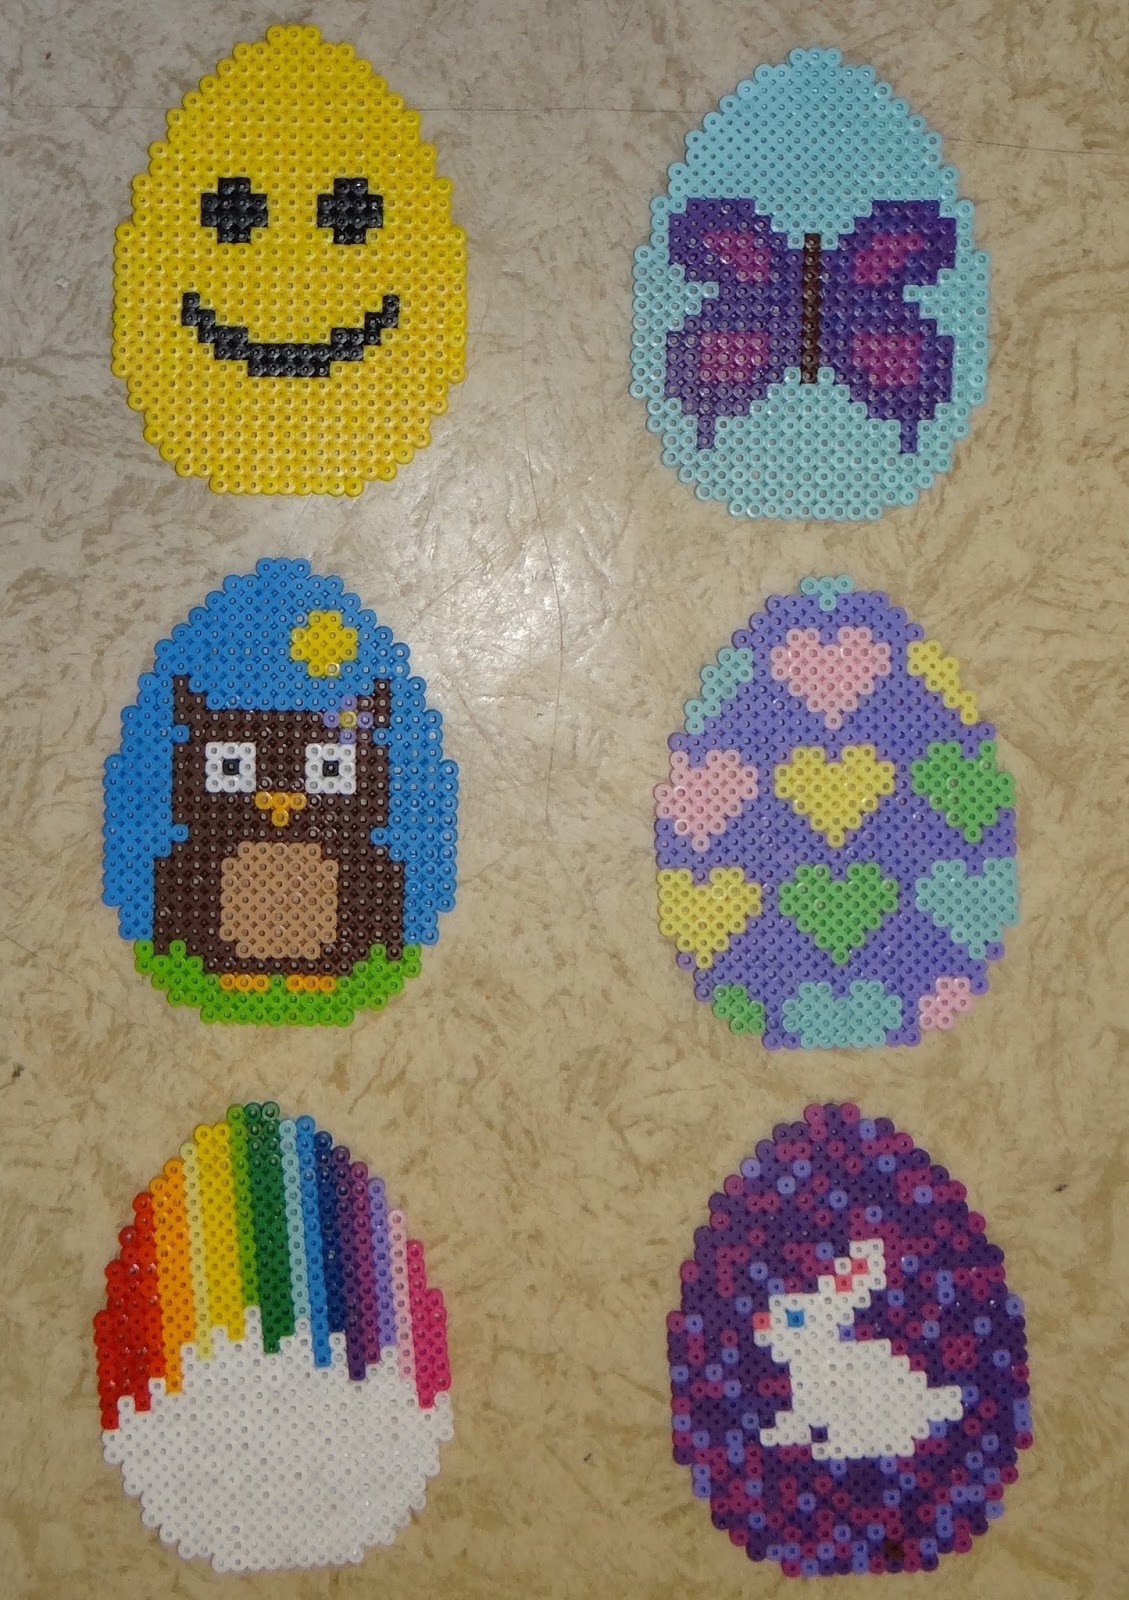
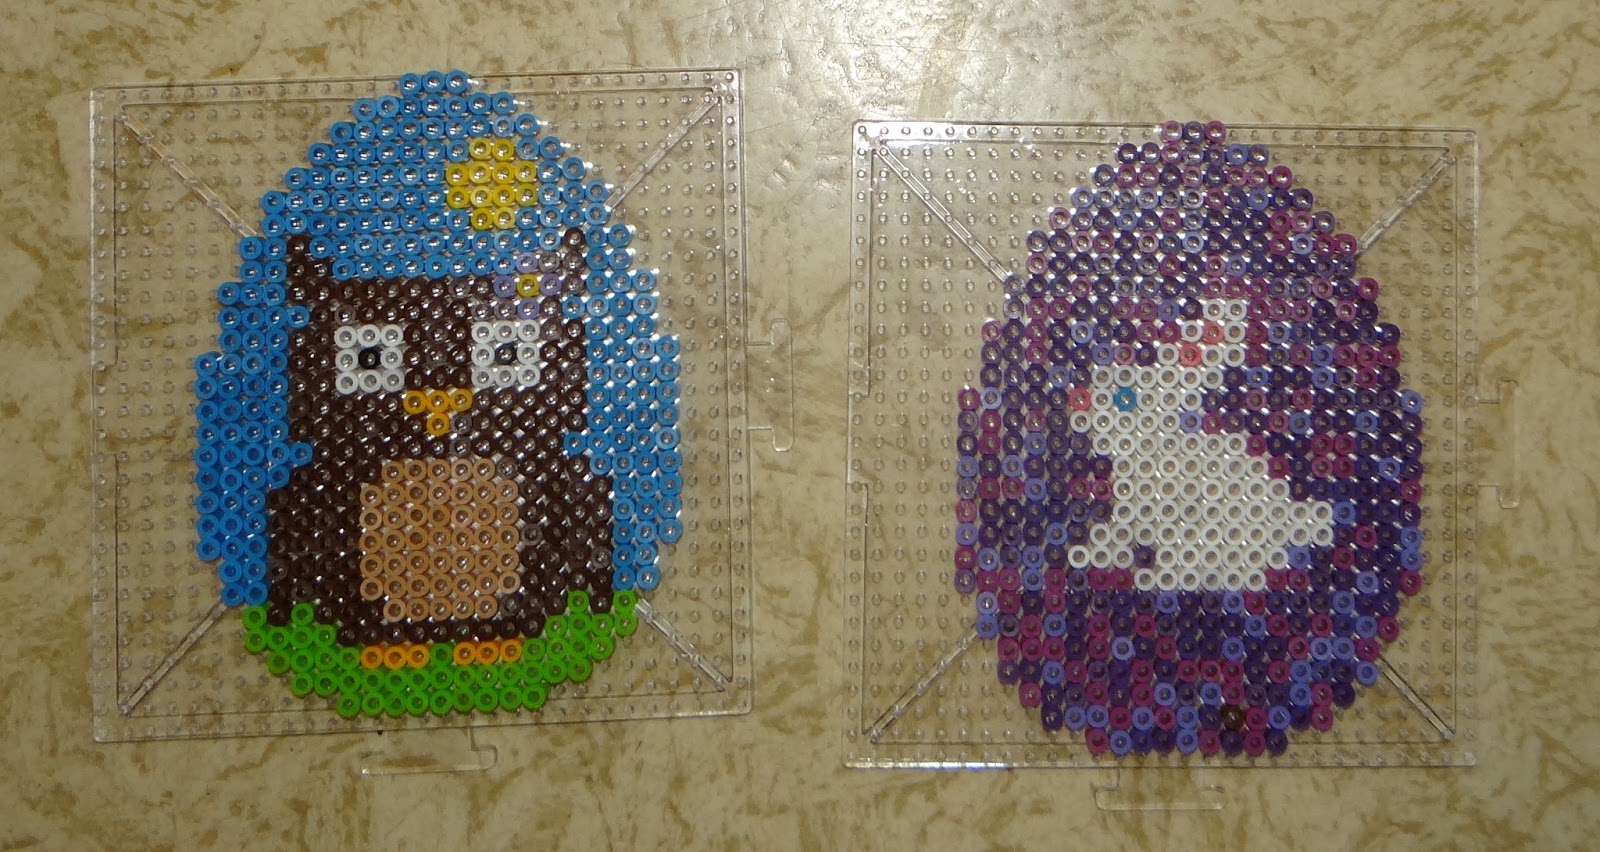
Fuse Bead Spring Magnets

Thursday, April 10, 2014

Pom Pom Chick


     Here's a quick, easy, and inexpensive Easter craft.  I found this idea here.  I'm including below my own, slightly modified version of the instructions below.
Materials:
*Large yellow pom pom
*Medium yellow pom pom
*Black felt
*Orange felt
*Scissors
*All purpose adhesive

Directions:
*Glue together the large and medium pom poms.  The large pom pom forms the chick's body and the medium one serves as its head.
*Cut off a tiny piece of black felt.  Roll it between your fingers until it forms a ball and then glue it onto the medium pom pom to make one of the chick's eye.  Make the second eye in the same fashion.
*Cut out a diamond shaped piece of felt and fold it in half.  Press it between your fingers for several minutes, until it retains its crease down the middle.
*Glue the crease of the orange felt to the medium yellow pom pom to make the chick's beak.

Thursday, April 3, 2014

Glittery Easter Egg Garland


Materials:
*12 plastic Easter eggs
*Glitter
*Mod Podge
*Fuzzy yarn
*Paintbrush

Directions
*Mix some glitter into Mod Podge.
*Using the paintbrush, coat the eggs in the glitter glue mixture.  Set aside to dry.
*Once the eggs are dry, string onto the yarn.  I found that I had an easier time getting the yarn through the eggs when I put a little glue on the ends of the yarn and let it dry.