Thursday, April 30, 2015
Clay Nameplate Earrings
Materials:
*Gold clay
*Small letter stamps
*Knife
*Rolling pin (or suitable substitute)
*Toothpick
*Ear wires
*Round nosed pliers
Directions:
*Roll out clay to make a thin, flat sheet.
*Stamp the desired name or word into the clay sheet twice.
*Using the knife, cut out a rectangle around the words, leaving a little extra clay at the top of each rectangle.
*Poke a hole into the top of each rectangle with a toothpick.
*Bake clay in the oven according to the directions on the packaging.
*Once the clay is cool, add ear wires.
Thursday, April 23, 2015
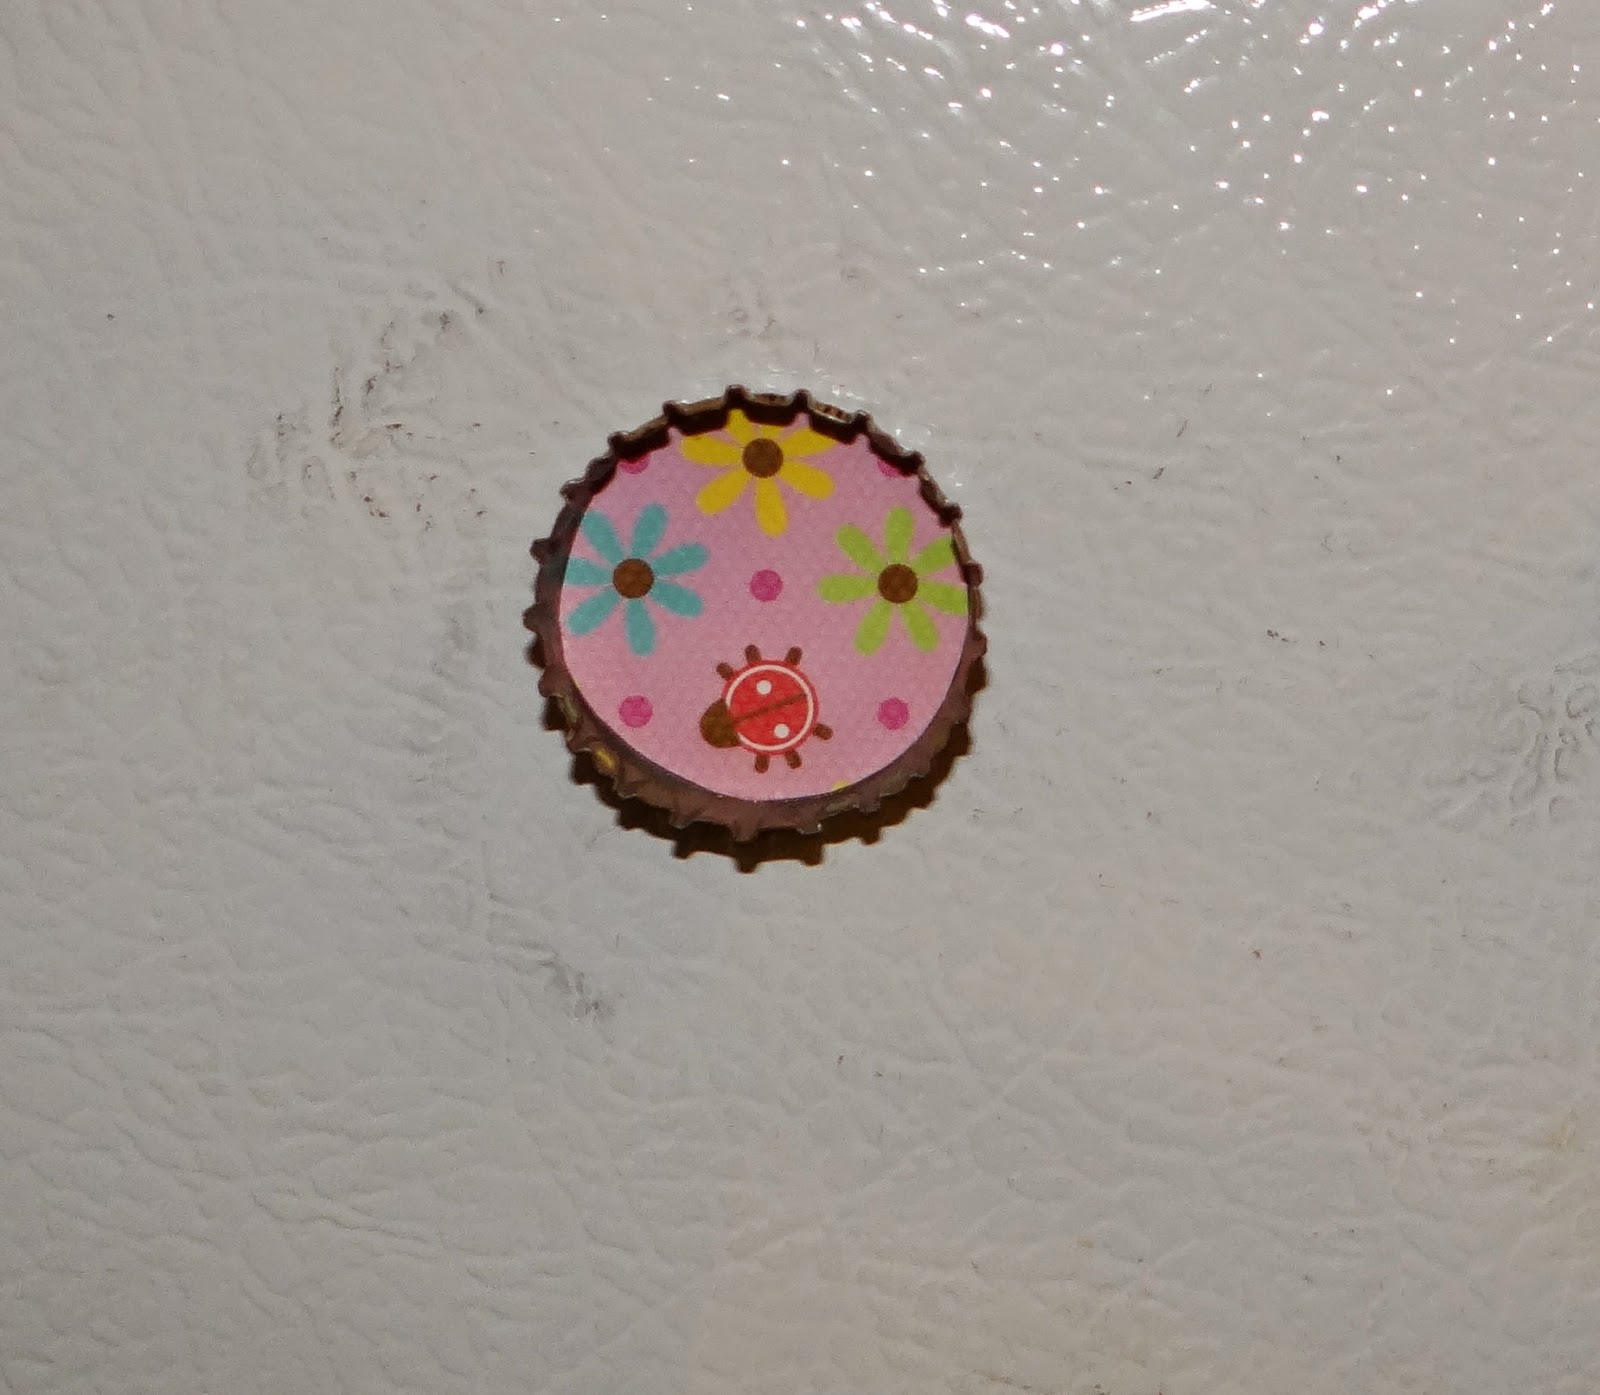
Bottle Cap Refrigerator Magnet
These magnets are adorable, easy to make, and are a great way to use up any bottle caps you have kicking around. It's a great craft for all ages. I used to make them with my mom when I was a kid.
Materials:
*Bottle caps
*Patterned paper
*Mod Podge
*Self-adhesive magnetic backing
*Pencil
*Scissors
*Paintbrush
Directions:
*Place the bottle cap onto the patterned paper and trace around it to form a circle.
*Cut out the circle. Check to see if it will fit inside the bottle cap. If not, trim it a little more until it fits.
*Coat the inside of the bottle cap with a layer of Mod Podge to even out any unevenness in the bottom of the cap. Set it aside to dry for 24 hours.
*Once it is dry, dab some more Mod Podge across the bottom of the bottle cap and add the picture. You can then either coat the photo with a layer of Mod Podge or leave it as is. Set it aside to dry.
*Once it's dry, add a piece of magnetic backing to the back of the bottle cap.
Thursday, April 16, 2015
Whimsical Spring Floral Arrangement
It's finally starting to feel like spring here in Maine! I got the idea for this bouquet from this post from Fave Crafts.
Duct Tape "Dandelion"
Materials:
*Duct tape
*Measuring tape
*Thick gauge floral wire
*Scissors
*Wire cutters
Directions:
*Cut off a strip of duct tape about 18" in length.
*Fold it over (the hot dog way) almost in half so that about 1/4" of tape is left unattached.
*Cut slits in the tape almost all the way down to the unattached portion to create a fringe.
*Cut off a length of floral wire and wrap the duct tape around one end.
*Gently push on the petals to open the flower.
Large Sequin Flowers
Materials:
*Large sequins
*Medium sequins
*All purpose adhesive
*Wire
Directions:
*Take three large sequins and glue a medium sequin into the center of each one.
*Cut off three sections of wire of varying lengths and attach a large sequin to each one.
*Twist together the three wires to create a branch.
Sparkly Pom Pom Flowers
Materials:
*Sparkly pom poms
*All purpose adhesive
*Thick gauge green floral wire
Directions:
*Cut off a length of floral wire.
*Glue a pom pom to the top of the wire.
Hearts and Flowers Branch
Materials:
*Artificial floral branch
*Patterned paper
*Heart punch
*All purpose adhesive
Directions:
*Punch out hearts from the patterned paper and glue them to the artificial floral branch.
Glittery Flower
Materials:
*Artificial flower
*Glitter
*Glue
Directions:
*Coat the tops of the petals of the flower in glue.
*Pour glitter over the glue. Set aside to dry.
*Once dry, shake off any excess glitter.
Butterfly
See my Spring Butterfly Bookmarks post to find out how to make this lovely butterfly.
Putting it All Together:
Materials:
*Oversize plastic cup
*Cone shaped Styrofoam
*Mini pinwheels
Directions:
*Fit Styrofoam inside cup. Mine fit perfectly as it was, but depending on the size and shape of your cup, you may have to trim the Styrofoam some.
*Stick flowers and pinwheels into the Styrofoam.
*Glue the butterfly to one of the flowers.
Thursday, April 2, 2015
Spring Butterfly Mobile
Materials:
*Cardstock in a variety of colors
*Butterfly template
*White paint
*Pipe cleaner
*All purpose adhesive
*Thread
*Hole punch
*Patterned cardstock
*Scissors
Directions:
*Create the desired number of butterflies using the template and instructions from my Spring Butterfly Bookmarks post. You will need twice as many butterflies as the number you want hanging from your mobile.
*Glue two butterflies back to back, with a piece of string sandwiched between them. Repeat using the remaining butterflies.
*Cut out two strips of 12 x 12 patterned paper about two inches in thickness. You can create the scalloped edges by tracing around a rounded object, such as the bottom of the glue bottle, a small drinking glass, or a bottle cap.
*Glue the two strips together to form a ring.
*Punch out holes from the ring and tie on the strings the butterflies are hanging from, varying the height of the strings as you go.
*Punch two holes on opposite sides of the ring and tie each end of a piece of string to one of the holes. Use this string to suspend the mobile from the ceiling.
Subscribe to:
Posts (Atom)


