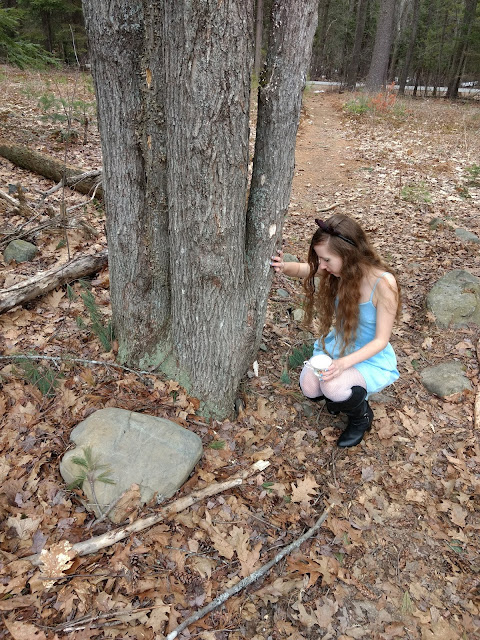
My old Alice in Wonderland hair bow has served me well since high school, but I figured that with my new Alice look, it was about time to change things up. Here's how I made my hair bow, plus a peek at my new Alice look. Let me know how you think it compares to my old Alice look (see also the bottom of this post for a more recent pic).
Materials:
*Black ribbon as wide as you'd like your bow to be
*Thinner black ribbon
*Black headband
*All purpose adhesive
*Needle and thread (optional)
Directions:
*Cut a strip of black ribbon a little more than twice as long as you'd like the bow to be.
*Glue together the ends of the ribbon.
*Pinch the middle of the ribbon to form a bow shape.
*For me, it was helpful to put a couple of stitches into the pinched part of the ribbon to get it to retain its shape. If your ribbon is really stiff like mine was, this step may be helpful, but if not, feel free to skip to the next step.
*Take the thin ribbon and glue one end to the back of the bow at the location of the pinch. Wind it around and then glue down the other end along the back of the bow. Let dry.
*Glue the bow to the headband. Let dry.
Get This Look
If you're hoping to use some pieces from my Alice look (pics below in the photo shoot section), I've linked to the parts of my look that I can. Unfortunately some of the items are old or were gifts, so I don't have links for everything. The faux suede notched romper I got from Charlotte Russe, although it looks like they might not have it in blue anymore. Just be aware if you buy it that it has no padding whatsoever. The locket I got as a gift and I have no idea where it came from. It's hard to see in these pictures, but it's a key shaped pendant with a heart shaped locket attached to the top part of the key. The letter "A" is engraved into the heart, perfect for Alice as well as Amber. The boots I also have no idea where they came from. I didn't have a lot of shoe option that I thought worked with the rest of the outfit. I'm probably going to keep my eyes out for some more Alice-like shoes. The silver fishnets came from Amazon. My pearl earrings came from G. M. Pollack & Sons, which is sadly no longer in business. The pearl cat ring came from Kay Jewelers.
For makeup, we just did my eyes and lips (plus some e.l.f. translucent powder. I think this is the one, although the packaging looks different from mine, which is older). The makeup style we went with was similar to the one I used for my Yellow Ribbon photo shoot, except I opted for blue eyeshadow instead of purple. Almost all the makeup was from e.l.f., but there are more details in my Yellow Ribbon post. For my nails, I painted them using the technique outlined in this blog post.
Photo Shoot
I wanted to show off my new hair bow with my Alice look, so I convinced Brian to do a photo shoot for me. We live in Maine, so even though it's technically spring here, the weather refuses to do anything remotely spring-like. It was about 31 degrees F outside, so not pleasant to be standing around in a romper in, but I decided to brave it anyway. Here are some of the pictures Brian took.
And lastly a selfie, so you can see my nails with the romper.


