Wednesday, February 24, 2021

Book Inspired Manicure


Love books?  Why not try some bookish nail art?  I thought this design was reminiscent of the spines of old, leather bound books.  I'd like to try this design again some time, but instead of painting all of my nails the same crimson color, I'd like to add in some other colors, like blue or green, for a little more variety.

Materials:

*Crimson nail polish

*Gold acrylic paint

*Nail polish base coat

*Clear nail polish top coat

*Ultra fine nail art brush

Directions:

*Paint nails with nail polish base coat.  Let dry.

*Paint nails crimson (or other bookish color).  Let dry.

*Use the nail art brush to paint on stripes with gold paint.  I tend to freehand my lines, but if freehanding is not your strong suit, they make nail art guides you can use for creating lines.  Painter's tape can also work for this purpose.

*Seal in the design with a clear nail polish top coat.  Let dry.

Wednesday, February 17, 2021

Sheet Ghost Nail Art

Looking to add a touch of spookiness to you day?  These bloody-eyed sheet ghosts are the perfect mix of creepy and cute.  These were inspired by a dress the character Kira (aka Creepy Doll) wears in the book Bunny, but hence the bleeding eyes.  However, you can use this same process to create ghosts with undamaged eyes.

Materials:

*Sky blue nail polish or other base nail polish color

*Nail polish base coat

*White acrylic paint 

*Red acrylic paint 

*Black acrylic paint

*Brown acrylic paint

*Ultra fine nail art brush 

*Nail art dotting tool

*Clear nail polish top coat


Directions:

*Paint on your base coat.  Let dry.

*Paint on your base color.  Let dry.

*Use white acrylic paint to draw sheet ghost shapes on your nails.

*Use some black acrylic paint and a dotting tool to make mouths for your ghosts.

*Mix together red, black, and brown paints to create blood colored paint.

*Use a dotting tool to dot on blood red eyes.  Or, if you don't like the bleeding eye aesthetic, you could dot on eyes using black paint.

*Use the nail art brush to draw little blood drips coming from the ghosts' eyes.

*Seal in the paint with a clear top coat.  Let dry.

Wednesday, February 10, 2021

Roselia Community Day: Pokemonbounding Ep 7


Sunday was Roselia Community Day in Pokemon GO.  I had spaced on which weekend February's Community Day was happening, so I had to adjust my plans when someone posted in my local Pokemon GO chat about it.  I didn't have the supplies on hand for a proper Roselia bound, but I threw together a look with a green romper and a clip on rose I have on hand.  For a last minute bound, I would say this one was not too bad.

Someday when I have more time, I'd like to make a Roselia crown and maybe some oversized paper roses to finish off the look.  Let me know if you'd like to see me try this.

Here are a few more pics from Roselia Community Day.

Shout out to Brian for taking the time to pose Roselia on my shoulder.  It made for some adorable pictures.

Here's the AR photo bomb with one of my shiny Roselias.  I didn't have the time to play for the whole event, but in the hour that I did play, I ended up with six new shinies.  Since I mainly play Community Day for the shinies, I was pretty pleased.

I know this is a short post, but hopefully you still enjoyed it.  If you'd like to see more Pokemon crafts, including the other looks in my Pokemonbounding series, click here.  If you have any specific Pokemon you'd like to see me create a look based on, let me know.  I'm super swamped right now, but I'm hoping to get back to my monthly Pokemonbounding this summer.

Wednesday, February 3, 2021

Fire Nail Art

Want nails that are lit?  Why not try this fiery nail art?

Materials:

*Nail polish base coat
*Nail polish base color (I went with a multichrome blue)
*Red acrylic paint
*Orange acrylic paint
*Yellow acrylic paint
*Nail polish top coat
*Ultra fine nail art brush

Directions:

*Apply nail polish base coat.  Let dry.

*Apply nail polish base color.  Let dry.

*Add a bit of orange acrylic paint to red acrylic paint to create a red orange color, and paint flame shapes on your nails.  I started by drawing some wiggly lines for the peaks of the flames, and then filled in the bottom of the nail with some more paint.

*Next, take some orange paint, and use it to add definition to your flames.

*Add some orange to a bit of yellow paint to create a yellow orange color.  Use this paint to add further layering and detail to your flames.

*The last thing I did was I used a teeny amount of the red-orange paint and brushed it along the nails in a few places to add some more flames.

In case you were wondering, here's how my right hand (which I had to paint with my non-dominant hand) turned out:

I didn't go for as much detail on this one because I have a harder time with fine motor coordination with my left hand, but I still think they turned out all right.

Wednesday, January 27, 2021

Tombstone Valentine's Chocolates


If you saw last week's post on repurposing a Valentine's chocolate box to give it a spookier touch, you may be wondering what you should fill your creepy chocolate box with.  Why not make some tombstone chocolates?  If you don't have any spooky molds on hand, keep an eye out around Halloween season.  I got the silicone tombstone molds I used from this project from Joann this past fall.

Materials:

*White chocolate baking chips
*Black candy melts
*Silicone tombstone molds
*Microwavable bowl
*Spoon

Directions:

*Pour some white chocolate baking chips into a microwavable bowl and add some black candy melts.  The black candy melts can be pretty overpowering, color-wise, so I'd recommend only putting in about a quarter as much of the black candy melts as you did the white chocolate.

*Microwave for about 1 minute, then take out and stir.  The candy melts and baking chips will likely not be completely melted yet.

*Pop back in the microwave for another 40 seconds, and then pull out and mix.  My chocolate was completely melted at this point in time, but if yours isn't, pop it back in for another 30 seconds.  Be careful not to over microwave, though, or the chocolate will harden up and won't pour correctly.

*Pour melted chocolate into molds.  Tap against a hard surface to minimize air bubbles and get the chocolate into the crevices of the mold.

*Freeze for 10 minutes.

*Pull the chocolate out of the freezer and pop it out of the molds.  Now you've got some spooky candy for yourself, or to give to someone special.

Wednesday, January 20, 2021

Pop Up Anatomical Heart Chocolate Box


Over the cutesy red chocolate boxes that are everywhere this time of year, but still love the chocolate?  Why not give your box a ghoulish makeover?


Materials:

*12" x 12" sheet of scrapbooking paper in spooky paper pattern of your choice
*Red 8 1/2" x 11" sheet of cardstock
*Printer
*White printer paper
*Scissors
*Double sided tape
*Glue
*Pencil

Directions:

*Trace the shape of your chocolate box onto the back side of your scrapbooking paper.


*Cut out the heart shape.


*Tape the heart shaped scrapbooking paper to the front of the box.

*Print out your favorite anatomical heart image onto red cardstock.  You can find several different free options from the Graphics Fairy.


*Cut out the heart shape.

*Now we need to fold the paper supports that will make the heart pop out.  Cut four strips of plain white paper about 1/2" thick and 8 1/2" long.  Take two and place them perpendicular to one another, taping the ends together.


*Fold one strip over completely, so you still have a right angle, but now that strip is facing the opposite direction.  Do the same for the second strip.  Repeat the process, alternating which strip you're folding over.  This site has a bit better of an explanation of the technique, if you need more details.


*When you've folded your two strips as much as possible, glue the free ends together.  Trim any excess.  You should end up with something like this:


*Repeat the process with the other two strips of paper.

*Tape the two paper columns to the center front of the box, and attach your heart to them.  Now your heart should pop out from its surroundings.

Wednesday, January 13, 2021

DIY Zombie Manicure

 
Looking for the perfect manicure for your zombie Valentine's Day shindig?  These nails will have you looking like you just crawled out of the grave.

I've done a post on zombie nails before, but if you're looking for a simpler, more wearable undead manicure, this one may be a better bet.  Also, this one has a photo tutorial, so if visual cues are helpful to you, then this one may be more useful.

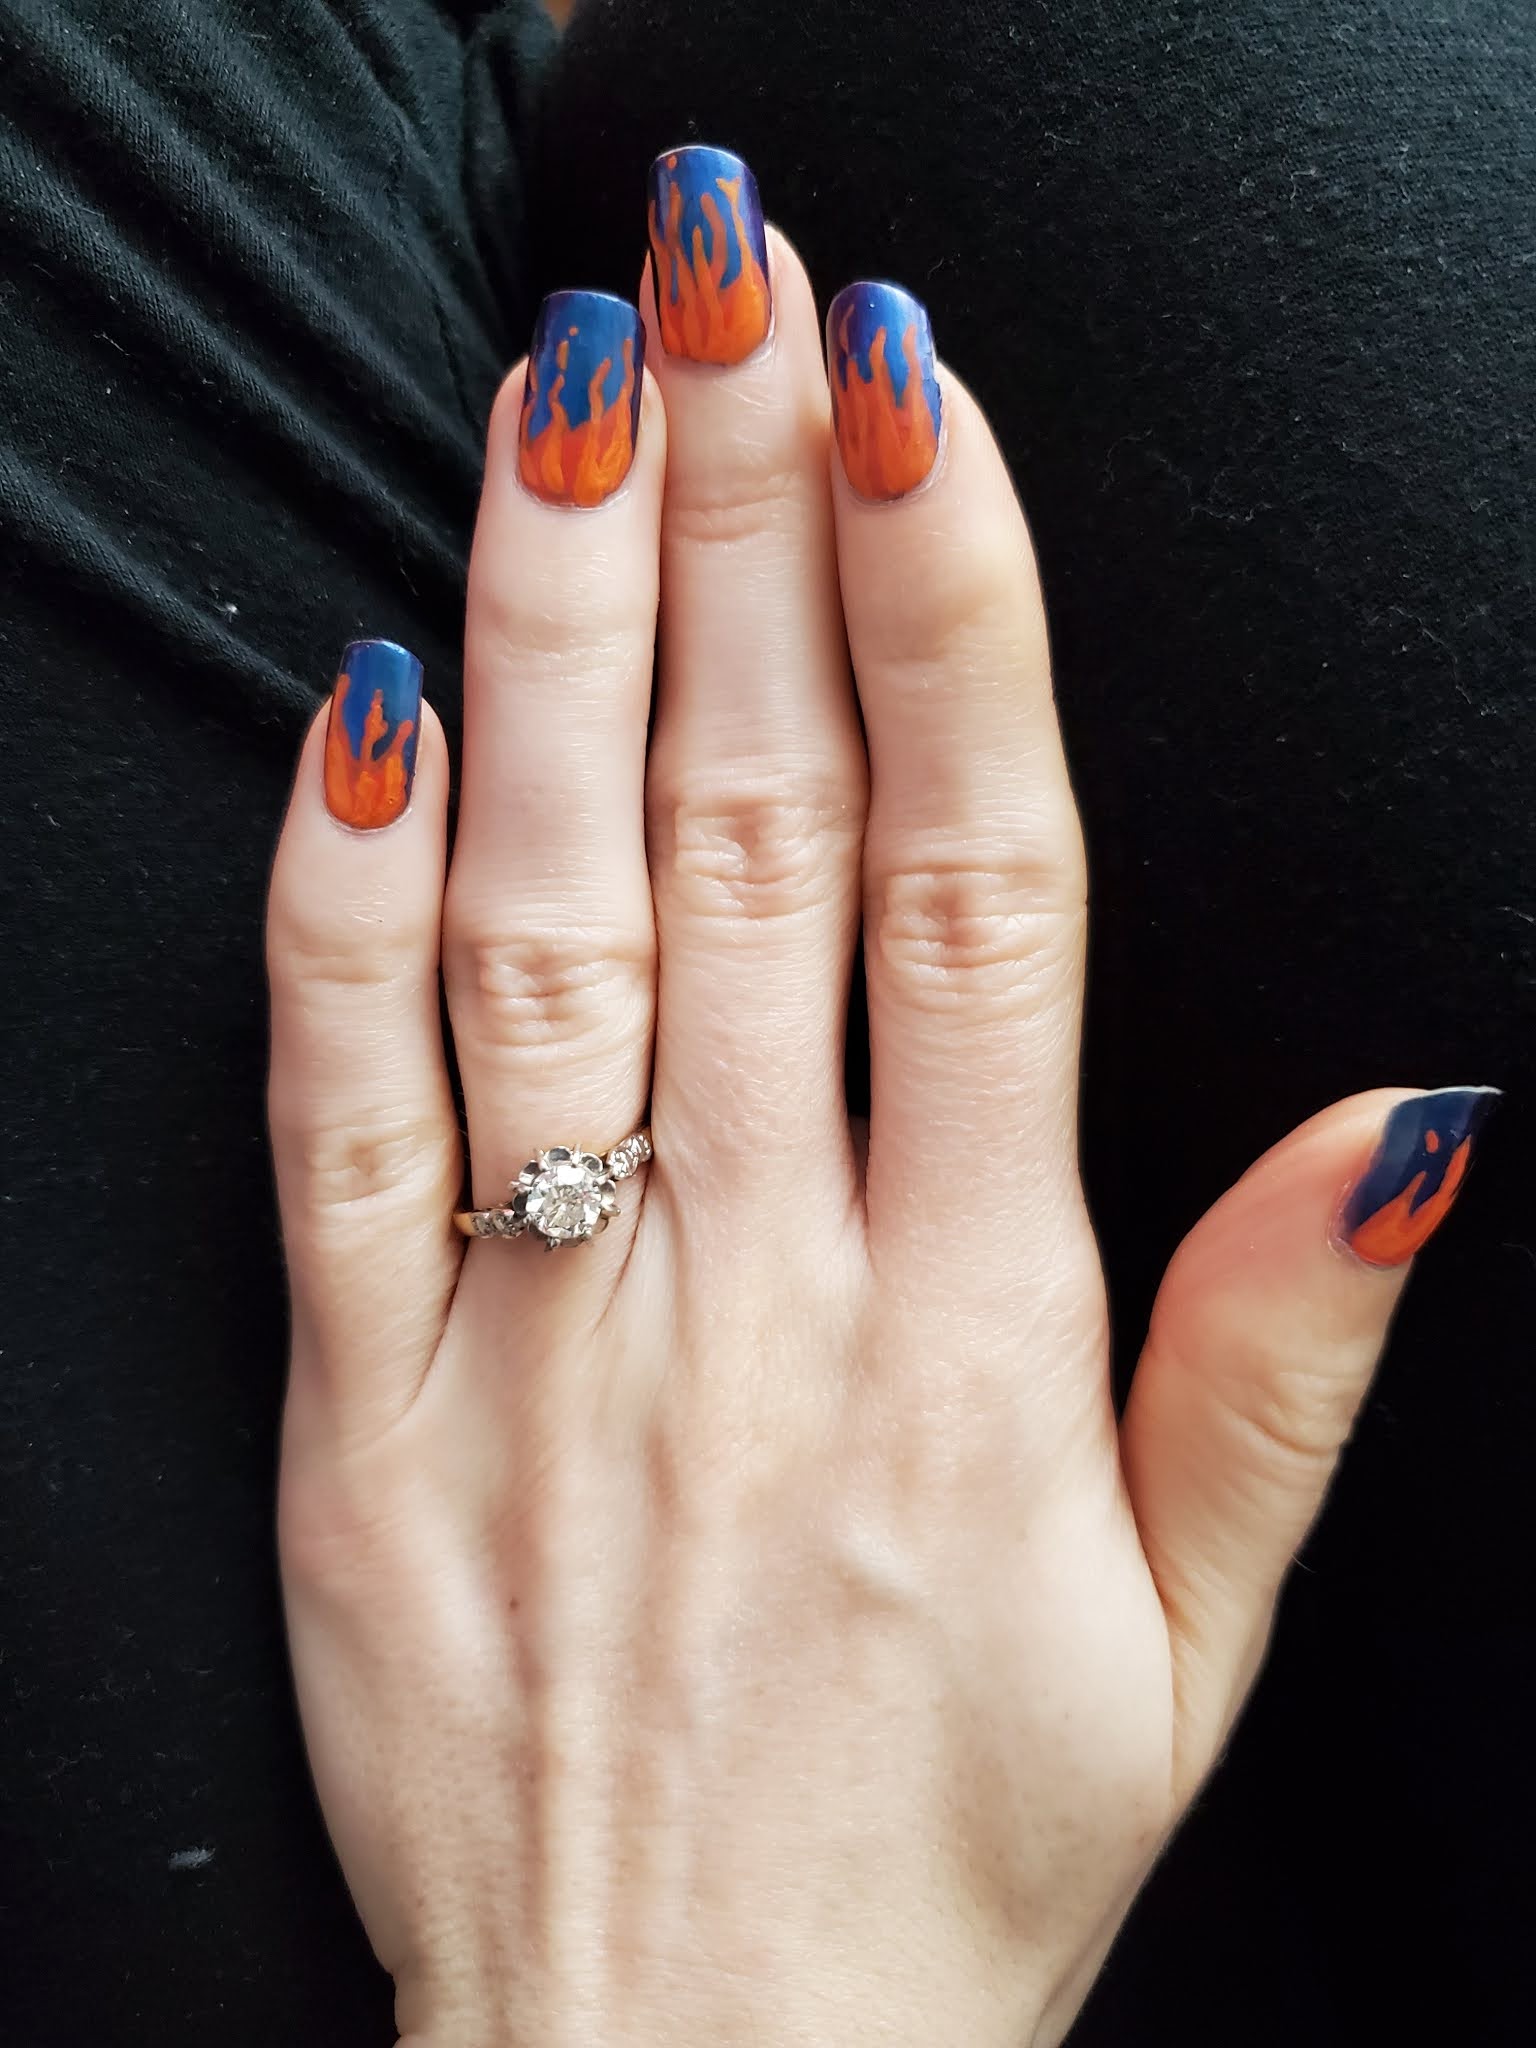
The fake bruising actually looks a bit more muted in person than the above photo shows.  I've included a picture from the book review photo shoot I was using this nail art for to give you a better sense of what the end result looked like:

Materials:

*Semi opaque nail polish in a shade close to your natural nail color (I used arm candy by Sally Hansen)

*Light purple nail polish (I used tempest by Sinful Colors)

*Dark purple nail polish (optional)

*Nail polish the color of dried blood (I used garnet by Sally Hansen)

*Nail polish base coat (I used the regular base coat by Holo Taco)

Directions:

*Paint on a base coat and let dry.

*Add 2-3 coats of your semi opaque nail polish, maybe even more than that if your skin is much darker than your natural nails.  Our overall goal is to make it look like the nails are peeling away from the skin, so you want to minimize the appearance of the line separating where the nail meets the skin.  It's okay if it's still visible at this stage, as we'll be adding more of our semi opaque polish later, but it should be less noticeable.

*Add some light purple nail polish going most of the way up toward where the nail meets the skin.

*I then dabbed on a little dark purple polish, but I ended up covering over it with the dried blood colored polish and it didn't really show through, so you can probably skip this step and still achieve similar results.

*Now it's time to add the dried blood color.

*The dried blood color shows up pretty dark initially, but with a few more coats of the opaque polish, you can reduce the intensity so it looks like bruising under the nail instead of blood on top of the nail.  The picture below shows what it looked like after a couple of coats of the opaque polish.  I think I ended up adding another coat after that.

I used these nails for a book review, so I didn't do my usual full zombie look.  (I was dressing in the vein of Gertie Shea from The Winter People.  She's not necessarily exactly a zombie, but she is undead.)  Here's what my finished look was like:

The nails may look a little less convincing up close, but from a distance, I think they look pretty convincing.

Got any zombie craft ideas?  General Gothic Valentine's Day ideas?  I'd love to hear them.  Message me in the comments, or tag me @amberscraftaweekblog on Insta.