Thursday, December 19, 2019

DIY Christmas Tree Cake Throw Pillow


     This Christmas season, I let my love of snack cakes inspire my decor.  If you're a fellow snack cake fan and you haven't seen my previous posts in this series yet, be sure to check out my Christmas Tree Cake ornament and my Swiss Roll ornament tutorials.  Plus, stay tuned for one final snack cake themed craft next week!


For size comparison, here's me with my Christmas Tree Cake throw pillow, my Christmas Tree Cake ornament, and a real Christmas Tree Cake.

Materials:

*White flannel
*Red felt
*Green felt
*White thread
*Red thread
*Green thread
*Stuffing
*Metallic marker
*Scissors
*Tape

Directions:

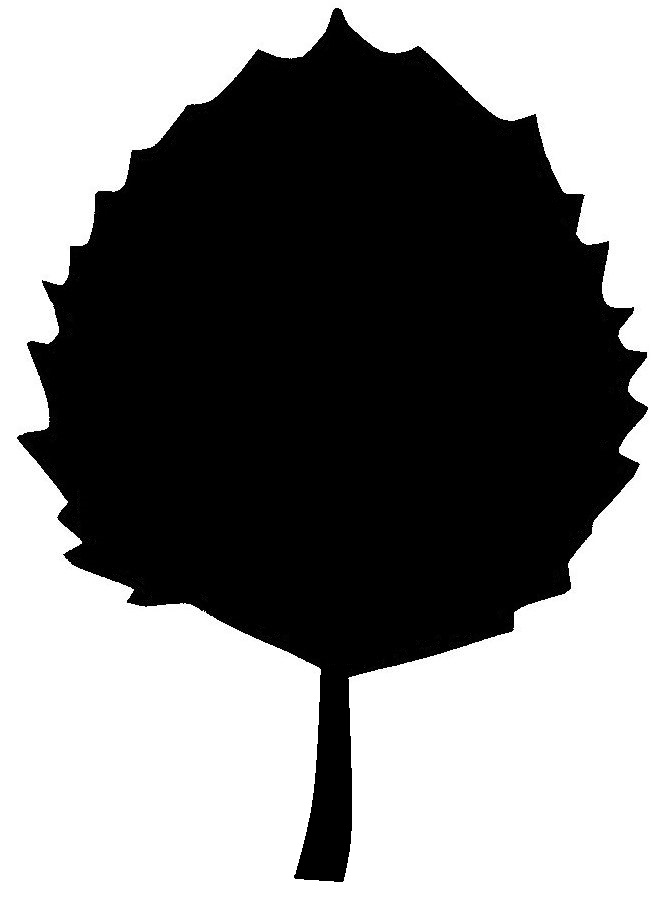
*Print out the templates below, each one on an 8 1/2" x 11" piece of paper.


*Cut out the four tree pieces and tape together to form a tree shape.

*Cut out two copies of the tree shape from white flannel and one copy of each stripe from red felt.

*Sew the stripes to one of the tree shapes with red thread.  Use the template as a placement guide.

*Cut out small rectangles from green felt to form the sugar crystals.  Sew on felt rectangles with green thread.

*Place the two tree pieces right sides together and sew around the edge using a blanket stitch and white thread.  Leave an opening at the bottom for stuffing.

*Add stuffing and sew closed using a ladder stitch.

Thursday, December 12, 2019

DIY Swiss Roll Ornament


     Friends, I think I have found my calling: making snack cake ornaments.  Okay, so I'm kidding (mostly), but look how adorable these are.  The Swiss Roll ornament is simple to make and relatively inexpensive, so if you're looking for a sweet treat to add to your tree, why not give it a try?

Materials:

*Dark brown felt
*White felt
*Metallic marker or fabric pen
*Scissors
*Needle and thread
*Ruler
*All purpose adhesive

Directions:

*Cut out a strip of white felt and a strip of brown felt the long way that are about 3" wide.


*If the felt squares you're working with are initially the same size, cut about half an inch off the end of the strip of white felt and layer it on top of the brown felt, making sure the front and side edges align.


*Carefully roll your two felt strips together to form the cake roll shape.

*Glue the overhanging edge of the brown felt down.  By now your ornament should be looking a lot like a Swiss Roll, minus its chocolate outer coating.


*To create the ornament loop, run a needle through the geometric center of the ornament, starting at the bottom of the ornament and going through the top.  Find the center carefully, as if you're off by even a small amount, your ornament may hang at an angle (thanks, physics).

*Poke the needle back through in a spot very close but not identical to the original spot.

*Tie the ends of the thread together at the bottom of the ornament.  If you don't want this knot a the bottom showing, you can add the thread before gluing down the overhanging brown felt and go through all but the outermost bottom layer of the brown felt,.  You can then use the overhang to hide the knot.  As long as you don't hang this ornament at the top of your tree, though, you probably won't have to worry about the knot being too visible.

Thursday, December 5, 2019

Little Debbie Christmas Tree Cake Felt Ornament


     I have loved Little Debbie Christmas Tree Cakes ever since I was a child.  They were a special treat my dad would buy for us at Christmas time, and they have become a Christmas tradition that I share with Brian.  I thought it would be fun to try making a Christmas Tree Cake ornament to add to my tree.  Check out the video below for a video tutorial, or keep reading for a written tutorial.  If you love snack cakes, stay tuned because I have several snack cake themed Christmas projects in store for you.


A real Christmas Tree Cake next to my Christmas Tree Cake ornament.


DIY Christmas Tree Cake ornament video tutorial.


Materials:

*Red felt
*White felt
*Green seed beads
*Scissors
*White thread
*Red thread
*Green thread
*Metallic marker
*Stuffing

Directions:

*Print out a copy of the template given below:


*Trace two copies of the tree shape onto white felt.  Trace one copy of each stripe onto red felt.  Cut out the tree shapes and stripes.

*Sew the stripes onto one of the tree shapes using red thread, using the template as a guide.  I used a blanket stitch for this step.

*Sew green seed beads on to look like the green sugar granules using green thread.

*Cut off a small segment of white felt, about 1/4" thick and 2" long.  Fold the ends of this strip together to make a loop.  Sew this loop to the back of the blank tree shape using white thread.

*Cut off two strips of white felt that are about 1/2" thick and 9" long.  Sew the ends together to form one long strip of felt.

*Using a blanket stitch and white thread, sew the strip of felt to the striped tree shape.  The strip of felt will likely be longer than you need it to be, so when you reach the place where you started, cut off the excess felt and then sew the two ends together.

*Sew the bottom tree to the strip of felt using a blanket stitch.  Leave a small opening at the bottom.

*Add stuffing and sew closed.

Friday, November 29, 2019

DIY Felt Christmas Light Garland


     Brighten up your home this holiday season with this fun, festive garland.  While I opted for a rainbow color scheme, you can use whatever colors of felt you would like to make this DIY your own.

Materials:

*Sheets of felt in colors of your choosing.  Since I used seven different colors of felt for the "light bulbs," I only needed one sheet of each color.  However, if you are using fewer colors, you may need more sheets of each color.
*Gray felt
*Metallic marker
*Scissors
*Thread in colors of your light bulbs
*Silver or gray thread
*Stuffing
*Ribbon to string the lights together

Directions:

*Print out a copy of the light bulb template given below:


*Cut out the whole template as one, leaving the light bulb cap attached to the rest of the bulb

*Determine how many lights you would like to have on your garland.  Trace and cut out twice as many felt pieces as you would like lights, one piece for the front of each bulb and one piece for the back of each bulb.

*Trace and cut out twice as many copies of the light bulb cap as you would like lights from gray felt.

*Take two light bulb pieces and two light bulb caps and sew the caps to the light bulb pieces using a back stitch and gray or silver thread.

*Place the two light bulb pieces wrong sides together and sew together using a blanket stitch.  Leave an opening at the top for stuffing.

*Add stuffing and sew closed.

*Repeat the sewing process until you have sewn all of your bulbs together.

*Sew the bulbs to a piece of ribbon to complete your light garland.

Thursday, November 21, 2019

Thanksgiving or Autumn Pie Garland


     For many of us, the best part about Thanksgiving (aside from spending time with loved ones) is the food, and what better a way to show this than by adding a pie garland to your seasonal decor?  One great thing about this pie garland is that it is easy to customize.  I opted for apple, pumpkin, and chocolate pudding pie, all classics in my family, but if you have a different pie you'd like to include, such as cherry, all you need to do is use a different color of cardstock.
     This craft is adapted from a craft by Martha Stewart.  For her version, see this post.

Materials:

*1 sheet dark brown cardstock
*1 sheet light brown cardstock
*1 sheet orange cardstock
*2 sheets cream colored cardstock
*Scissors and pencil or die cutting machine
*Glue
*Hole punch
*Ribbon
*Large white pom poms

Directions:

*Use the template below to cut out 4 dark brown triangles, 4 light brown triangles, 4 orange triangles, and four cream colored lattice grids.


*Glue the lattice shapes over the light brown cardstock triangles.


*Punch holes in the top corners of each triangle and string the triangles onto the ribbon.  Use a dab of glue to hold each triangle in place along the ribbon.


*Cut the cream colored cardstock into strips that are about 1/2" wide.  Fold strips accordion style, making little handles at either end to use to attach the strips to the pies.


*Glue the ends as well as the bottoms of each fold to the pie shapes.


*Glue white pom poms to selected pieces of pie.  Let dry.

*Once your garland is dry, it's ready for display.


Thursday, November 14, 2019

Fall Leaves Felt Table Runner


     Add a fun, seasonal touch to your table with this fall leaves table runner.

Materials:

*Felt in colors of your choice
*Thread in corresponding colors
*Sewing needle
*Metallic marker or fabric pen
*Scissors

Directions:

*Print out leaf templates of your choice, such as the ones included below:


*Trace leaf templates onto the felt sheets using a metallic marker or fabric marker.  The number of leaves you need may vary, depending upon the size of your table.  I used 10 leaves to complete mine.


*Cut out leaf shapes and arrange them on your table in a sequence that you find pleasing.


*Choose a color of thread corresponding to the color of felt of the leaf that you want to go at one end of your table runner.  Begin sewing using a running stitch at the bottom of the leaf.  At first you will be sewing just this one leaf, but once you reach where the stem of the next leaf begins, you will sew the stem to the back of the leaf you are sewing, like this:


*Once you reach the end of your top leaf (the one you started sewing first), tie off the thread.

*Select a color of thread corresponding to the leaf you attached to your first leaf via its stem and begin sewing in the same fashion as you sewed your first leaf.

*Repeat procedure to sew all of your leaves together.

Thursday, November 7, 2019

Creating a Digital Wardrobe


     As the end of 2019 approaches, many of us will be looking for new year's resolutions.  Since becoming more organized is a common resolution, I thought I'd share an organizational project I've been working on with you: creating a digital wardrobe.  If you have a lot of clothes and have a tendency to lose track of some of them or forget that they exist, then a digital wardrobe may be the solution you need.  I've included a video tutorial walking you through the process of creating a digital wardrobe below.  I've also included some written instructions, although the video tutorial is more thorough.


Creating a Digital Wardrobe

Materials:

*Camera
*Computer

Directions:

*The first step to creating a digital wardrobe is choosing a location for your digital wardrobe to exist in.  I created a folder on my Google Drive called "Wardrobe" to store the digital images of my clothes in so that I would have access to the images from multiple devices, but creating a folder on your computer could work just as well.

*Once you've created your folder, choose a clothing storage location (e.g. your closet, a dresser drawer) to work on and photograph every item in that location.

*Inside your wardrobe folder, create folders for each category of clothing in the storage location that you photographed.  For example, you might have shirts and rompers hanging in your closet, so you would want to create a folder for shirts and a folder for rompers.  You may want to create more folders inside those respective categories.  For example, you may want to have separate folders for short sleeved shirts and long sleeved shirts, or you may want separate folders for formal rompers and more casual rompers.

*Place each photograph into its corresponding folder (e.g.. a T-shirt may go in your short sleeved shirts folder) and add a description.  The description should include a basic description of the item (e.g., red T-shirt) as well as the item's location in your wardrobe (e.g., closet).  The location is especially important if you have similar types of garments stored in separate locations, as it gives you a way to keep track of which garments are in which location.

*Repeat the process until you've cataloged all of your clothes.  You may also want to create folders for accessories, if those are an essential component of your wardrobe.

*I also have been cataloging my outfits as I wear them.  I have a folder in my "Wardrobe" folder called "Outfits" where I keep a photograph of each day's outfit.  Doing this gives me a chance to see what clothes I'm wearing often and which ones I'm not wearing.  It also reminds me which garments look good together and which don't and gives me inspiration for future outfits.