Thursday, August 13, 2015

Alice in Wonderland Photo Wall

     In Alice's Adventures in Wonderland, when Alice falls down the rabbit hole, she sees photos and maps lining the walls of the tunnel.  The book doesn't specify what these are photos of, so you could use any images you would like, but here are the ideas that I came up with.

Flowers with Faces


     Take photos of flowers and add some googly eyes to make some flowers with faces photos.  You could also add other features, like mouths, but I stuck to photos where the flowers already had a mouth-like structure.

Scrapbooking Paper and Old Maps


     Find sheets of scrapbooking paper that remind you of Wonderland or old maps and cut them to fit the frames.

Quotes


     Choose a quote from the book that you like and type up or hand write it.  Find some corresponding scrapbooking paper or stickers to decorate it.

Keys


     Using the key bookmark template, create a key and select some cardstock for the backing that you think corresponds well.

Silhouettes


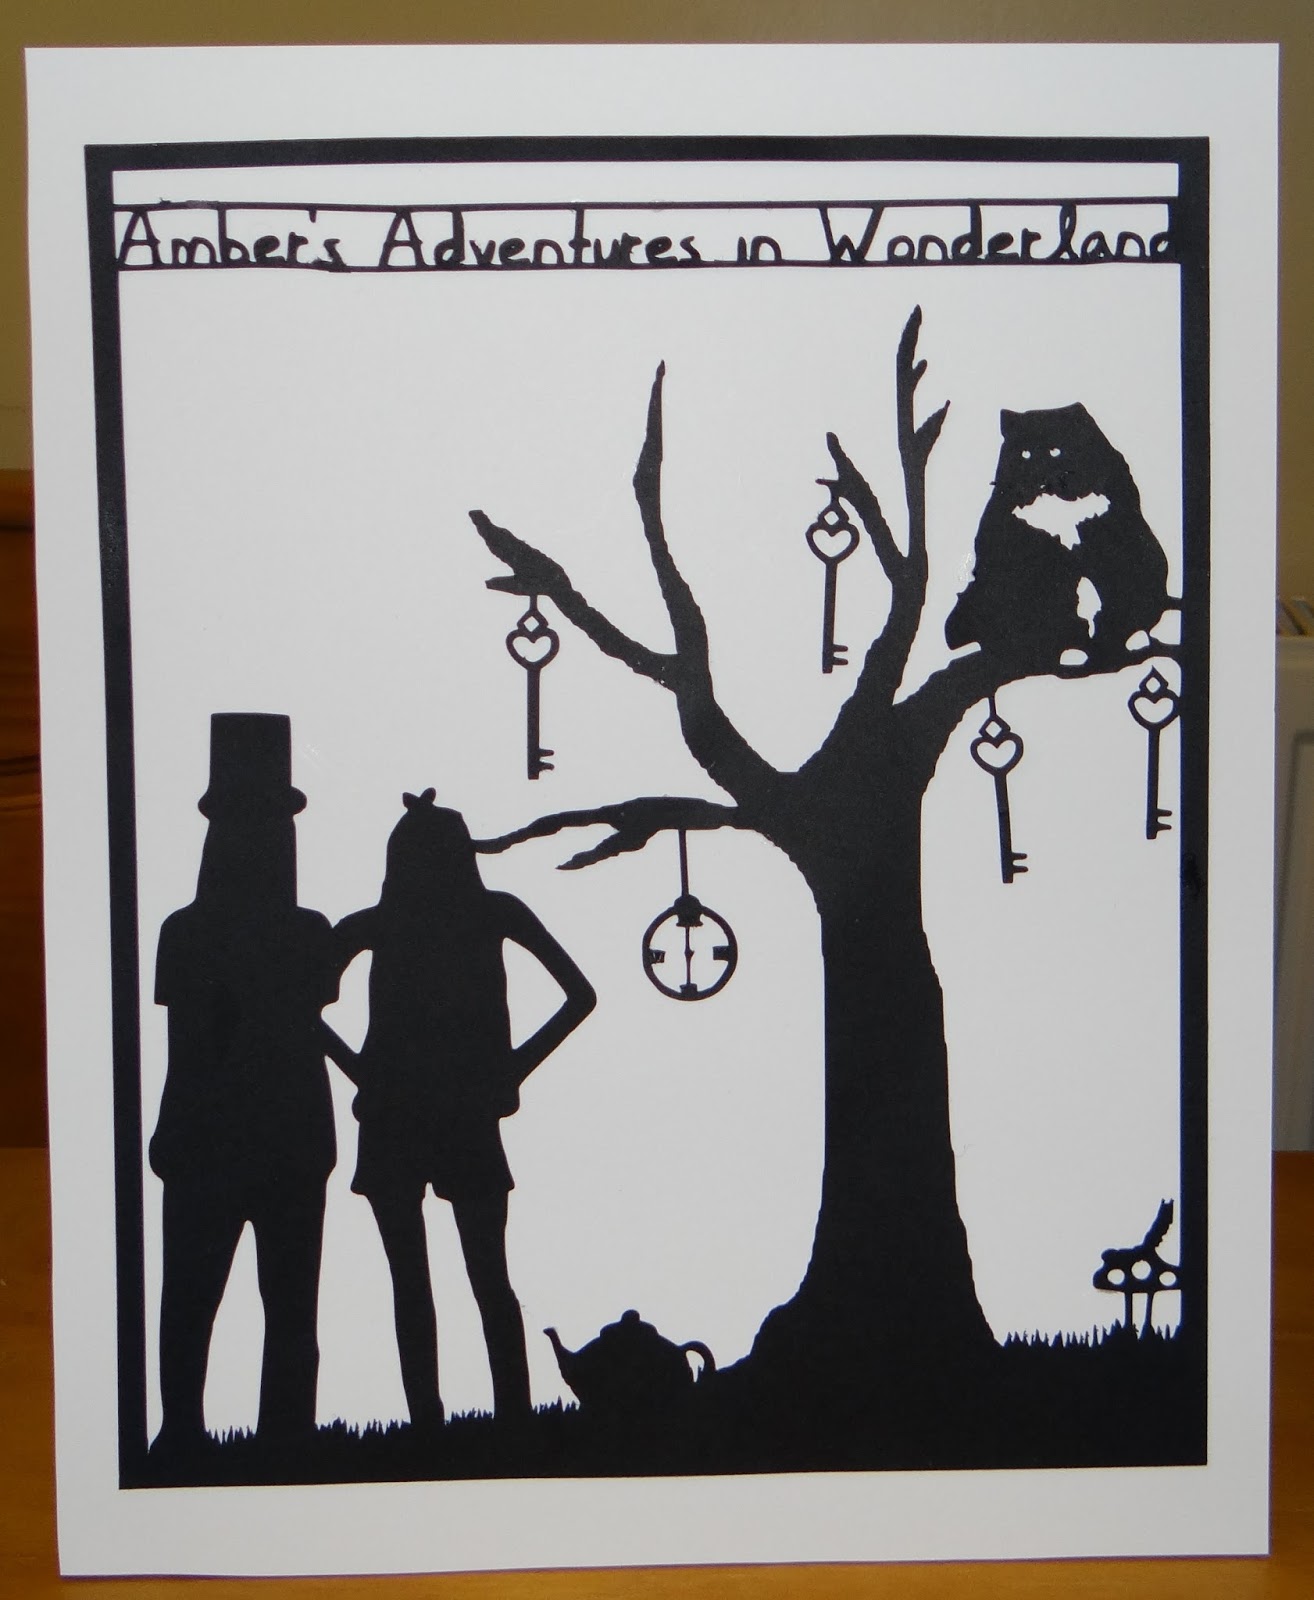
     Create silhouettes following the procedure outlined in the Silhouette Cake Topper post and cut out shapes to make a scene with them.  If you have a die cutting machine that allows you to import your own designs, such as the Silhouette Cameo, you can create a scene in a program such as Paint and have the machine cut it out for you.

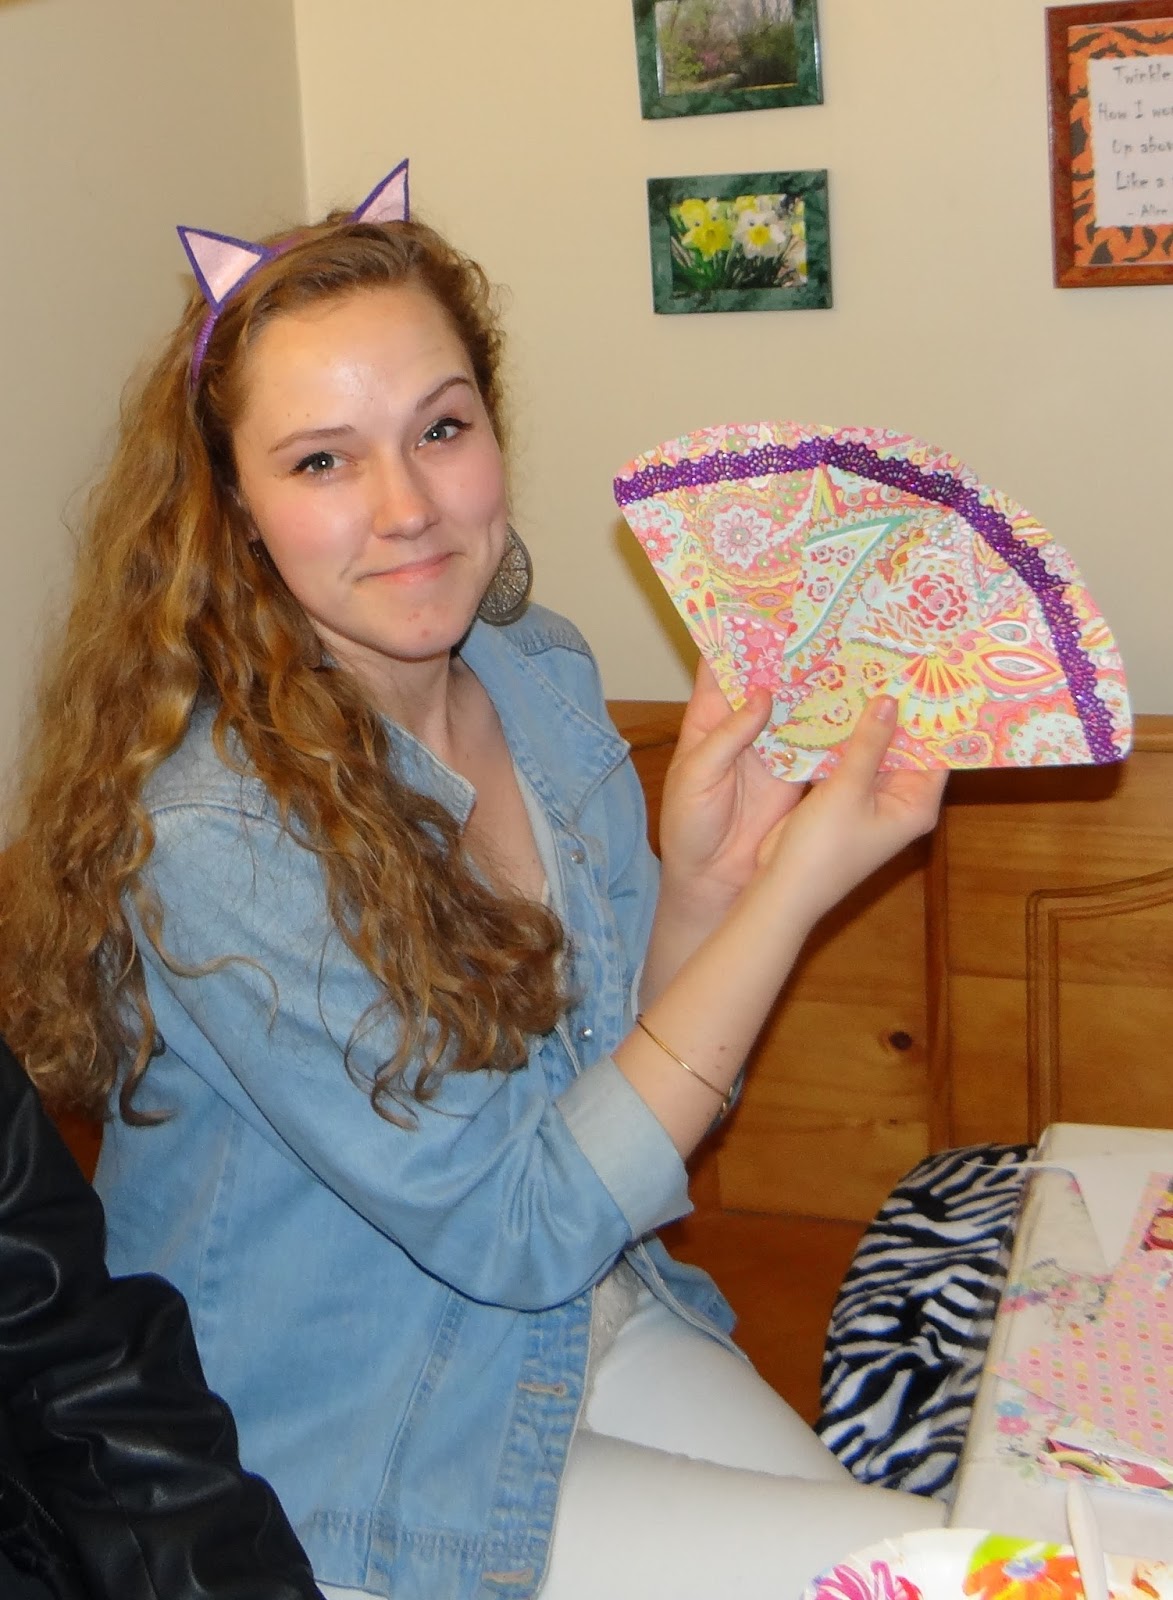
Wonderland Photo Shoot


     Have some of your friends dress up as Wonderland characters and take pictures.

Scrap flower


     I made this picture using the scraps from the paper teapot vases that my Cameo left behind and the petals from the red roses (since I printed the white rose template on red cardstock and so the leaves did not turn out green).

Thursday, August 6, 2015

Party Activity: Paper Fans


     Here is a fun, easy way to keep your party guests entertained.  They're more aesthetic than functional, but they're enjoyable nonetheless.

Materials:
*Fan template
*Pencil
*Cardstock in various colors and patterns
*Scissors
*Brads
*Hole punch
*Optional: stickers, rhinestones, or other embellishments

Directions:
*Print out a template for your fan blades.  I used this template I found online.
*Trace the fan blade shape onto the backs of the sheets of cardstock.
*Depending on the age of your partygoers, you can either cut out the blades in advance or have them cut them out on their own.  Each guest should choose about five blades.
*Once the blades are cut out and arranged as desired, line up the blades and punch a hole through all five at once.
*Slide a brad through the hole to hold the fan together.
*Decorate with rhinestones, stickers, and other embellishments.

Katie with the paper fan she designed.

Thursday, July 30, 2015

Party Activity: Decorating Paper "Teacups"


     Here is a fun party activity and a great way to make sure no one gets their drinks mixed up.

Materials:
*Paper cups
*Scissors
*Glue
*Cardstock
*Tape
*Crayons

Directions:
*Cut off the top and bottom of one paper cup and split it along the seam.  You should end up with a band that looks something like this (ignore the handles for now; they will come into play later):


Note: if you're using Hannaford paper cups, you might be able to skip this step and use my above template, but since there is no standardized shape for paper cups, it will not work for all brands.
*Trace it onto cardstock.  You can either trace it onto as many sheets as you want or you can trace it onto one and photocopy the rest.  Cut out the shapes.
*Create handles.  You can either print and cut out my handle design (see above) or create your own.
*Fold over the flaps on the handles.  Glue together the remaining portion of the handles, not including the flaps.
*Once the handles are dry, glue them to the paper cups to make them look more like teacups.  The handles are not necessarily durable enough to be used to drink and are there for aesthetics, so make sure the partygoers are aware of this.
*When the day of the party arrives, give each partygoer one of the strips of paper and some crayons or markers to decorate.  Once they are finished with their design, tape the paper to one of the teacups.

Thursday, July 23, 2015

Paper Clock


Materials:
*Patterned cardstock
*Gold cardstock
*Pencil
*Brad
*Scissors
*Glue
*X-acto knife
*Protractor (optional)
*Hole punch
*Gold number stickers (optional)

Directions:
*In a program such as Paint, create two circles, one as large as you would like your clock to be and the other about 1/2" less in diameter than the first.
*Print the circles and cut them out.
*Trace the bigger circle onto the back of each sheet of cardstock.
*On the gold sheet, center the smaller circle inside the big circle you have traced and cut out.
*Cut out your circles.  The patterned cardstock will give you the background for your clock and the gold one will give you its frame.
*Either print out numerals, trace them onto the gold paper, and cut them out (I went this route and it was rather time consuming) or get some gold number stickers.
*Using your protractor (or by eyeballing it), mark out at the edge of the background clock piece in pencil every 30 degrees.
*Adhere your numbers to the clock at the 30 degree intervals, making sure to place them about 1/2" away from the edge.
*Glue on the frame.
*Print out two copies of the key template from my Key Bookmarks and Centerpiece post, with one key larger than the other.
*Cut out the keys, using an X-acto knife when necessary.  Instead of cutting out the diamond shape at the top, however, fit the two keys together diamond to diamond and punch a hole through them.
*Slide a brad through the keys.  Find the center of the clock and push the brad through it.  Adjust the key shaped hands until they reach the desired positions on the clock.

Thursday, July 16, 2015

Key Bookmarks and Centerpiece


     These key bookmarks make lovely party favors.

Materials:
*Gold cardstock
*Ribbon
*Pen
*Scissors
*X-acto knife
*Ribbon
*Vase
*Marbles
*Branch

Directions:
*Print out a copy of the key template below.  Alternately, if you have a Silhouette CAMEO or some other sort of die cutting machine that allows you to import designs, you can import the template and let the machine do all the work.


*Cut out the key shape and trace it onto the back of the sheet of gold cardstock as many times as you would like bookmarks.
*Cut out the keys, using an X-acto knife for the fine details.  If you're doing this by hand, as I did, it could take quite a while, depending on the number of keys you want.
*Cut off lengths of ribbon and tie them through the tops of your keys.
*Place the branch inside the vase and fill the vase with marbles or accent gems heavy enough to hold it in place.
*Hang the bookmarks from the branches to make a centerpiece for your party.

Thursday, July 9, 2015

Playing Card Streamers


Materials:
*Deck of playing cards
*Mounting tape
*Ribbon
*Scissors
*Tape

Directions:
*Cut 26 lengths of ribbon to the desired size and curl them if you would like.
*Using mounting tape, secure a piece of ribbon between two playing cards.  Repeat with the remainder of the ribbons and cards.
*Tape ribbons to the ceiling.

Thursday, July 2, 2015

Red and White Paper Roses


     Brian didn't want me buying artificial roses for my birthday party, so he promised to help me make paper roses.  He ended up making all four of the white roses and one of the reds, while I made the remaining three reds.

Materials:
*Cardstock in red and/or white
*Floral wire
*All purpose adhesive
*Rose template
*Scissors
*Pen

Directions:
*I got the template and instructions from elli.com.  They have an excellent pictorial tutorial that is easy to follow, but I did make a few modifications to it as I went along, which I will mention below.
*First of all, I substituted floral wire instead of bamboo skewers.
*Secondly, you'll notice there is no template for red roses.  I just used the one for white roses on red cardstock.  The only problem with this method is the leaves will not print correctly.  I eschewed leaves entirely, but if you do want to use them, you can print extra leaves onto white cardstock or you can trace the leaves onto green cardstock.
*Instead of hot glue, I used all purpose adhesive.  Brian tried using hot glue for the roses he made and it worked out all right, but I think the all purpose adhesive was easier to work with and it has held up just fine.
*To make the roses look more rose-like, I cut some of the bigger (four- and five-petal) rose pieces apart, adding in an extra set of two-petal pieces and multiple extra three-petal pieces.
*To give the roses more of an Alice in Wonderland vibe, you could try mixing together red and white pieces when constructing your roses.
*For instructions on how to make the teapot vase these roses are in, see last week's blog post.