Saturday, June 30, 2018

DIY Goosebumps Cups


Materials:
*Paper cups in green or purple
*Cardstock in green or purple (whichever color you didn't choose for your cups)
*Silhouette CAMEO (or scissors and a pencil)
*All purpose adhesive

Directions:

*Resize the template given below to your desired size, either in Silhouette Studio if you're using the CAMEO or in a word document if you're tracing by hand.


*Cut out as many slime logo shapes as you need using your desired method of either tracing and cutting out with scissors or using the CAMEO.

*Glue one half of the logo to a paper cups.

*Align the other half along the cup and glue down.

*Let cups dry completely before handling.

Saturday, June 23, 2018

Oozing Steps


Materials:

*Green cardstock
*Pencil
*Glue or double sided tape
*Packing tape
*Scissors

Warning: If you have painted steps, tape may feel off the paint.  Adhere at your own risk.

Directions:

*Sketch slime drip shapes onto pieces of cardstock, making sure that the end of one sheet overlaps with the beginning of the next.  The number of sheets needed will vary based on the width of your steps.

*Cut out the slime shapes and connect them using glue or double sided tape.

*Adhere the slime to your steps using packing tape.  Make sure your steps are relatively clean first, or else the tape won't stick.  If you have concrete steps like I do, you may want to place some tape over the area you are planning to stick your slime to and peel it off to remove any excess dirt.  If you have painted steps, you may want to try using some sort of adhesive that won't damage paint instead of packing tape to hold up the slime.

Friday, June 15, 2018

Goosebumps Purple Peanut Butter


     Purple peanut butter appears in the Give Yourself Goosebumps book Beware of the Purple Peanut Butter.  I thought it would be fun to recreate this snack for my Goosebumps party and it worked out better than I expected.  In the book, the purple peanut butter tastes like peanut butter and jelly, so you could try adding some grape jelly to your purple peanut butter if you want a snack that's more true to the book.  I'm not a jelly fan and neither we're a few of my guests, so I didn't add jelly, but if you try making it with jelly, I'd be interested to know how it comes out.


Ingredients:

*Peanut butter of your choice
*Purple gel food coloring
*Pink gel food coloring

Directions:

*Place the desired amount of peanut butter in a mixing bowl.

*Alternate adding purple and pink food coloring until you reach your desired shade of purple.  The pink is really important to this process.  If you try using just purple, you'll end up with a black-brown color.

*Serve on crackers, in sandwiches, or however you wish.

Saturday, June 9, 2018

Mock Goosebumps Cover Design Contest


     Looking for a fun, easy activity for your Goosebumps themed party?  Host a cover design contest.  Print out copies of the template given below and hand them out to your guests along with some colored pencils and then sit back and watch the creativity flow.

Template


     Note that if you print this template at the size of an actual Goosebumps cover, it will come out a little pixelated.  Scholastic used to offer a free, printable template on their website, but when I went there while I was planning my party, I couldn't find it anymore.  I threw this together and even though it's a little fuzzy, that pixelation didn't seem to detract from the activity any.

Sample Covers


     These are the cover designs my guests came up with.  When it came time for us to vote, many of us had trouble ranking them because they were all so good.  Katie's Cat Got Your Tongue (pictured at the top of the post) scored a very narrow victory.

Thursday, May 31, 2018

DIY "Slime" Cake


Materials:

*Cake of your choice
*Icing (such as Brian's icing, recipe in this post)
*Green food coloring
*Yellow food coloring
*Zip lock bag
*Scissors

Directions:

*Prepare cake as you normally would.

*Once the cake is cool, frost it with a thin layer of icing.  The less icing you use in this stage, the more you'll have for the "slime."

*Take the remaining icing and add a few drops of green food coloring and a few drops of yellow.  Mix until the icing is a consistent color.  Add more food coloring as needed, until the icing reaches the desired color.

*Spoon the icing into the zip lock bag.

*Snip a tiny hole in one of the bottom corners of the bag.  This is where you'll be pouring the icing from.  It's best to make the hole as small as possible and then enlarge if needed.

*Squeeze icing along the top edge of the cake, forming "drips" of "slime."  This technique is similar to the one we used for my melted crayon art cake.

*Once you've finished with the slime drips, use the remaining icing to frost the top of the cake.

Wednesday, May 23, 2018

Goosebumps Birthday Party

     As a 90s child, I adored the Goosebumps series, especially the Give Yourself Goosebumps books, in which the reader picked the ending.  I decided to throw a Goosebumps themed birthday party, complete with an interactive Give Yourself Goosebumps style game.  I've had many fun birthday parties, but I think this one was the most fun one yet.
     Over the next few weeks, I'll be sharing how I designed the crafts, games, and snacks for the party.  For now, though, here's an overview of the party.
     One nice thing about throwing a Goosebumps party was that it gave me an excuse to use some of my Halloween decorations.  That meant I had fewer decorations I had to make.


     First up are the outdoor decorations.  I brought out my "beware of werewolf" display again because there are werewolves in several Goosebumps books (e.g., Night in Werewolf Woods, Werewolf of Fever Swamp).  I also brought out the zombie garden gnomes because I'm pretty sure there was a Goosebumps book about killer garden gnomes (it turns out it's called Revenge of the Lawn Gnomes), so the statues seemed fitting.


     Cemeteries are featured in several Goosebumps books (e.g., Curse of the Creeping Coffin), so I dragged my foam tombstones out of storage.  I'm pretty sure my neighbors were probably wondering why I had a cemetery in my yard in the middle of May.  I also added the eyeball path markers because they're fun.


     The only new decoration I made for the outdoors was the slime for the front steps.  The steps were pretty dusty, so it took several applications of packing tape before I got the slime to stay up.


     Inside the house, I had two main setups, both relating to the story I wrote for my interactive game in one way or another.  First up is the mad scientist setup.  The test tubes and beakers all came from Target and we're part of my existing Halloween decorations.  The test tube shot glasses came from Party City.  The holes around the shot glasses were very tight, so I cut off the top of the original holder and made one with larger holes from cardstock.  I then painted the holder black.


     The other setup was the magic setup.  Again, most of the potions and whatnot I already had (see these four posts for more on the potion bottles).  I added some cardstock to the inside of an olive jar to make a vase for the dried flowers.  The monster blood was also new, although I'll write more about that in a later post.


     The cutlery, napkins, and plates came from Party City.  I chose neon green because monster blood is green in the books.  I decorated some of the cutlery with dripping glitter "monster blood."  The snack you see there is purple peanut butter on crackers, a reference to the book Beware of the Purple Peanut Butter.  We also had four kinds of pizza: cheese, pickle, Alfredo, and an everything pizza.


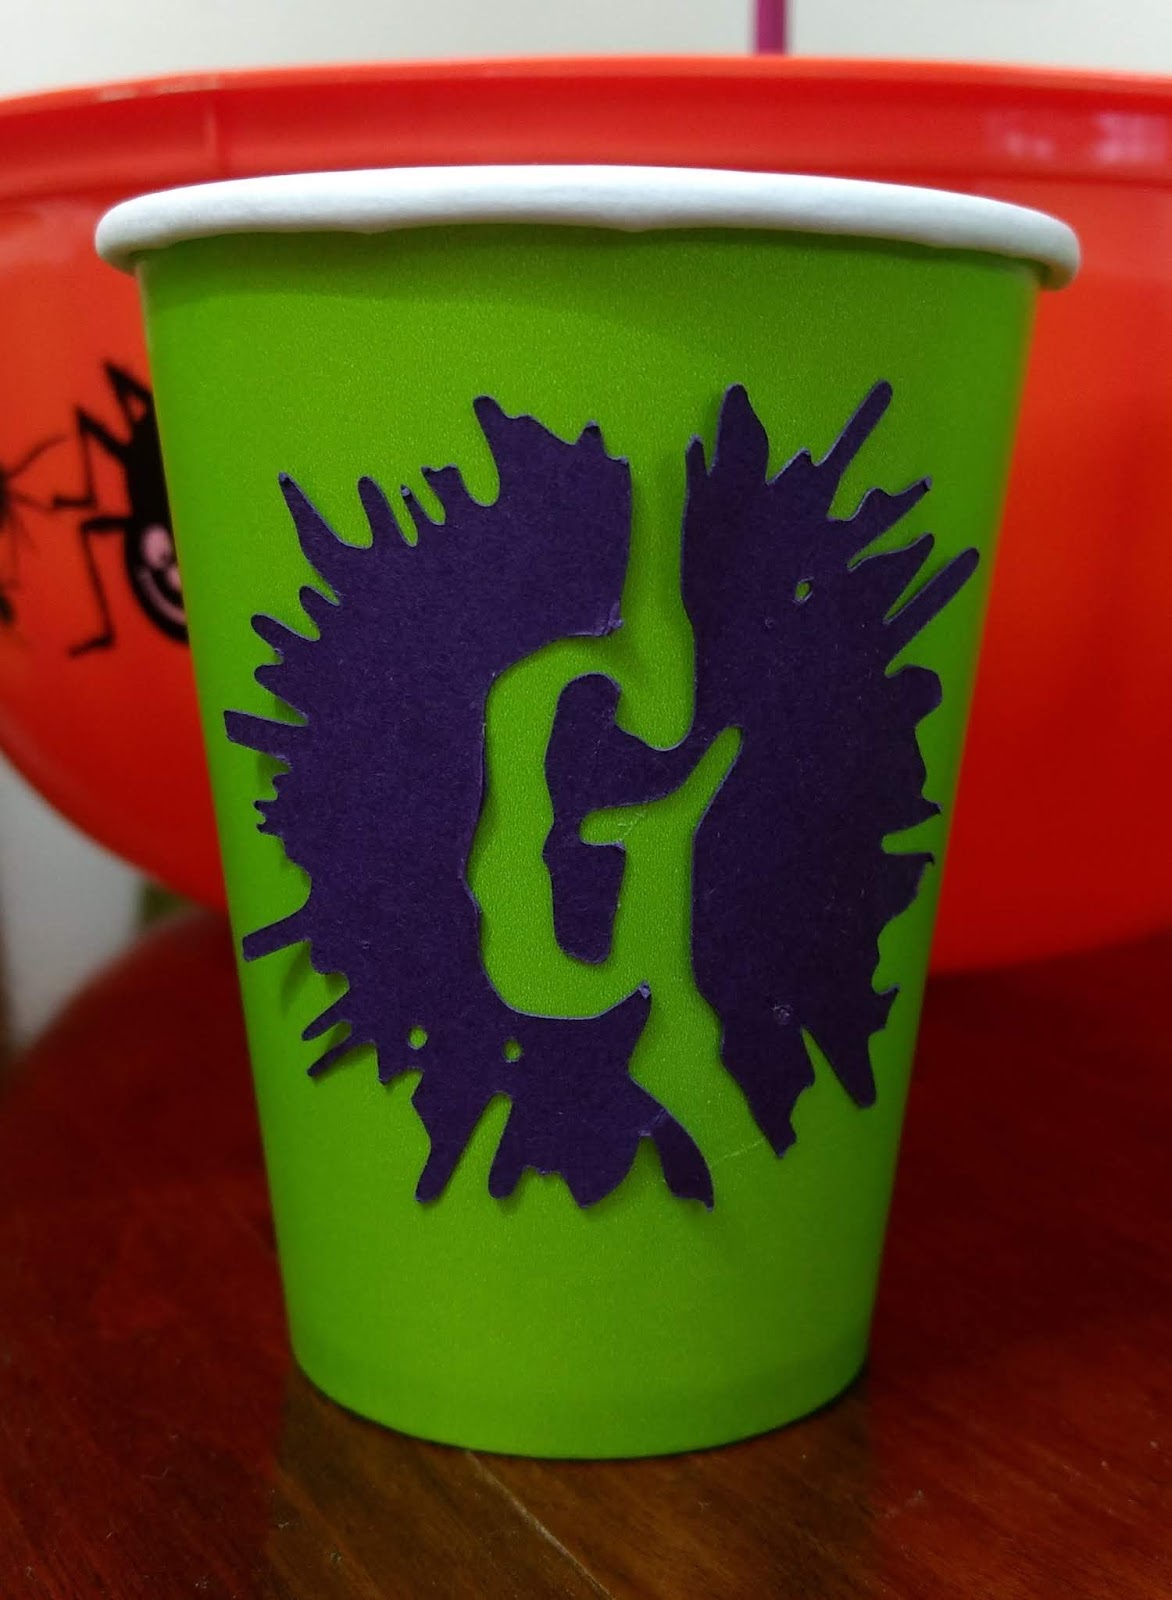
     Here is the punch setup.  The cups came from Party City, but I decorated them using cut outs I made with my Silhouette CAMEO.  I think I got the bowl from Dollar Tree, although that was ages ago, so I'm not sure.  I got the Nessie ladle from Amazon.  I had been wanting to get one for a while now, so this was the perfect excuse.  People thought Nessie was adorable.  The "punch" was just Sprite Zero with green food coloring.


     After people had their pizza, we played my Give Yourself Goosebumps style game.  The premise is this: You're at your friend Amber's Goosebumps themed birthday party and decide to have some punch.  Suddenly vines start growing from your body.  It seems like you're turning into a plant.  You can choose from items in the mad scientist setup or the magic setup to try to return to your human form.  Here my guests are turning into plants.


     They ended up choosing a story line involving Brian the dark sorcerer.  They decide to take Brian's wager and roll for a chance to be returned to their human form.


     After the game, we had a Goosebumps cover design contest.  The entries we're all excellent, but Katie's "Cat Got Your Tongue" scored a narrow victory.  She won a holographic cover edition of the story I wrote for the party.  Everyone else got a copy of the story as well, just without the shiny cover.


     We had a photo shoot against this spooky backdrop Brian picked up on Amazon.


     Next we had cake and ice cream.


     I set up an "I scream" lab, where people could add spooky colors or toppings to their ice cream.
     I was planning on having a costume contest to win a vial of monster blood, but since Brian and I were the only ones who dressed up, we had a Goosebumps trivia contest instead.  I brought out my Give Yourself Goosebumps books and people would grab whichever book they thought answered the question.  The first question, which no one answered correctly, was what was my favorite Goosebumps book when I was a kid?  (Correct answer: Deep in the Jungle of Doom.)  The second question, which Ken answered correctly to win the monster blood, was which Give Yourself Goosebumps book did the Veazie school library have when I was a kid?  (correct answer: The Curse of the Creeping Coffin.)
     I had a ton of fun hosting this party and I can't wait to share all these crafts, games, and snacks with you.

Thursday, May 17, 2018

Non-Transitive Dice


     Non-transitive dice are a fun take on traditional dice.  You may recall from algebra class the concept of transitivity from algebra class, probably expressed to you in a statement like this: if a>b and b>c, then a>c.  If something is not transitive, then if a>b and b>c, a is not necessarily greater than c.
     The way non-transitive dice work is that each die in the set has a certain probability of having the higher value when rolled against another die in the set.  If one person picks a die, there is another die in the set that is likely to outscore the first die when both are rolled.  Thus if you pick second, you can skew the odds in your favor.  To see examples of how some non-transitive dice work, including the ones discussed in this post, see this page.

Materials:
*Paint in the colors of your choice
*Paintbrush
*Wooden blocks
*Pen

Directions:

*Paint the wood blocks in whichever color or colors you would like.  Let dry.

*Dip the end of the pen in paint of a different color and press against the wooden blocks to make the numbers.