Thursday, June 16, 2016

Paper Chandelier


     I love the aesthetic of chandeliers.  Unfortunately, in my apartment we can't really hang anything heavy from the ceiling.  My solution was to create a paper chandelier, based on the chandeliers shown in Stanley Kubrick's 1980 movie adaptation of The Shining.

Materials:
*Cardstock in black, white, yellow, and orange
*Scissors
*Pencil
*All purpose adhesive
*Twine

Directions:
*Size the below template to your desired size and print it out.


*Cut out the template pieces.  Trace 8 copies of the main chandelier piece onto black cardstock, 5 copies of each candle type onto white cardstock, 40 copies of the bigger part of the flame onto orange cardstock, and 40 copies of the smaller part of the flame onto yellow cardstock.  Cut everything out.
*Glue the two flame pieces to each of the two sides of each candle.
*Glue each candle to one of the appropriate spaces on the chandelier.  Once all the candles on a segment are glued down, glue another copy of the main chandelier piece over the side with the ends of the candles exposed.
*Once all of the segments are finished, glue them together to form the chandelier.
*Cut off two lengths of twine several inches longer than the diameter of the chandelier.  Glue (or tape) one end of the first length to the inside of the chandelier.  Glue the other end to the inside of the chandelier across the diameter from the first end.
*Glue the ends of the second string again across the diameter from one another, perpendicular to the first segment.
*Tie some twine around the intersection of the two strings and use this length of twine to hang up the chandelier.

Thursday, June 9, 2016

Metallic Vase


     Turn a thrift store glass vase into a shiny centerpiece with a little spray paint.  For instructions on how to make the paper roses, see this post.

Materials:
*Vase
*Krylon Looking Glass spray paint

Directions:
*Find an old vase in need of a makeover or pick up a cheap one from a thrift store or a yard sale.  I got this one from Goodwill for $1.
*Choose a work space in a well ventilated area and cover your workstation with newspaper.


*Spray the outside of your vase, following the directions on the spray paint bottle.  If you want a more mirror-like finish, you could try painting the inside instead of the outside, although that would probably work best for a less curvy, wide necked vase.
*You'll need to apply multiple coats to get the metallic appearance.  However, some of the more transparent stages can be really neat looking too.  I wanted mine solid colored so the floral wire "stems" would be less visible, but if you don't mind translucence, you can always do a couple of coats instead of five.  You'll end up with something kind of like this:


Thursday, June 2, 2016

The Shining 1940s Masquerade Party

     My favorite movie has been, since it was released as a miniseries when I was six, Stephen King's The Shining.  Yes, that's right, the 4 1/2 hour adaptation that basically only the Master of Horror himself and I think is superior to Stanley Kubrick's 1980 film.  This is not to say that Kubrick's film is bad because it isn't; it's just an entirely different story.  It is to King's novel as a "based on a true story" horror movie is to the actual events that transpired.  At any rate, I love The Shining in its various incarnations: King's movie, King's novel, and, to a lesser extent, Kubrick's film, and I thought it would be neat to host a party themed around it.  I also love masquerades and have a fondness for Glenn Miller (due to my early experiences with The Shining, I imagine), so since there's that masked ball in The Shining, I decided to couple these ideas.
     Over the next few weeks, I'll be sharing the details of how I made the various crafts for this party.  I rewatched both movies in preparation for this and you will find elements of each as well as the book throughout these posts, although there is a stronger preference for King's work in my crafts.  Think this theme is too creepy for a birthday party?  The Shining could also serve as a good theme for a Halloween soiree.  If you're more interested in the masquerade part, there'll be posts on that too.  But now, without further ado, we turn to my party.


     Here's the centerpiece I made for the party.  Brian helped me with the paper flowers (for a tutorial, see this post).  They're there because I thought that a floral centerpiece seemed fitting for a masquerade.  The "one day at a time" sign is a paper replica of the one Jack Torrance had on his desk in Stephen King's version of the movie.  Beside the vase is an invite, a replica of the one Jack finds in the hotel scrapbook, also in King's version of the movie.  The tablecloth Brian made from fabric we picked up from Joann.  I got it because it looked pretty and kind of fancy, not because it directly related to either movie.


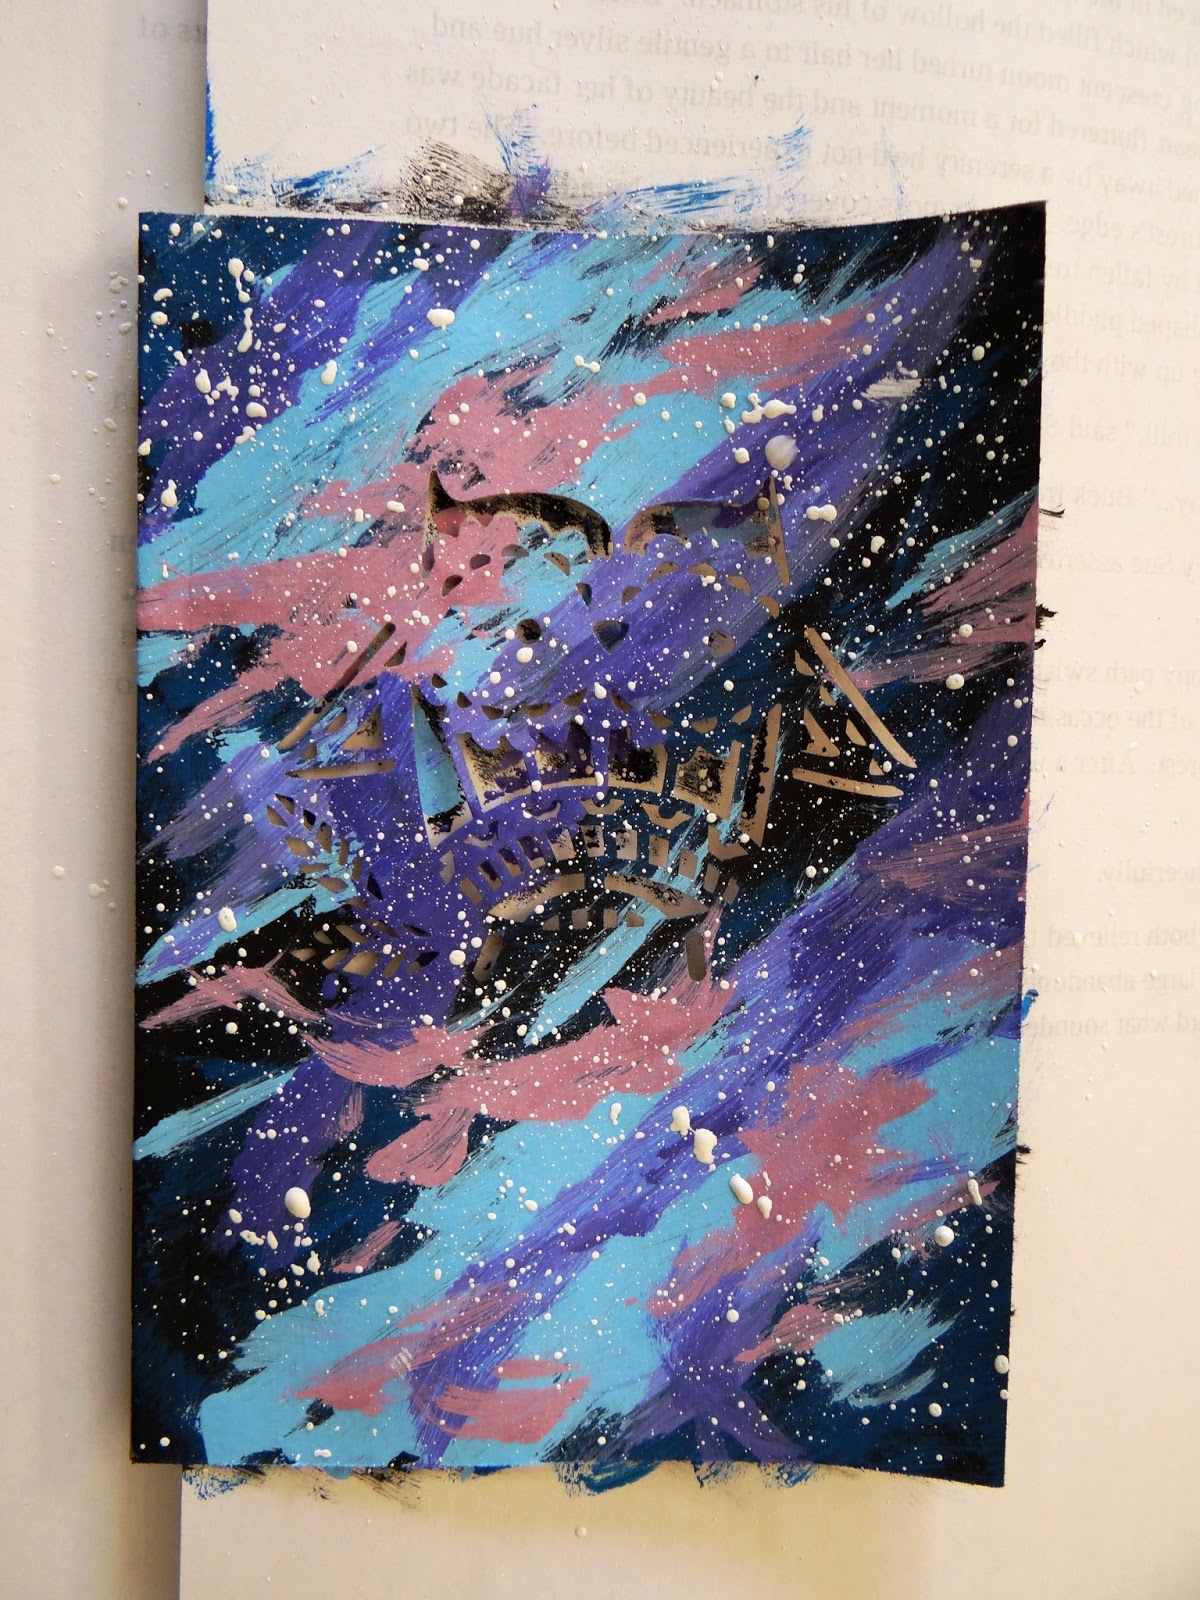
     Here's the "art gallery" I created to take the place of the usual family portraits we have adorning our walls.  At the end of Stephen King's movie, Wendy talks about the art gallery she has opened.  I decided to use horror themed art because Kubrick's version of Wendy is a horror "addict"and because it seemed fitting.  Most of the pieces were ones either I or Brian had made in the past, but the second and third from right I made for the party.  In this pic you can also see the paper chandelier I made.  That one's based on the ones they have in Kubrick's movie.  We can't hang anything heavy from our ceiling, so basically if it can't be held up with plain old Scotch tape, it doesn't go up.  A paper chandelier was the perfect solution to this conundrum.


     If you've only seen Kubrick's movie, you won't understand the horror of this number, because in his film it's Room 237, the room in which the tub ghost resides.  Since the lady who scared the wits out of me as a child was tucked inside Room 217, that is the room number I chose for our bathroom.


     No matter which version of The Shining you're familiar with, I'm sure you'll recall the phrase "redrum."  Wendy learning the meaning of the phrase through seeing it reflected in the mirror was done in Kubrick's version of the film.  It may very well have also been in the book, although I can't remember for sure.


     There's Brian as Jack with his roque mallet.  The roque mallet is from the book.  In King's movie it's a Denver Croquet mallet and in Kubrick's movie Jack goes with an axe.  For the streamers, I used the same color scheme as the ones draped from the ceiling in the masquerade scene from King's movie.


     I wanted some classier looking tableware than the standard plastic white forks.  Believe it or not, the plastic cutlery and paper plates came from Dollar Tree.  The champagne flutes were from Party City.  They were a bit pricey, but they look nice.  We used diet ginger ale to imitate the look of champagne.


     Here we are, snacking on Brian's famous homemade pizza.


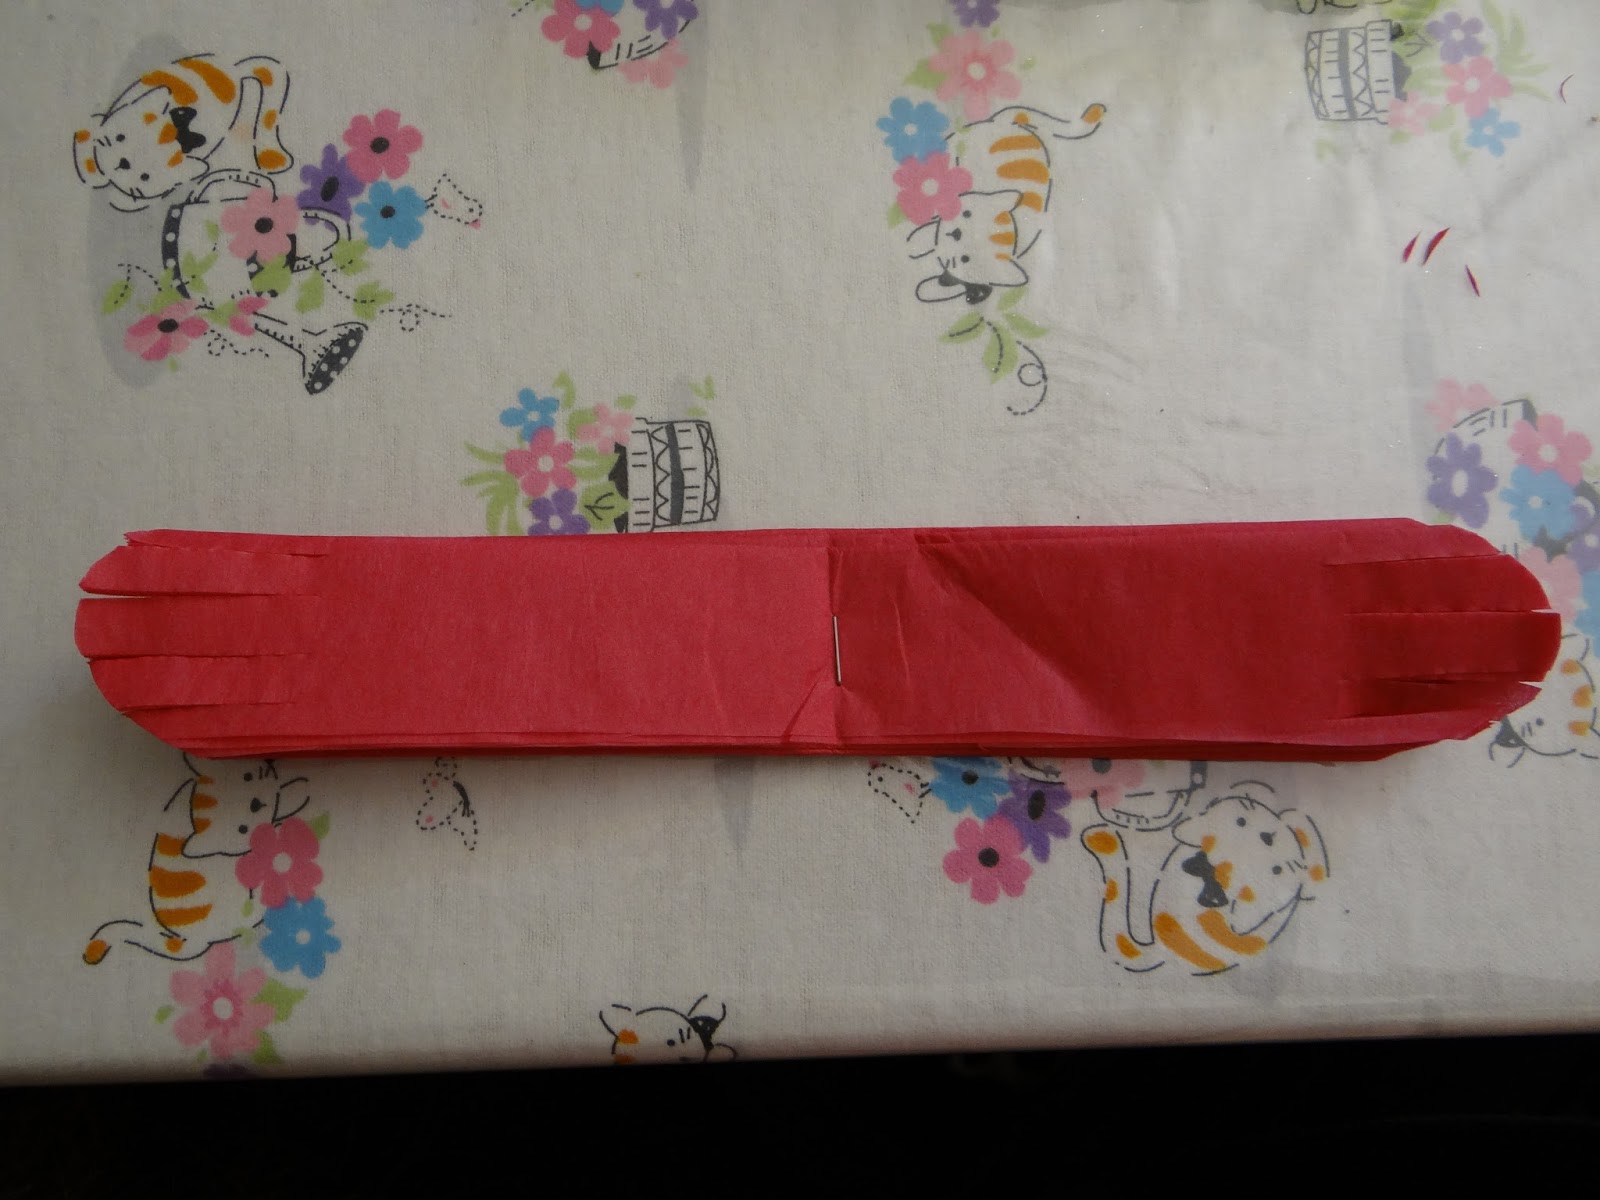
     For a party craft, we made paper masks.  It was actually pretty easy to facilitate and people seemed to have fun.  Even dad joined in.  Also, you can see my tissue paper pom poms in the background.  They felt like something you might see at a masquerade.


     Cake time!  You can't really see the decorations in this pic, but I'll have better pics in a subsequent post.

Thursday, May 26, 2016

Tissue Paper Flower Garland


Materials:
*20" x 20" sheets of tissue paper in 3 colors of your choice, four sheets of each color for a total of 20 sheets.
*Twine
*Stapler
*Scissors

Directions:
*Cut each sheet of tissue paper into four 10" x 10" squares.  Each set of four squares will make one flower.
*Fold four sheets together accordion style, using 1.5" folds and then staple the midpoint of the folded paper.


*Shape the ends.  I used three different styles for the ends to get three different floral looks (the rounded edges are used for this tutorial; see the other styles toward the bottom of this post), but feel free to experiment with different cuts.


*Spread out one side like this:


*Carefully peel up the first layer of tissue paper, pulling it toward the staple.


*Then lift the second layer.


*Next lift the third layer.


*Finally push up the bottom layer a bit.


*Repeat the process with the other side.  Fluff and spread the layers/petals until you have an arrangement you're happy with,


*Here are the other two petal styles and their resultant flower shapes:


*Once you've made all of your flowers, staple the backs to the twine.


*Once all of the flowers are attached, string them up.  Now you have a flower garland.

Thursday, May 19, 2016

Paper Flower Candle Holder


     Looking for a way to make plain, LED tealight candles look nicer?  Add a paper flower candle holder.  This incarnation of the craft can be somewhat time consuming because it requires cutting out all of the detailed areas, but if you don't cut out the detailed areas you could have a much faster and still pretty flower holder.  I got my inspiration for this craft from this site.

Materials:
*2 sheets of copy paper in color of your choice
*Double sided tape
*Scissors
*X-acto knife
*LED tealight candle (you could probably use a regular candle as well, as long as it was in a glass holder so you minimize the risk of burning the paper)

Directions:
*Size the below template so that your tealight candle would fit in the center of the smaller flower and then print out and cut out the template, using your X-acto knife to cut out the detailed regions.


*Trace two copies of the large template and one copy of the small template onto the copy paper and then cut out.  I took a shortcut on this step and used my Silhouette CAMEO to cut everything out.


*Bend up the petals on the smaller flower like this:


*Curl the petals of one of the smaller flowers like so and then tape the bottom of the smaller flower to the center of this larger flower.


*Curl the petals of the remaining flower a little and then tape the bottom of the two flowers stacked together to the center of this flower.


*Place the candle in the center and you're done!

Thursday, May 12, 2016

Galaxy Print Owl Cutout Notebook


     My sister gave me this adorable owl cutout notebook (I think she got it at Dollar Tree, so if you're looking for the exact notebook I used, that's a good place to check).  The plain brown cover was kind of boring, though, so I decided to spruce it up with some paint.

Materials:
*Owl cutout notebook (this will work for any notebook, but you won't have the owl cutout unless it's already a part of your notebook)
*Black, blue, purple, white, and red paints
*Paint sponge brush
*Regular paintbrush
*Aluminum foil (if your notebook has the cutout)
*Tape or glue (if your notebook has the cutout)

Directions:
*This is what the original notebook looked like:


*Cover your work space in scrap paper and tuck a sheet of paper beneath the cover to protect the top page from paint.


*Paint the cover black and then let dry.  (I took the picture while the cover was still partially wet, so that's why it looks like there are two different shades of paint there.)


*Sponge on patches of dark blue.  I took regular blue paint and added a little bit of black to get this shade.  Let dry.


*Add some light blue paint.  I mixed white and blue together to get this color.  Let dry.


*Add some purple.  You can see here that I used two different shades of purple, regular purple and a lighter purple which I made by mixing purple and white.  Let dry.


*Add some pink.  I made this dusty rose color by mixing a bit of purple with some red and a lot of white.  A more vibrant shade of paint might work nicely, though.  Let dry.


*Dip your paintbrush in white paint and flick it with your finger to create the stars.  You'll want to make sure your work station is well covered for this step.  Let dry.


*Once the cover has dried, pull out the sheet of paper you were using to protect the inside cover.  Tape or glue some aluminum foil behind the owl cutout for a shiny effect.  Alternately, you could use a contrasting color to really make the owl shape pop out from its surroundings.

Thursday, May 5, 2016

Popsicle Stick and Washi Tape Photo Frame


Materials:
*Popsicle sticks
*Washi tape
*Black and white photo
*All purpose adhesive
*Plain paper or paperboard (optional)

Directions:
*Lay out popsicle sticks long edge to long edge until you have enough to make a frame for your photo.
*Cover your popsicle sticks with washi tape.  For the sticks that I knew were going to be covered up by the photo, I just covered the ends to save on tape.


*Once you've finished adding tape, glue sticks together long edge to long edge.


*Glue down photo.
*For reinforcement, you can add some plain paper or some paperboard to the back of the frame.