
My sister gave me this adorable owl cutout notebook (I think she got it at Dollar Tree, so if you're looking for the exact notebook I used, that's a good place to check). The plain brown cover was kind of boring, though, so I decided to spruce it up with some paint.
Materials:
*Owl cutout notebook (this will work for any notebook, but you won't have the owl cutout unless it's already a part of your notebook)
*Black, blue, purple, white, and red paints
*Paint sponge brush
*Regular paintbrush
*Aluminum foil (if your notebook has the cutout)
*Tape or glue (if your notebook has the cutout)
Directions:
*This is what the original notebook looked like:

*Cover your work space in scrap paper and tuck a sheet of paper beneath the cover to protect the top page from paint.

*Paint the cover black and then let dry. (I took the picture while the cover was still partially wet, so that's why it looks like there are two different shades of paint there.)

*Sponge on patches of dark blue. I took regular blue paint and added a little bit of black to get this shade. Let dry.

*Add some light blue paint. I mixed white and blue together to get this color. Let dry.

*Add some purple. You can see here that I used two different shades of purple, regular purple and a lighter purple which I made by mixing purple and white. Let dry.

*Add some pink. I made this dusty rose color by mixing a bit of purple with some red and a lot of white. A more vibrant shade of paint might work nicely, though. Let dry.

*Dip your paintbrush in white paint and flick it with your finger to create the stars. You'll want to make sure your work station is well covered for this step. Let dry.
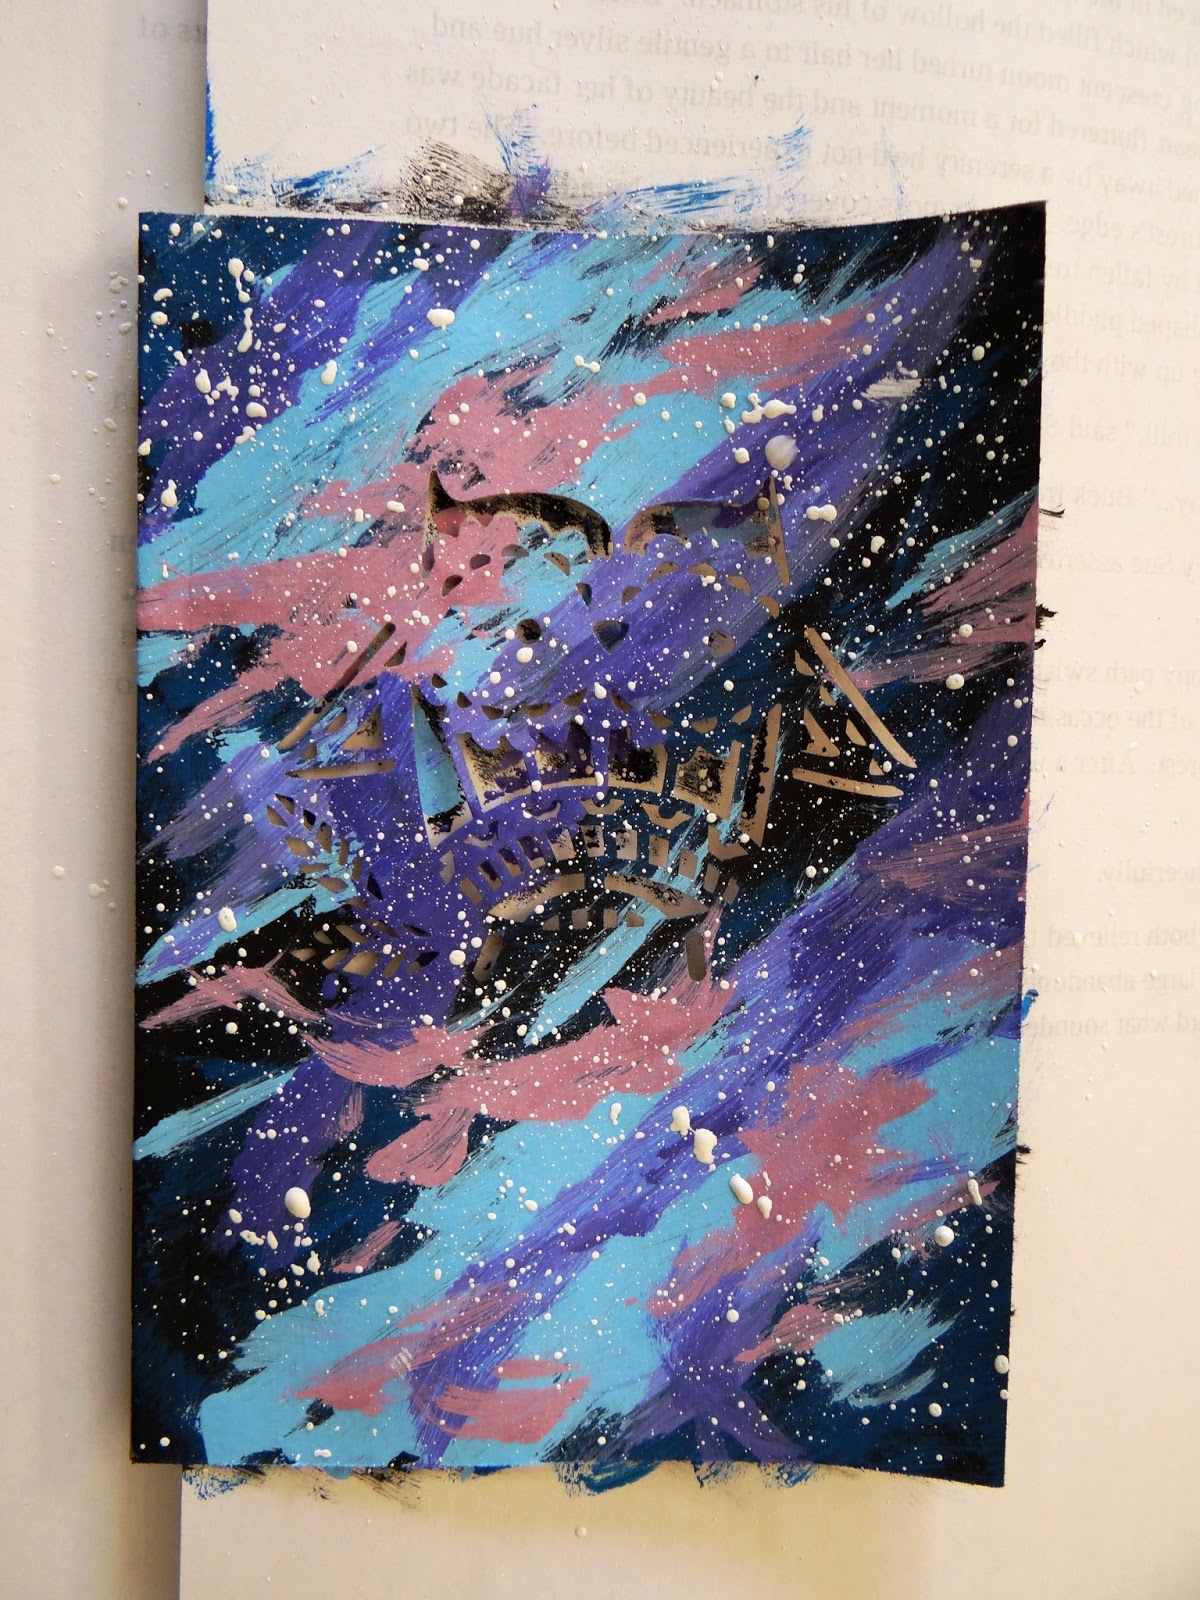
*Once the cover has dried, pull out the sheet of paper you were using to protect the inside cover. Tape or glue some aluminum foil behind the owl cutout for a shiny effect. Alternately, you could use a contrasting color to really make the owl shape pop out from its surroundings.
No comments:
Post a Comment