Showing posts with label Recycled Crafts. Show all posts

Thursday, March 17, 2016

Itty Bitty Books

This is roughly the actual size of the mini book I made.

Materials:
*Paperboard or other thin cardboard/heavy paper, such as an old cereal box, heavyweight junk mail, etc.
*Scrapbooking paper with small pattern
*All purpose adhesive
*Scissors
*Pencil
*Ruler
*Plain paper
*Paper to use for mini pages

Directions:
*Decide what size you would like your mini book to be.  The first books I made were about 3.5 cm high and a little more than 2 cm wide.  Draw two rectangles of the desired dimensions on your paperboard/cardboard to make the front and back covers and another, thinner rectangle to make the spine.  Cut out these three pieces.
*Lay out your rectangles on your sheet of scrapbooking paper, with the thin rectangle sandwiched between the two wider rectangles, and a slight gap of space between each piece, as shown below.  Glue the three pieces down.


*Cut around the rectangles, leaving about 1/4" or so of space around the edges of the cardboard and then cut off square chunks at the corners, as shown below.


*Cut slits at the top and bottom where the spine of the book is.  It's kind of hard to see in the picture below, so if you can't tell exactly what's going on, check out the picture after for further guidance.


*Fold over the overhanging paper at the sides and glue down.  Repeat with the pieces of paper at the top, ignoring for the time being the tabs at the spine.


*Glue down the tabs at the spine.


*Cut out rectangles of paper just slightly smaller than the size of the book covers and glue over the inside of the covers.


*Print out mini pages sized to fit in your book.  The way I did this was I opened up an old document in Word or Adobe Reader and then changed the view to display two pages at once.  I then took a screenshot of the two pages and pasted this into Paint.  I moved one of the pages up against the other so that there was no longer a gap between them and then I selected the two pages together and pasted them into Word.  I then shrunk them down to fit the book.  From here if you're not too concerned about the text you're using, you could just copy and paste the two pages a bunch of times, or you could take screenshots of different pages and repeat the procedure with those pages.

*Print out enough pages to fill your book.  This will vary depending on the thickness of the spine.  For this one, I used five copies of the stuck together two pages.  Cut out pages, leaving them stuck together in groups of two.

*Fold in half along the divide between the two pages.


*Place pages in a stack, gluing together the blank sides as you go.


*Glue along the spine and stick into the hardcover part.  Now you have your book!  Make a whole bunch of them!


Thursday, February 11, 2016

Easy Duct Tape Bookmark


     Don't throw away those old envelopes.  Turn them into bookmarks with a little duct tape.  If you liked my monster bookmarks and heart bookmark tutorial, this craft may be right up your alley.

Materials:
*Duct tape
*Envelope
*Scissors

Directions:
*Cut off a strip of duct tape and place it diagonally across one corner of your envelope.  This should be fairly straightforward if you're using solid colored duct tape, but if you are using patterned duct tape and want a particular part of the tape on the bookmark, it gets a little trickier.  I left the very tip of my bookmark untaped so I could fit the whole owl on there.
*Trim off excess duct tape, making sure not to cut open the sides of the envelope.
*Cut the corner of the envelope off along the bottom edge of the duct tape to create your bookmark.
*For a double sided bookmark, add a second strip of duct tape to the back of the bookmark and then cut off the excess tape.  You can use the same duct tape as you used for the front side or you can mix things up by adding a different color or pattern.

Thursday, January 7, 2016

Glitter Name Bottles


     I am a sucker for souvenirs with my name on them, so this summer when Coca-Cola released their name bottles, I was excited to find a couple with my name.  Brian suggested adding glitter to them to make them look prettier, so I decided to try that and it worked pretty well.  If you don't have any name bottles, some of the seasonal Coke bottles could look good with glitter, or any bottle you think looks cool but want to spruce up a little.
     The procedure for this craft is similar to that for making glitter ornaments, but the shape of the bottle makes it a little more challenging, so I decided to include a video tutorial.  Brian joins me again as my crafting assistant, so be prepared for more of his shenanigans.


Friday, November 27, 2015

Sales Flyer Snowflake Bows


'Tis the season for sales.  No doubt you've been inundated with countless flyers informing you of all the deals that are going on.  Instead of tossing them, use these brightly colored advertisements to make bows for your holiday gifts.  I got the idea for this craft from this site.

Materials:
*Sales flyers, magazine ads, or other brightly colored paper scraps
*Pen
*Drinking glass
*Scissors
*Brad
*Washer
*All purpose adhesive

Directions:
Note: for a video tutorial of how to make a six-pointed paper snowflake, see my Six Pointed Paper Snowflake tutorial.
*To create a six-pointed paper snowflake, choose a portion of the advertisement that you would like to use for your snowflake.  Place the glass over this space and trace around it to get a circle.


*Cut out the circle.


*Fold the circle in half.


*Fold over about 1/3 of the half circle, such that the resulting shape looks like two triangles of equal size.


*Fold the resulting shape in half to get this shape:


*Cut out triangles, semicircles, squiggly lines, etc from the folded shape.  Do not cut out the center.


*Unfold and you now have a paper snowflake.


*Repeat the above steps to create a second paper snowflake.


*Glue a washer to the center of one of the snowflakes and slide a brad through the center of the other.


*Slide the brad through the center of the second snowflake.


*Pull the two snowflakes together and fold over the prongs on the brad.  Now you have a colorful snowflake gift bow.


Thursday, May 7, 2015

Toilet Paper Tube Bowling

     I found this idea here.  Below are my slightly modified directions.

Materials:
*6 toilet paper tubes
*Duct tape in various colors/patterns
*Red duct tape
*Scissors
*Stress ball

Directions:
*Wrap toilet paper tubes in duct tape.
*Add a red band around the middle of each tube using the red duct tape.
*Use a stress ball or a similarly lightweight ball for the bowling ball.

Thursday, April 23, 2015

Bottle Cap Refrigerator Magnet


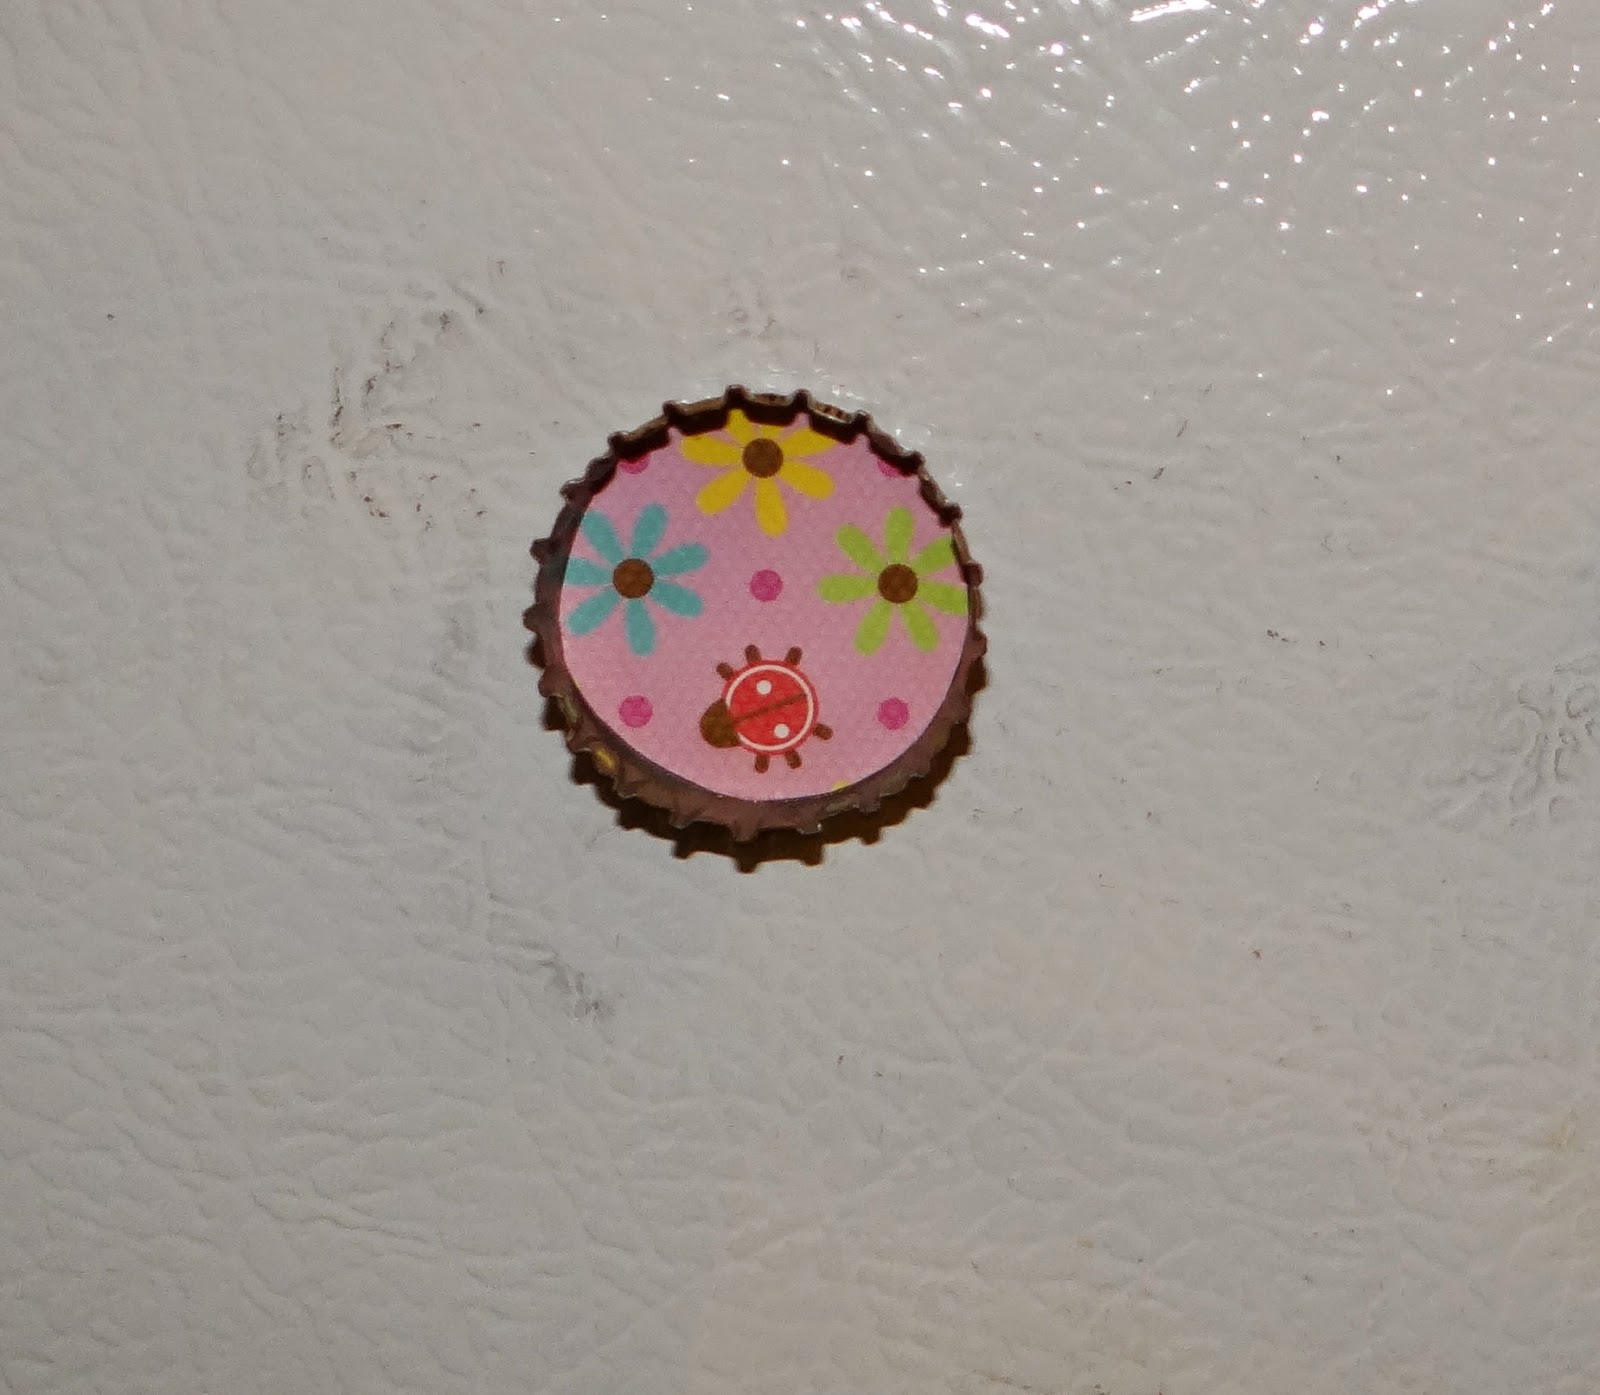
     These magnets are adorable, easy to make, and are a great way to use up any bottle caps you have kicking around.  It's a great craft for all ages.  I used to make them with my mom when I was a kid.

Materials:
*Bottle caps
*Patterned paper
*Mod Podge
*Self-adhesive magnetic backing
*Pencil
*Scissors
*Paintbrush

Directions:
*Place the bottle cap onto the patterned paper and trace around it to form a circle.
*Cut out the circle.  Check to see if it will fit inside the bottle cap.  If not, trim it a little more until it fits.
*Coat the inside of the bottle cap with a layer of Mod Podge to even out any unevenness in the bottom of the cap.  Set it aside to dry for 24 hours.
*Once it is dry, dab some more Mod Podge across the bottom of the bottle cap and add the picture.  You can then either coat the photo with a layer of Mod Podge or leave it as is.  Set it aside to dry.
*Once it's dry, add a piece of magnetic backing to the back of the bottle cap.

Thursday, December 4, 2014

Recycled Wrapping Paper Christmas/Winter Garland


     Have some leftover wrapping paper scraps from last year kicking around?  Make yourself a fun, seasonal garland.  If you don't have some already, you can wait until after you've opened your presents and either get a head start on next year's holiday crafting or use winter themed paper instead of Christmas specific paper.

Materials:
*Patterned or character wrapping paper
*Large and small circle templates (I traced around a large and small drinking glass)
*Cereal box or similar cardboard
*Holographic self-adhesive laminate (or holographic wrapping paper)
*Scissors
*Ribbon
*Glue
*Pen
*Circular hole punch

Directions:
*Trace the small circle onto the patterned or character wrapping paper such that you end up with 12 circles and then cut out the circles.
*Trace the medium circle template onto the cereal boxes, making 12 circles in total, and cut out the circles.
*Trace the medium circle template onto the holographic laminate or paper to make 12 circles and cut them out.
*Adhere holographic paper to one side of each of the cardboard circles.
*Glue a piece of patterned wrapping paper to the center of each of the cardboard circles over the holographic paper.
*Punch a hole in the top of each circle.
*Align the circles, spacing them out as far apart as you would like them to be for the garland.
*Cut a length of ribbon several inches longer than the span of the aligned circles.
*Slide one end of the ribbon an inch or so through the hole in the last circle in the line and tie it in place.
*Slide on the second to last circle, spacing it the desired distance from the last one, and tie in place.  Repeat with the remaining circles.

Thursday, November 6, 2014

Family is Love Fall Leaves Journal


     To me, Thanksgiving is all about family.  When I was brainstorming ideas for Thanksgiving crafts, I wanted to find some way to incorporate this notion.  I had seen someone make glitter edged book print leaves and had some issues of the Bangor Daily News kicking around.  I had helped my sister and the student group she's a member of, Maine Business School Corps, put on a march against domestic violence and I had needed a couple copies of the paper to scrapbook the story they did on the event.  The red edged leaf actually has text from the story, which I thought would go along well with the family theme.  Anyway, this is what I came up with.

Materials:
*Glitter in 3 different fall colors
*Spiral bound notebook
*Glue
*Newspaper
*Small black and white family photos
*Silver gel pen
*3 different leaf templates
*Pencil or ballpoint pen
*Scissors

Directions:
*Cover your workstation in newspaper.
*Trace the leaf templates onto the newspaper and cut out.
*Add glue around the edge of one of the newspaper leaves and then cover it with glitter.  Set aside to dry.
*Repeat with the other two leaves.  Once the leaves are dry, shake off excess glitter and pour it back into the container.
*Print out small, completely desaturated photos of your family, however you choose to define family.
*Arrange the photos and the leaves on the notebook cover and glue down.
*Brainstorm a list of what family means to you.  Using the silver gel pen, write out that list, starting with "Family is . . ." followed by the various items.  Mine says, "Family is . . . hugs . . . hope . . . togetherness . . . memories . . . past . . . future . . . joy . . . sharing . . . acceptance . . . transcendence . . . respect . . . chaos . . . friendship . . . trust . . . compassion . . . guidance . . . silliness . . . support . . . messy . .  . wisdom . . . strength . . . a helping hand . . . good times . . . hardships . . . remembrance . . . a choice . . . celebration . . . holidays . . . traditions . . . always changing . . . home . . . stories."
*Toward the center of the journal, write "Family is love."

Thursday, July 3, 2014

Decorated Whiteboard


     have an old whiteboard that's a bit beaten up or just generally kind of plain?  Jazz it up with a few basic craft supplies.

Materials:
*Old whiteboard
*Stickers, craft tape, and any other embellishments you would like.

Directions:
*Cover the border of the whiteboard with craft tape in a color or pattern of your choice.
*If your whiteboard has rounded corners, as mine does, you may want to cover the corners with stickers rather than taping around them.
*Cover up any sizable dents in your whiteboard's surface using stickers.

Thursday, May 1, 2014

Recycled Paper Bookmark


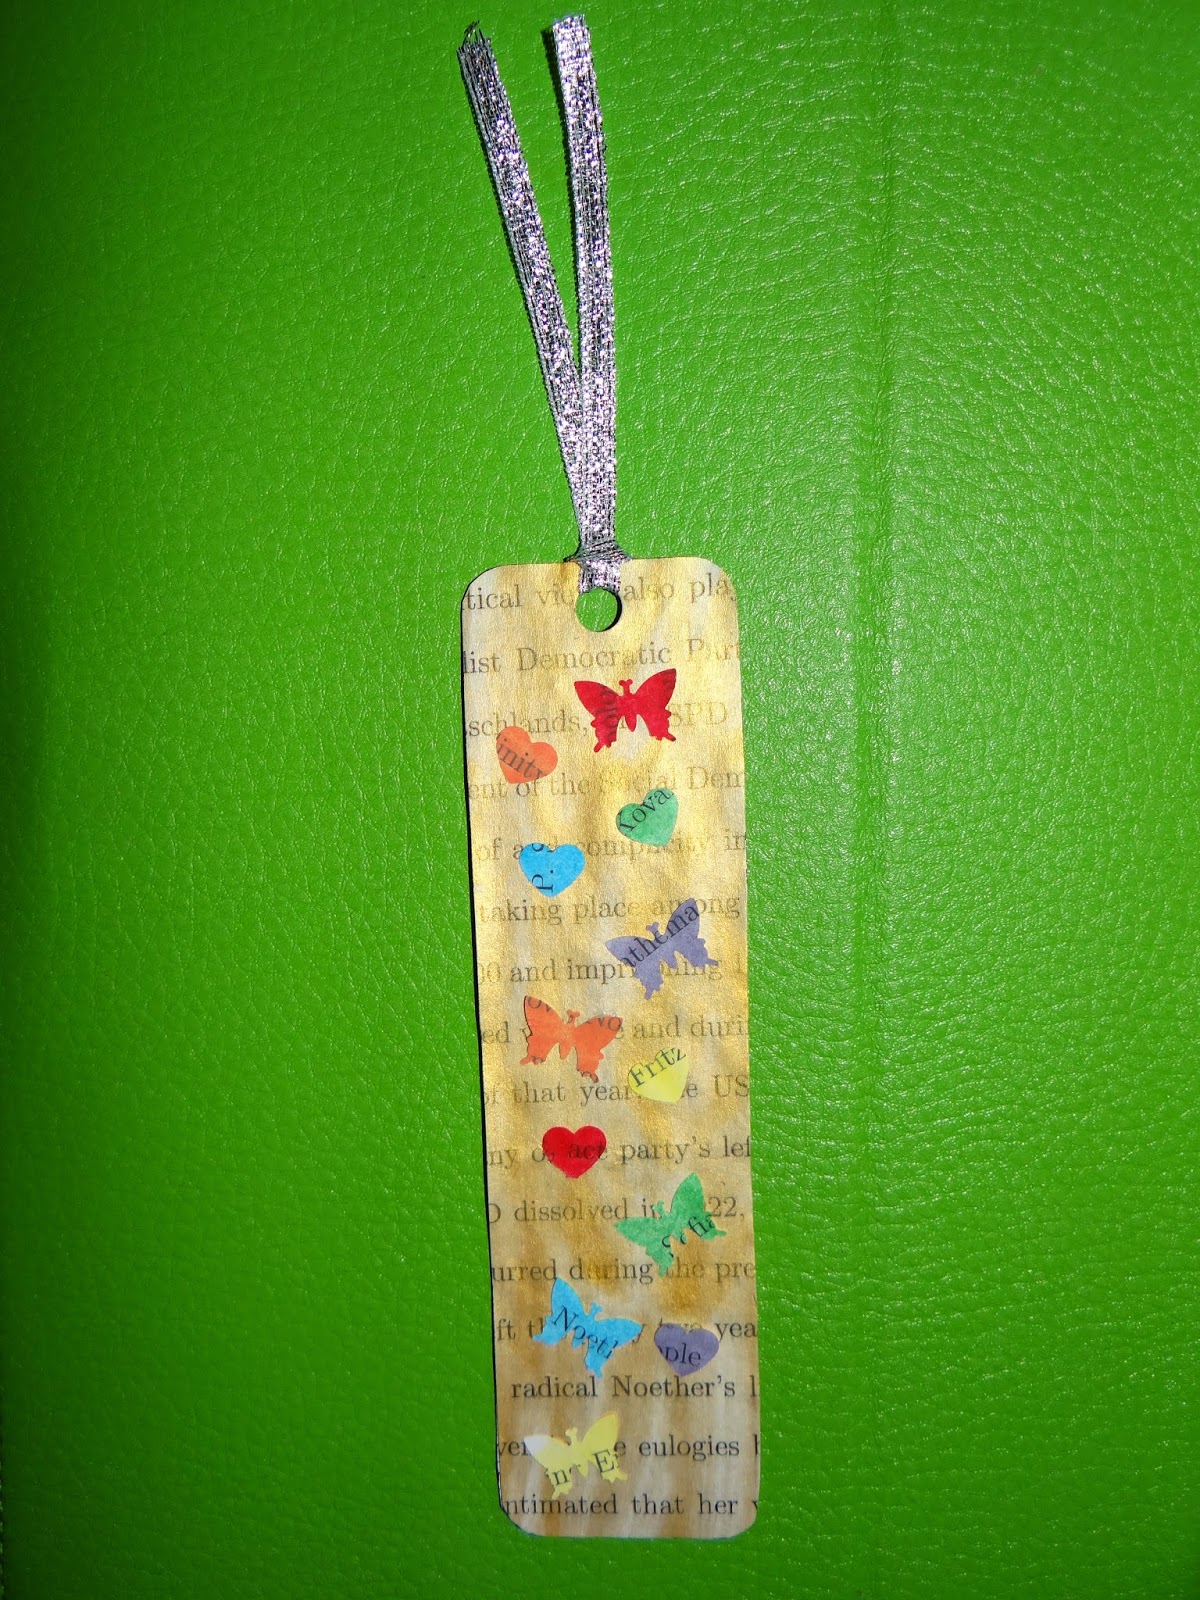
     When I was a little girl, I used to make recycled paper bookmarks with my mom.  We'd punch heart and teddy bear shapes out of colorful sheets of construction paper and glue them to the back side of white paper that had already been used.  For this week's craft, I came up with a slightly more sophisticated take on this childhood craft.

Materials:
*Empty cereal box
*Scrap paper
*Acrylic paint (I used red, blue, yellow, green, white, and gold)
*Paintbrush
*Shape punches (e.g. heart and butterfly)
*Small circle punch
*Ribbon
*Scissors
*All purpose adhesive
*Water

Directions:
*Choose a paint color to use for the background of your bookmark.
*Mix together paint and water (I used a cream cheese container lid for this part) until paint reaches its desired thinness.
*Paint over the scrap paper.
*Set aside to dry.  If you don't have time to wait for it to dry naturally, you can speed up the process using a hairdryer.
*Once it's dry, cut out a rectangle of the paper and an equally sized rectangle of cardboard and glue together.
*Use water to thin out the various paint colors you want to use for your shape punches.
*Paint over the scrap paper.  You probably won't need very much of any particular color.  I had tons of leftover paper when I finished.


*Set aside to dry or dry with a hairdryer.
*Punch out shapes.
*Arrange along the bookmark and then glue down.
*Punch a hole near the top of the bookmark and loop ribbon through it.
*Note: to add another layer of meaning/sentimentality to your bookmark, use pages from something that has meaning to you.  I used pages from an old draft of my master's thesis.

Thursday, January 30, 2014

(Zombie) Valentine's Tic Tac Toe Board


     Have an empty sour cream (or similarly shaped) container kicking around?  Use it to make a portable Valentine's Day tic tac toe board.  The lid becomes the board and you can use the container to store the pieces when not in use.  Looking for more (zombie) Valentine's crafts?  Check out my pom pom creatures and my stone "conversation" hearts from last year.

Materials:
*Wide sour cream container (mine had a diameter just over 4" at its widest point)
*5 red and 5 pink plastic heart gems (you can find them at Dollar Tree)
*Cardstock
*Mounting tape
*Scissors
*Black permanent marker
*Marker or printer
*Optional: stickers, patterned paper, or other supplies you can use to decorate the outside of the container.

Directions:
*Draw or digitally design a tic tac toe board to fit the lid of your container and tape it to the lid.
*Draw faces onto the heart pieces, either zombie faces (see above) or happy faces (see below), depending on what you prefer.


*Decorate the outside of the container however you wish.  I used self-adhesive holographic laminate to decorate mine.


Another idea:
*For a slight modification of this craft, you could use zombie pom pom creatures (or non-zombie critters) for game pieces.


Thursday, January 9, 2014

Scrap Wrapping Paper Memory Game


     Here's a great way to recycle some cereal boxes as well as wrapping paper.  Note that these instructions will make 48 memory tiles, but you can easily modify them to make more or fewer.  With this version of the game, you have to match up both the pattern and the color, and game play works the same as with any other memory game.  (If you aren't familiar with the game, you can find instructions here.)  Also, I'd like to give a shout out to Brian for his assistance with this project.  It is a rather time consuming endeavor and I'm grateful that I had another set of hands to help me with tracing, gluing, and cutting out circles.

Materials:
*Six different patterns of wrapping paper or distinct characters on wrapping paper
*Solid colored or holographic wrapping paper
*4 cereal boxes
*8 sheets of paper, each sheet a different color
*Small (about 2.5" in diameter) and medium (about 3" in diameter) circle templates
*Pen
*Scissors
*All purpose adhesive

Directions:
*Trace the small circle onto the patterned or character wrapping paper such that you end up with 48 circles, 8 of each pattern or character, then cut out the circles.
*Trace the medium circle template onto the cardstock, making 6 circles of each color, and cut out the circles.
*Trace the medium circle template onto the cereal boxes, making 48 circles in total, and cut out the circles.
*Trace the medium circle template onto the solid colored (or holographic) paper to make 48 circles and cut them out.
*Glue a piece of solid colored (or holographic) wrapping paper to one side of each cardboard circle and a piece of cardstock to the other side of the circle until you have covered both faces of each circle.
*Glue on your patterned or character paper such that you end up with two or zero tiles of a particular pattern matched up with a given color.  Here's what all of my tiles looked like when I finished:


Thursday, January 2, 2014

Wrapping Paper Ornament Bookmarks


     These pretty recycled wrapping paper bookmarks can double as ornaments.  You may want to make some to give as gifts for next year's holiday season.

Materials:
*Wrapping paper
*Large and small circle templates (I traced around a large and small drinking glass)
*Cereal box or similar cardboard
*Gold paper
*Patterned paper (optional)
*Mounting tape
*Scissors
*Ribbon
*All purpose adhesive
*Pen

Directions:
*Trace and cut out a small circle of wrapping paper in the pattern of your choice.
*Cut out a large circle either from a corresponding wrapping paper or sheet of patterned paper.
*Center the small circle on top of the large circle and adhere together using mounting tape.
*Cut a large circle from the cardboard and adhere to the back of the large circle you cut from wrapping paper or patterned paper.
*Cut out a piece of the gold paper shaped like the top of an ornament and adhere to the top of the bookmark.
*Snip off a length of ribbon about twice as long as you would like the ribbon bookmark to be and knot together the ends.
*Glue the end of the ribbon without the knot to the back of the bookmark.

Thursday, August 8, 2013

Back to School Wardrobe Refresher

Save money on your back to school shopping by revitalizing clothes you already have.  Below are several ideas to revitalize old clothes and fix broken clothes.

T-shirt to Tube Top

Before

After

Materials:
*T-shirt
*Sewing machine or needle and thread
*Scissors
*Chalk
*Tube top that fits you well
*Ruler

Directions:
*Turn the T-shirt inside out and lay it out on a flat surface.
*Using a ruler, draw in chalk a horizontal line running just underneath the armpits of the shirt.  Make sure before you cut that this will not interfere with any part of an image or saying that you want to have on the tube top.  If it does, try laying the tube top atop the shirt and centering it so that it will include all of the image that you want, then trace around the shirt as described below.
*Carefully cut along the line, discarding the top portion of the shirt.
*Turn the shirt right side in.  Fold about a quarter of an inch of the fabric at the top toward the inside of the shirt and sew down so that the top of the tube top will not fray.
*Turn the shirt inside out again and lay flat.  Place the well fitting tube top on top of the shirt, lining up the top of the tube top with the top of the shirt.
*Trace around the tube top, leaving about 1/4" of space between the tube top and the piece of chalk.
*Cut along the chalk lines, then sew together the two sides of the shirt.
*Turn the shirt right side in.  Fold about 1/4" of fabric at the bottom of the shirt toward the inside of the shirt and sew down.

Here are some common garment issues and some ways to fix them.

Pants Zipper that Won't Stay Up:

Materials:
*Small key ring

Directions:
*Take the key ring and wind it through the zipper like so:


*Zip up the zipper, then loop the key ring over the button like this:


*Button your pants as you would normally.  The key ring should not be visible, as is the case with these jeans:


Falling off Jeans Buttons:

Here's what I did when the button on a pair of my jeans started tearing away from the fabric:

Materials:
*All purpose, fabric safe adhesive (such as Helmar 450 Quick Dry Adhesive)
*Small piece of scrap cloth

Directions:
*Glue the button and the part of the denim the button has torn away from back together. Set aside to dry.
*For added stability, glue a small swatch of fabric behind the button so that it covers both the back of the button and the surrounding denim, like this:


Fading Clothes:

Before

After

Materials:
*Fabric dye

Directions:
I wrote a blog post last July providing stove top dyeing instructions.  This time around I tried dyeing my jeans in the washing machine using the Rit dye washing machine instructions, which can be found here or on the back of the bottle of dye.

Torn Lace Trim:

Before

After

Materials:
*Stitch ripper or sharp scissors
*Sewing machine or needle and thread
*New lace trim (optional)

Directions:
*Carefully remove the stitches holding the lace to the shirt.
*If the fabric is sturdy enough, you can resew along the previous seam. Otherwise, fold the fabric over until you will not be sewing along the area where the original stitches were and resew.
*Sew on new lace, if you wish.

Looking for more ideas?  Check out the apparel and accessories portion of my blog.

Thursday, July 18, 2013

Duct Tape Sneakers


Have an old, grungy pair of shoes that you're not yet ready to give up on?  Decorate them with duct tape. Here's a link to the post that inspired me to try decorating my shoes with duct tape.

Materials:
*Old Sneakers
*Duct tape in the colors/patterns of your choice
*Scissors
*X-acto knife

Directions:
*Cut off strips of duct tape and adhere to the portions of the shoe that you would like covered.
*Carefully trim off any excess duct tape with an X-acto knife
*Use smaller pieces of duct tape around the curvy parts of the shoe so that you don't end up with bulges and creases in the tape.
*To cover the toe of the shoe, take a strip of duct tape and set it across the toe of the shoe.  Carefully cut the tape to the appropriate shape, making sure not to stick the tape to the shoe all the way.  Otherwise the tape will bunch together in places and it may be difficult to unstick the pieces.
*Peel the duct tape off of the toe of the shoe.
*Excluding the flat top part, make incisions about 1/4" deep every 1/4" along the piece of tape.
*Line up the flat top part with the top of the toe of the shoe and stick down.  Slowly press down the other parts of the tape, which will overlap slightly.

Thursday, May 2, 2013

Duct Tape Pencil Holder


Materials:
*Aluminum can
*Duct tape in color/pattern of your choice
*Black duct tape
*Scissors

With the end of the semester rapidly approaching, I wanted a quick and easy craft and these cute pencil holders turned out to be just what I was looking for.  I'm including a link to the post that inspired me.

Directions:
*Wrap duct tape in the pattern of your choice around your aluminum can until your can is covered in duct tape.
*Take a strip of black duct tape and wrap it around the rim of the pencil holder so that about half of the strip of tape hangs over the rim.
*At about half inch intervals, cut the overhanging portion of the tape in a straight line down to the rim of the can.  Fold the resulting pieces of tape over, sticking them to the inside of the can.