Thursday, July 28, 2016

Felt Pokemon Snorlax Plushie


     Still trying to catch a Snorlax?  Why not make one?  This little critter may not be much help defending your local Gym (or maybe it will; you never know), but it's cut and cuddly, the perfect gift for Pokemon fans of all ages.

My Snorlax defending local Gym, Emera Astronomy Center

Materials:
*2 sheets medium blue "Snorlax colored" felt
*1 sheet cream colored felt
*Scraps of black felt
*Scraps of white felt
*Needle and thread
*All purpose adhesive
*Stuffing
*Metallic marker or chalk

Directions:
*Print out a copy or two (two needed if you want to reuse the template) of the below template, sized to your desired size:


*Cut out the various outside pieces of the template and trace using a metallic marker or chalk two copies of the body from blue felt, one copy of the inner body piece from cream colored felt, and four copies of the foot from cream colored felt.
*Cut out the various pieces, as shown below:


*Sew the cream colored body piece onto one of the blue body pieces like such:


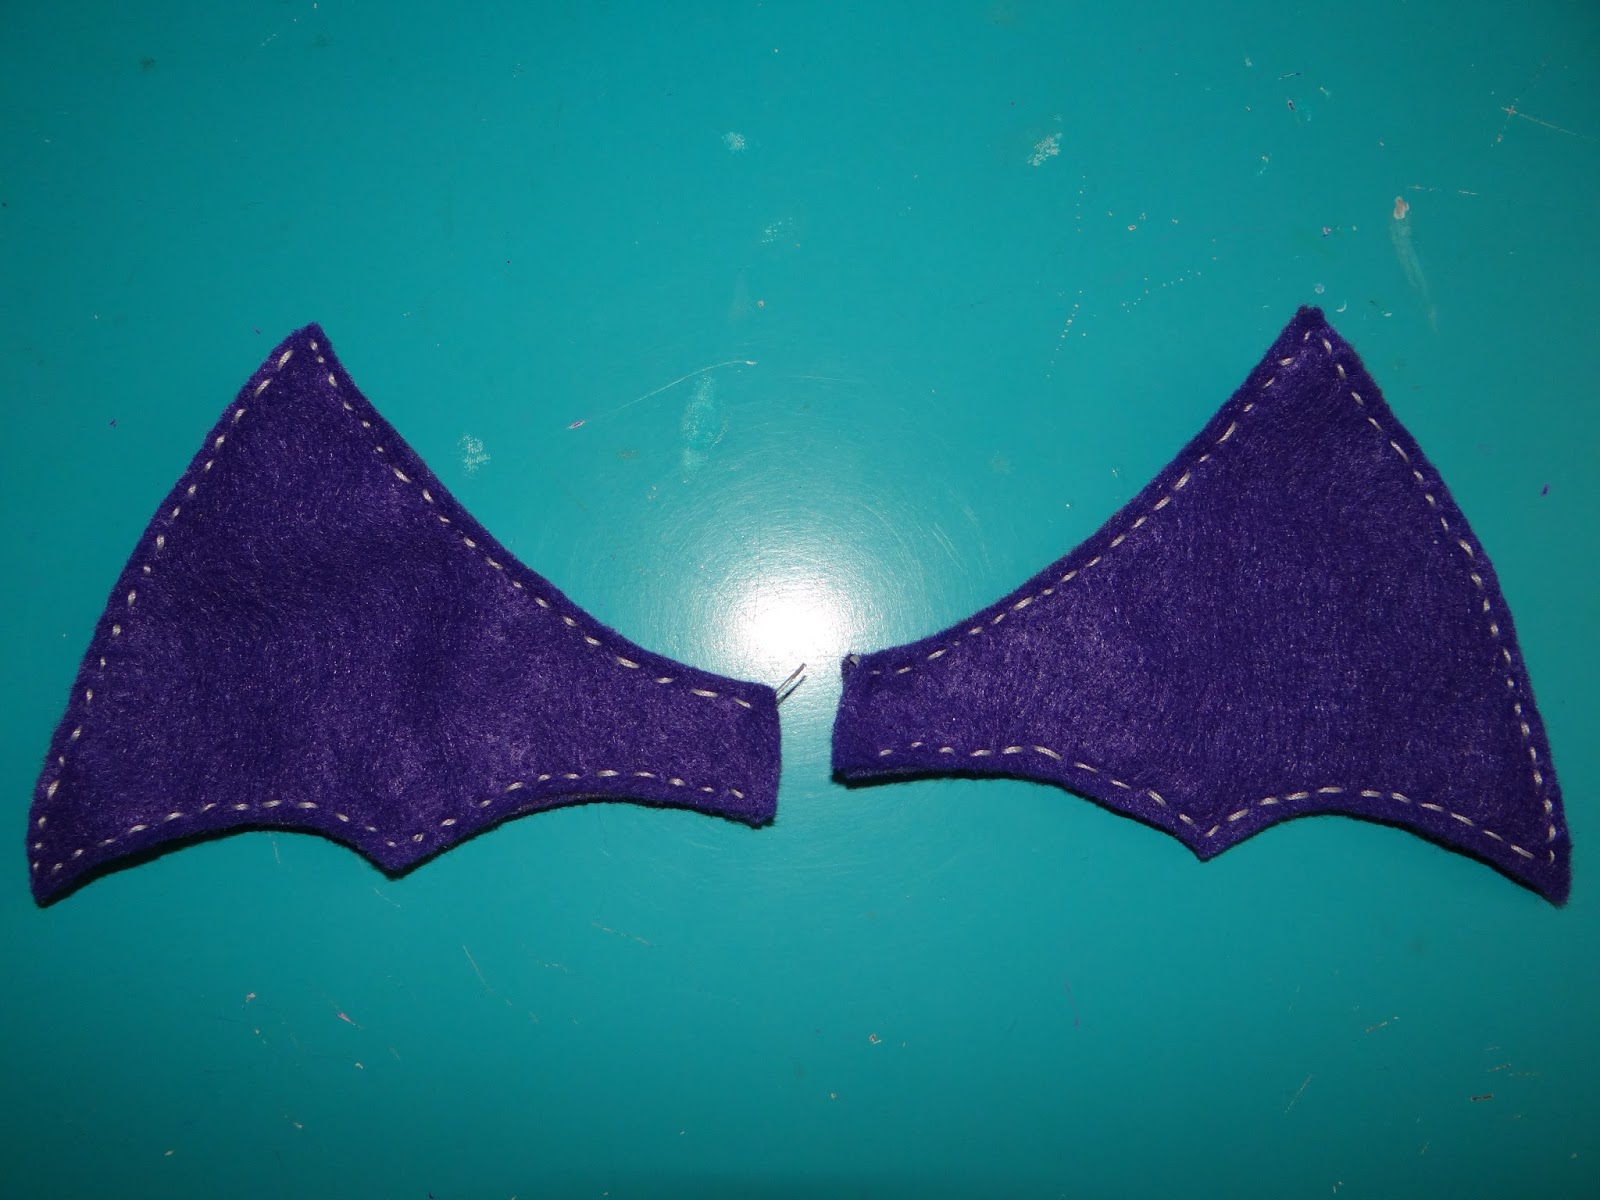
*Sew together two of the foot pieces, leaving a small opening.


*Stuff and then sew the rest of the way closed.  Repeat with the other two foot pieces.


*Place together the two body pieces and start sewing together, sandwiching in the feet when needed.  Leave an opening for the stuffing.  I left a fairly sizable one at the outset so that I could reach and more easily stuff the distant arm.


*Stuff and sew closed.  Since I started with such a big opening, I added a little stuffing, then added a few stitches, added some more stuffing, sewed a few more stitches, and so on.


*Cut out eyes and a mouth from black felt and two teeth from white felt and glue them to the Snorlax's face.  Now your Snorlax is ready!

Thursday, July 21, 2016

Felt Pokemon Zubat Plushie


     For the past week and a half or so, I've been playing Pokemon GO and I love it.  It's a lot like a scavenger hunt, which is great, and the AR feature is amazing.  I've been having way too much fun taking pictures of myself with my favorite monsters (e.g below photo).  Anyway, if you're looking to bring Pokemon into the physical world for yourself or your favorite Pokemon trainer, why not try making one from felt?  It's much less expensive than buying the plush toys from a store.  I think Zubats are adorable and they are fairly simple in terms of their features, so I thought I'd try my hand at making one.  Here's how you can too.

Me giving a Zubat bunny ears

Materials:
*1-2 sheets blue felt, depending on how large you'd like your Zubat to be
*1 sheet black felt
*White fabric paint or 1 sheet white felt (for Zubat's teeth)
*All purpose adhesive
*Needle and thread
*Scissors
*Metallic marker or chalk
*Stuffing

Directions:
*Print out a copy or two (two needed if you want to reuse the template) of the below template, sized to your desired size:


*Cut out the various outside pieces of the template and trace using a metallic marker or chalk two copies of the body from blue felt (I made one sans legs for ease, but you may want to keep legs on both for added structural integrity), two copies of the outer ear piece from blue felt, and four copies of the wings from purple felt.  Then cut out, either from the same template or a duplicate copy, the inner ear and mouth pieces and trace two copies of the inner ear onto purple felt and one copy of the mouth onto black felt.
*Cut out all of the various felt pieces, as shown below:


*Using either fabric paint or felt, create teeth for the mouth.  You'll see in the picture below that I used fabric paint, but in the end I wasn't satisfied with them, so I covered them up with felt.


*Glue or sew together the outer and inner pieces, as shown below:


*Fold two copies of the wings together and stitch them together.  This will make the wings more sturdy.  I used a running stitch here, but blanket stitch could work nicely.  Repeat with the other two wing pieces.


*Place together the two body pieces and start sewing together, sandwiching in the wings and ears as needed.  Leave an opening at the bottom for stuffing.  I used a running stitch again here.


*Add stuffing and sew closed.


*Glue on your Zubat's mouth.  Now you're done!


Thursday, July 14, 2016

Prop Roque/Croquet Mallet


     Need a prop roque/croquet mallet?  The head on this design is a little small, but if you're looking for an inexpensive prop for a play or costume that doesn't have to be true to life, this may be what you need.

Materials:
*Paper tube (e.g. toilet paper, paper towel)
*Dowel
*Wood grain duct tape
*Black duct tape
*X-acto knife
*Scissors

Directions:
*Use an X-acto knife to cut "+" shape into the center of the paper tube.  The "+" shape should be about as long and wide as the dowel's diameter.
*Gently push the dowel into the "+" shape.  Once you're done, the two pieces should fit together snugly, like in the photo below:

*Remove the dowel from the tube and cover the ends of the tube with wood grain duct tape.
*Wrap wood grain duct tape around the remainder of the tube.
*Find where the hole for the dowel is and cut the same "+" shape in the tape and then push down with the dowel, like before.


*Remove the dowel and wrap that in wood grain duct tape.
*Reinsert the dowel in the hole.  I found that it stayed on fine without any adhesive, but you can always glue it down if you want to make it a little sturdier.
*Decorate the ends of the tube and part of the dowel with some black duct tape for a finishing touch.

Thursday, July 7, 2016

Mini Mask Cake Toppers


     For my birthday cake, I wanted it to represent both the masquerade and The Shining themes.  I added the notorious phrase "redrum" in red lettering, sprinkles for confetti, and topped it off with some mini masks I made.  Brian did the icing.  It's not perfect, but then again we're mathematicians, not cake decorators and on the whole I'm pleased with the way it came out.  If you're hosting a masquerade of your own, these mini masks make for excellent cake or cupcake toppers.

Materials:
*Cardstock in a variety of colors
*Scissors
*X-acto knife
*Pencil
*Toothpicks
*All purpose adhesive
*Rhinestones, stickers, and other embellishments

Directions:
*Shrink mask template to the desired size and cut out.
*Trace the mask template onto the cardstock and cut out.
*Glue the mini mask to a toothpick and let dry.
*Add embellishments.  I used the eye hole cut outs for feathers, plus some rhinestones, beads, and stickers.  Now they're ready for your next cake decorating endeavor.


Thursday, June 30, 2016

Oreo Strawberry Shortcake Bites


     Looking for a fast and easy snack for your upcoming Fourth of July celebration?  Why not try a twist on strawberry shortcake, using vanilla Oreo Thins as the "cake" for a bite sized alternative?  Check out the video below to find out how I make them.  If the embedded video doesn't work for you, you can see the video on my YouTube channel at https://www.youtube.com/watch?v=dYz1934Qcfk.


Thursday, June 23, 2016

Paper Masks


     Planning on hosting your own masquerade?  Have some paper masks available for your partygoers to decorate.  This craft is relatively inexpensive and fun for all ages.

Materials:
*Cardstock in various colors
*Thin dowels
*Duct tape
*Pencil
*Scissors
*X-acto knife
*All purpose adhesive
*Rhinestones, sticker gems, and other embellishments of your choice
*Paint
*Paintbrush

Direction:
*Draw or print out a mask template that is the right size to fit your party guests.
*Cut out the mask template and trace it onto cardstock, then cut out.  Make enough mask shapes so that each of your guests will be able to make a mask.
*Trim dowels so that they are about a foot in length.  You can either paint them or leave them plain.
*If your mask makers are at an age where attaching the dowels properly might be tricky for them, you can do this step in advance.  Simply cut off a small strip of duct tape and tape the dowel to the back of the mask.
*I made paper feathers for the party using my Silhouette CAMEO.  If you want paper feathers, there are a number of templates available online that you can use, but if you're cutting by hand, this could be a time consuming endeavor.  However, if you have no objections to using real feathers, buying a bag of those would probably require a lot less effort on your part.
*For the paper roses I made, I used a similar technique to the one described in this post.  Instead of wrapping them around a stem, I rolled up one of the petals and glued the others around that.  Once I was finished, I snipped off the very bottom of the rose to give a flat surface that I could apply the glue to, but you have to be careful not to snip off too much or your flower will fall apart.  If you want to use flowers and paper flowers seem like too much work, you can find fabric flowers at your local craft store.  Even the bunches of artificial flowers from your local dollar store might work, for an inexpensive alternative.
*On the day of the party, set out the masks and the various embellishments.  Make sure to have plenty of glue on hand.  Let everyone decorate to their heart's content!  I was impressed by how creative my guests were, especially since they had only a little while to come up with their designs.

Brian and me with the masks I made for us.  Mine is glittery white with blue feathers to represent the snow and cold of the Overlook Hotel.  I used a red rose of mine because Wendy's actions are largely driven by her love for her family.  Brian's is red with fiery feathers because [spoiler alert] in the book and in Stephen King's miniseries, Jack meets a fiery demise.  The black rose is for the death and destruction and the evil of the hotel.  With modified flowers, though, these masks could work well for a fire and ice themed masquerade.


Some of your partygoers may prefer minimalist masks, like this one.  Props to kid brother, though, for taping his mask to his drink.  I never would have thought of doing that.

Dad with his mask.  I think this is the first year I've managed to get him to participate in one of my birthday party crafts.

Jacob with his mask.

Katie designed her mask to match her dress.

Mom with her mask

Of course Brian had to photobomb his mom.

Ayesha with her mask, with Katie photobombing in the background.

Prateek with his mask.

Thursday, June 16, 2016

Paper Chandelier


     I love the aesthetic of chandeliers.  Unfortunately, in my apartment we can't really hang anything heavy from the ceiling.  My solution was to create a paper chandelier, based on the chandeliers shown in Stanley Kubrick's 1980 movie adaptation of The Shining.

Materials:
*Cardstock in black, white, yellow, and orange
*Scissors
*Pencil
*All purpose adhesive
*Twine

Directions:
*Size the below template to your desired size and print it out.


*Cut out the template pieces.  Trace 8 copies of the main chandelier piece onto black cardstock, 5 copies of each candle type onto white cardstock, 40 copies of the bigger part of the flame onto orange cardstock, and 40 copies of the smaller part of the flame onto yellow cardstock.  Cut everything out.
*Glue the two flame pieces to each of the two sides of each candle.
*Glue each candle to one of the appropriate spaces on the chandelier.  Once all the candles on a segment are glued down, glue another copy of the main chandelier piece over the side with the ends of the candles exposed.
*Once all of the segments are finished, glue them together to form the chandelier.
*Cut off two lengths of twine several inches longer than the diameter of the chandelier.  Glue (or tape) one end of the first length to the inside of the chandelier.  Glue the other end to the inside of the chandelier across the diameter from the first end.
*Glue the ends of the second string again across the diameter from one another, perpendicular to the first segment.
*Tie some twine around the intersection of the two strings and use this length of twine to hang up the chandelier.