
For the past week and a half or so, I've been playing Pokemon GO and I love it. It's a lot like a scavenger hunt, which is great, and the AR feature is amazing. I've been having way too much fun taking pictures of myself with my favorite monsters (e.g below photo). Anyway, if you're looking to bring Pokemon into the physical world for yourself or your favorite Pokemon trainer, why not try making one from felt? It's much less expensive than buying the plush toys from a store. I think Zubats are adorable and they are fairly simple in terms of their features, so I thought I'd try my hand at making one. Here's how you can too.

Me giving a Zubat bunny ears
Materials:
*1-2 sheets blue felt, depending on how large you'd like your Zubat to be
*1-2 sheets blue felt, depending on how large you'd like your Zubat to be
*1 sheet black felt
*White fabric paint or 1 sheet white felt (for Zubat's teeth)
*All purpose adhesive
*Needle and thread
*Scissors
*Metallic marker or chalk
*Stuffing
Directions:
*Print out a copy or two (two needed if you want to reuse the template) of the below template, sized to your desired size:

*Cut out the various outside pieces of the template and trace using a metallic marker or chalk two copies of the body from blue felt (I made one sans legs for ease, but you may want to keep legs on both for added structural integrity), two copies of the outer ear piece from blue felt, and four copies of the wings from purple felt. Then cut out, either from the same template or a duplicate copy, the inner ear and mouth pieces and trace two copies of the inner ear onto purple felt and one copy of the mouth onto black felt.
*Cut out all of the various felt pieces, as shown below:

*Using either fabric paint or felt, create teeth for the mouth. You'll see in the picture below that I used fabric paint, but in the end I wasn't satisfied with them, so I covered them up with felt.

*Glue or sew together the outer and inner pieces, as shown below:

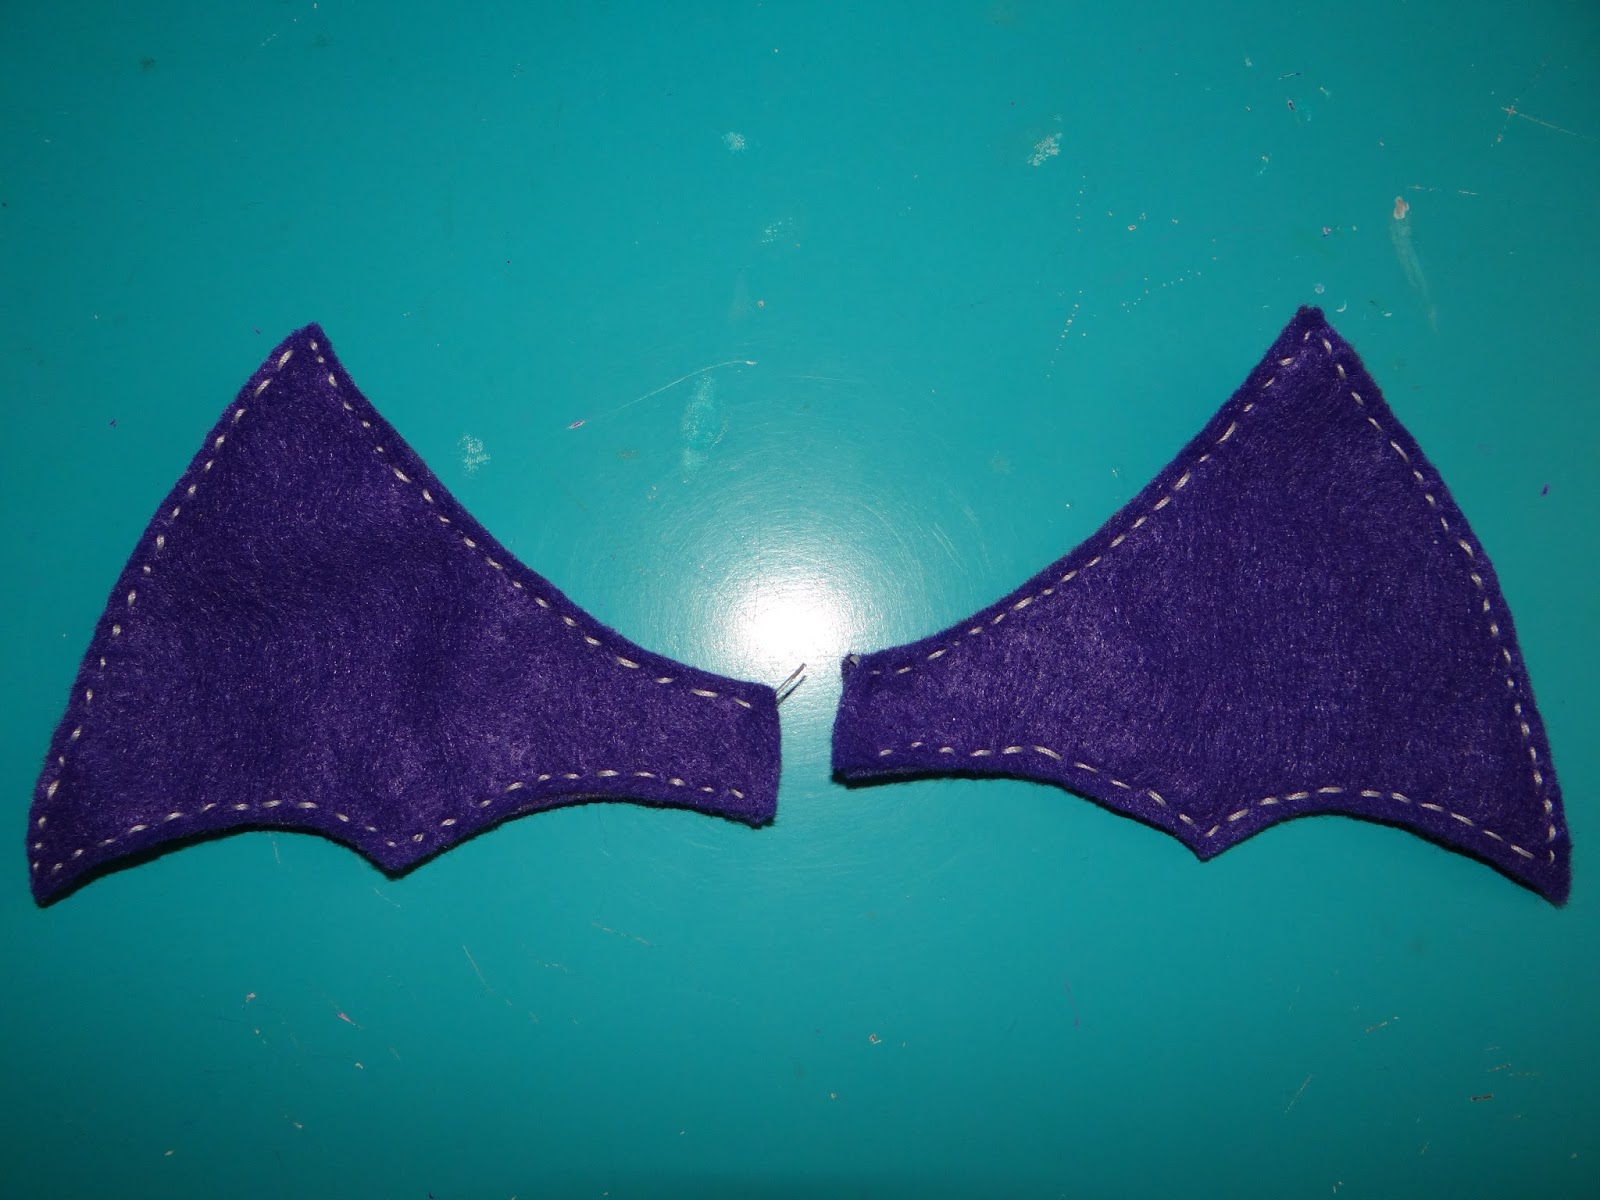
*Fold two copies of the wings together and stitch them together. This will make the wings more sturdy. I used a running stitch here, but blanket stitch could work nicely. Repeat with the other two wing pieces.
*Place together the two body pieces and start sewing together, sandwiching in the wings and ears as needed. Leave an opening at the bottom for stuffing. I used a running stitch again here.

*Add stuffing and sew closed.

*Glue on your Zubat's mouth. Now you're done!

No comments:
Post a Comment