Easy DIY Halloween Earrings
Materials:
*Halloween charms (such as these ones, which are on sale at Joann)
*Ear wires
*Needle nosed pliers
Directions:
*Remove jump ring from Halloween charm.
*Using pliers, open up the bottom loop of the ear wire.
*Slide charm onto the ear wire.
*Close the loop using the pliers.
*Repeat process to create a second earring.
Easy DIY Halloween Necklaces
Materials:
*Halloween charms (such as these ones, which are on sale at Joann)
*Necklace chain
*Necklace clasp
*Needle nosed pliers
Directions:
*Resize necklace chain to your desired size by opening the link at the end of your desired length with your pliers and pulling off excess chain.
*Place one end of the clasp through open link and then close link with pliers
*Open the link at the other end of your necklace chain with pliers.
*Place the other end of the clasp through the link and close that link.
*Open the jump ring at the end of the charm and slide it through the chain link at the middle of your necklace.
*Close jump ring.
Target's Halloween "Make Your Own Shrink Art Bag Tags" Kit Review
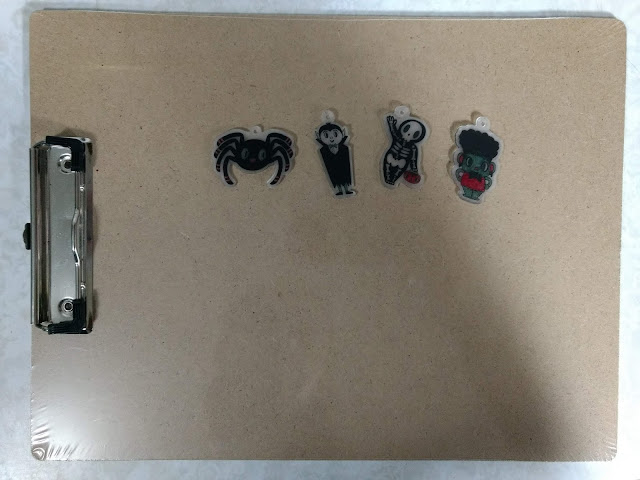
Note that this is a picture of my already shrunk shrink art monsters on top of the empty packaging. I forgot to get a picture of the kit before I opened it.
I was at Target the other day when I came across this Halloween shrink art kit and decided to give it a try. I've never tried my hand at shrink art before, so I figured this would be a good foray into the craft. Here are my thoughts.
First of all, I found the coloring to be fun. There is a fair amount of detail work, so if you are making these with children or other individuals who have difficulty coloring in the lines, this aspect of the craft could pose a little bit of a challenge. However, if your crafters just like coloring and don't care whether they manage to color in the lines, they will probably enjoy this.
The shrink shapes were precut, which was nice. The cooking instructions were relatively straightforward. I expected that the shrink art might warp a little, and it did, but I didn't expect it to skew in quite the way that it did. A lot of the shapes ended up slanting a little after cooking.
I decided to go ahead and make the shapes into keychains. I did not love the string, as it frayed quickly. The glow in the dark beads were a fun touch, and I'm sure many crafters, perhaps particularly the younger ones, will get a kick out of them.
All in all, I would say the kit was worth the $3 for the entertainment value. It could be good fun for crafters of all ages (or at least ages 5 and up, as the package says). I know that Target tends not to restock their dollar aisle merchandise after it sells out, so if you haven't picked one up already and want to give it a try, I would recommend checking your Target store as soon as possible.
Before shrinking
After shrinking.
Have you been doing any Halloween crafting this season? I'd love to hear what you've been up to.


No comments:
Post a Comment