Thursday, May 29, 2014

Pirate Shirt and Bow

Pirate Shirt


Materials:
*T-shirt
*Pirate fabric
*Fusible interfacing for T-shirts
*Iron
*Scissors

Directions:
*Cut out a patch of fabric slightly larger than the size you would like your design to be.
*Cut out a comparably sized piece of fusible backing.
*Follow the directions that come with your fusible interfacing.  I don't know a lot about fusible interfacing, but I think the ones designed for T-shirts mostly have instructions along these lines: peel off paper backing on one side of the interfacing and press that side to the fabric.  Iron to the fabric.  Trim off any excess fabric.  Peel off the remaining paper backing.  Position the fabric on the desired spot on the shirt.  Cover with a damp press cloth and then iron down.  Remove the press cloth and iron the shirt dry.

Pirate Bow


Materials:
*Ribbon
*Pirate fabric
*Heavyweight white fabric
*Fusible interfacing
*Iron
*T-shirt
*Barrette
*All purpose adhesive
*Scissors

Directions:
*Cut off a length of ribbon and tie to form a bow.
*Snip out triangles from the ends of the ribbon, if desired.
*Create a pirate decal for the bow using the above directions for the pirate shirt, except fuse the pirate fabric to the white fabric instead.
*Glue the bow to the barrette and the decal to the center of the bow.

Thursday, May 22, 2014

Pirate Octopus Cupcake Toppers


     On Sunday I had my pirate themed birthday party, so for the next few weeks I'll be posting pirate themed crafts.  If you're planning a pirate party, you may also want to check out an older post of mine, Growing Alum Crystals and Treasure Chest Display.

Materials:
*Black clay
*Green clay (or other color you would like to use to make the octopus's body)
*Black permanent marker
*Baking sheet

Directions:
*Mold green clay into the shape of an octopus.
*Use black clay to make the eye and the patch for the eye patch.
*Bake clay according to the directions on the package.
*Remove from oven and set aside to cool.  Once it's cool, draw on the string part of the eye patch using a permanent marker.

Thursday, May 15, 2014

Another Graduation Photo Frame and Tassel Holder


     On Saturday I graduated with a Master's of Arts in mathematics, which meant it was time for me to make another graduation photo frame and tassel holder (you can see my photo frame and tassel holder for my undergraduate graduation here).

Materials:
*Photos
*12" x 12" sheet of plywood
*12" x 12" piece of patterned scrapbooking paper
*Scissors
*Decorative edge scissors
*12" x 12" sheet white cardstock or two 8 1/2" x 11" sheets of white cardstock
*Scraps of brown, black, orange, and white paper (to make the owl)
*Scraps of paper in three corresponding colors (for the owl's feathers)
*Small heart shaped punch (optional)
*All purpose adhesive
*Mounting tape
*Rhinestone
*Hammer
*Small nail
*X-acto knife
*Ruler
*Pencil
*Black thread

Directions:
*Glue sheet of patterned cardstock to the plywood.
*Using an enlarged version of the graduation hat in the graduation owl template (given below), cut out a graduation cap from black paper.  Glue it to the patterned cardstock as in the above picture.


*Hammer a small nail through the center of the graduation cap, leaving a small gap between the head of the nail and the plywood so that the tassel can be hung up on it.  If the nail pokes through the back of the plywood, you can either trim the nail down using wire cutters or cover the pointy end of the nail with a dab of glue so that it won't poke into anything.
*Glue a small rhinestone over the head of the nail.
*Using a ruler, mark out the desired dimensions for the frames for each of the photos.
*Use decorative edge scissors to give the frames a fun shape.
*Carefully cut out the inside of each frame using an X-acto knife.
*Using mounting tape, adhere the pictures to their respective places on the patterned cardstock.
*Glue frames over the pictures.
*To make the graduation owl, print out a small graduation owl template.
*Cut out the body and two copies of the wings from brown paper, two large circles from white paper for the eyes, two small black circles for pupils, and a small orange triangle for the beak.  Cut out or punch out using a heart shaped punch nine hearts, one in each of the three corresponding colors, to make the feathers.
*Glue together the various parts of the owl like this:


*Cut out a short but long rectangle of white paper.  Roll it up and tie it closed with black thread to form the owl's diploma.
*Glue the diploma to the owl's wing and then glue the owl to the patterned cardstock.

Monday, May 5, 2014

Mini Polaroid Refrigerator Magnets


Materials:
*Digital photos and printer
*Magnetic backing
*Scissors

Directions:
*Crop desired pictures to square shapes and shrink them to the desired size.
*Paste squares into a word document, leaving plenty of white space between pictures.
*Print out pictures and crop them to look like Polaroids.
*Adhere magnetic backing to the backs of the pictures.
*Place on your refrigerator or another metallic surface.


Thursday, May 1, 2014

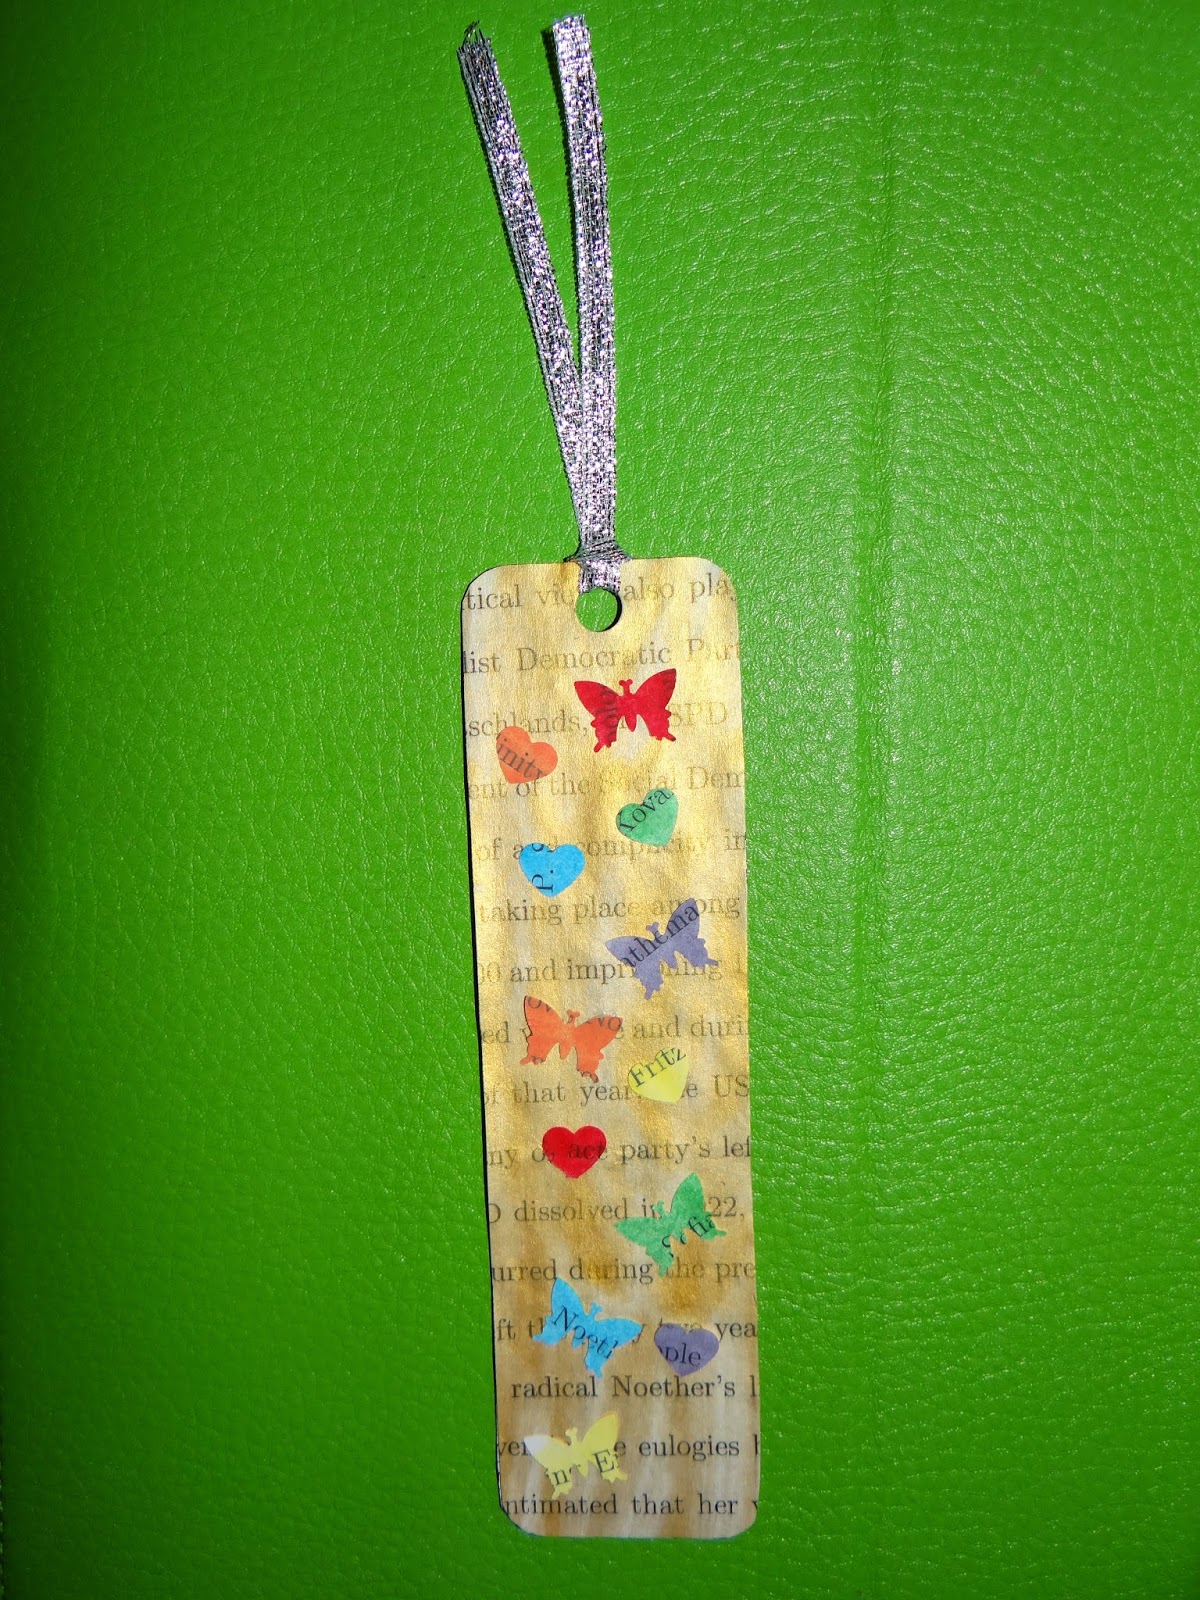
Recycled Paper Bookmark


     When I was a little girl, I used to make recycled paper bookmarks with my mom.  We'd punch heart and teddy bear shapes out of colorful sheets of construction paper and glue them to the back side of white paper that had already been used.  For this week's craft, I came up with a slightly more sophisticated take on this childhood craft.

Materials:
*Empty cereal box
*Scrap paper
*Acrylic paint (I used red, blue, yellow, green, white, and gold)
*Paintbrush
*Shape punches (e.g. heart and butterfly)
*Small circle punch
*Ribbon
*Scissors
*All purpose adhesive
*Water

Directions:
*Choose a paint color to use for the background of your bookmark.
*Mix together paint and water (I used a cream cheese container lid for this part) until paint reaches its desired thinness.
*Paint over the scrap paper.
*Set aside to dry.  If you don't have time to wait for it to dry naturally, you can speed up the process using a hairdryer.
*Once it's dry, cut out a rectangle of the paper and an equally sized rectangle of cardboard and glue together.
*Use water to thin out the various paint colors you want to use for your shape punches.
*Paint over the scrap paper.  You probably won't need very much of any particular color.  I had tons of leftover paper when I finished.


*Set aside to dry or dry with a hairdryer.
*Punch out shapes.
*Arrange along the bookmark and then glue down.
*Punch a hole near the top of the bookmark and loop ribbon through it.
*Note: to add another layer of meaning/sentimentality to your bookmark, use pages from something that has meaning to you.  I used pages from an old draft of my master's thesis.