
Looking for an adorable addition to your Halloween decor? Why not make a plushie banner? What if you like one of the plushies, but don't want to make a banner? No worries, this tutorial is arranged in multiple stages, with one section for each of the plushies and a final one for the garland. Just skip to the plushie that you're interested in and work from there.
Happy Candy Corn Plushie
Materials:
*1 sheet white felt
*1 sheet yellow felt
*1 sheet orange felt
*Black felt
*Metallic marker or chalk
*Needle and thread
*All purpose adhesive
Directions:
*Print out a copy of the below template, sized to your desired size:

*Cut out the template pieces and trace onto the sheets of felt using a metallic marker or chalk. Trace two copies of the candy corn shape onto white felt, the middle candy corn piece onto orange felt, and the top piece onto yellow felt.
*Cut out the various pieces, as shown:

*Glue or sew the yellow and orange bands onto one of the white candy corn shapes.

*Stitch together the two candy corn shapes, leaving an opening for stuffing. I used a blanket stitch for this.

*Stuff and sew closed.

*Cut out a face from black felt and glue onto your candy corn plushie.

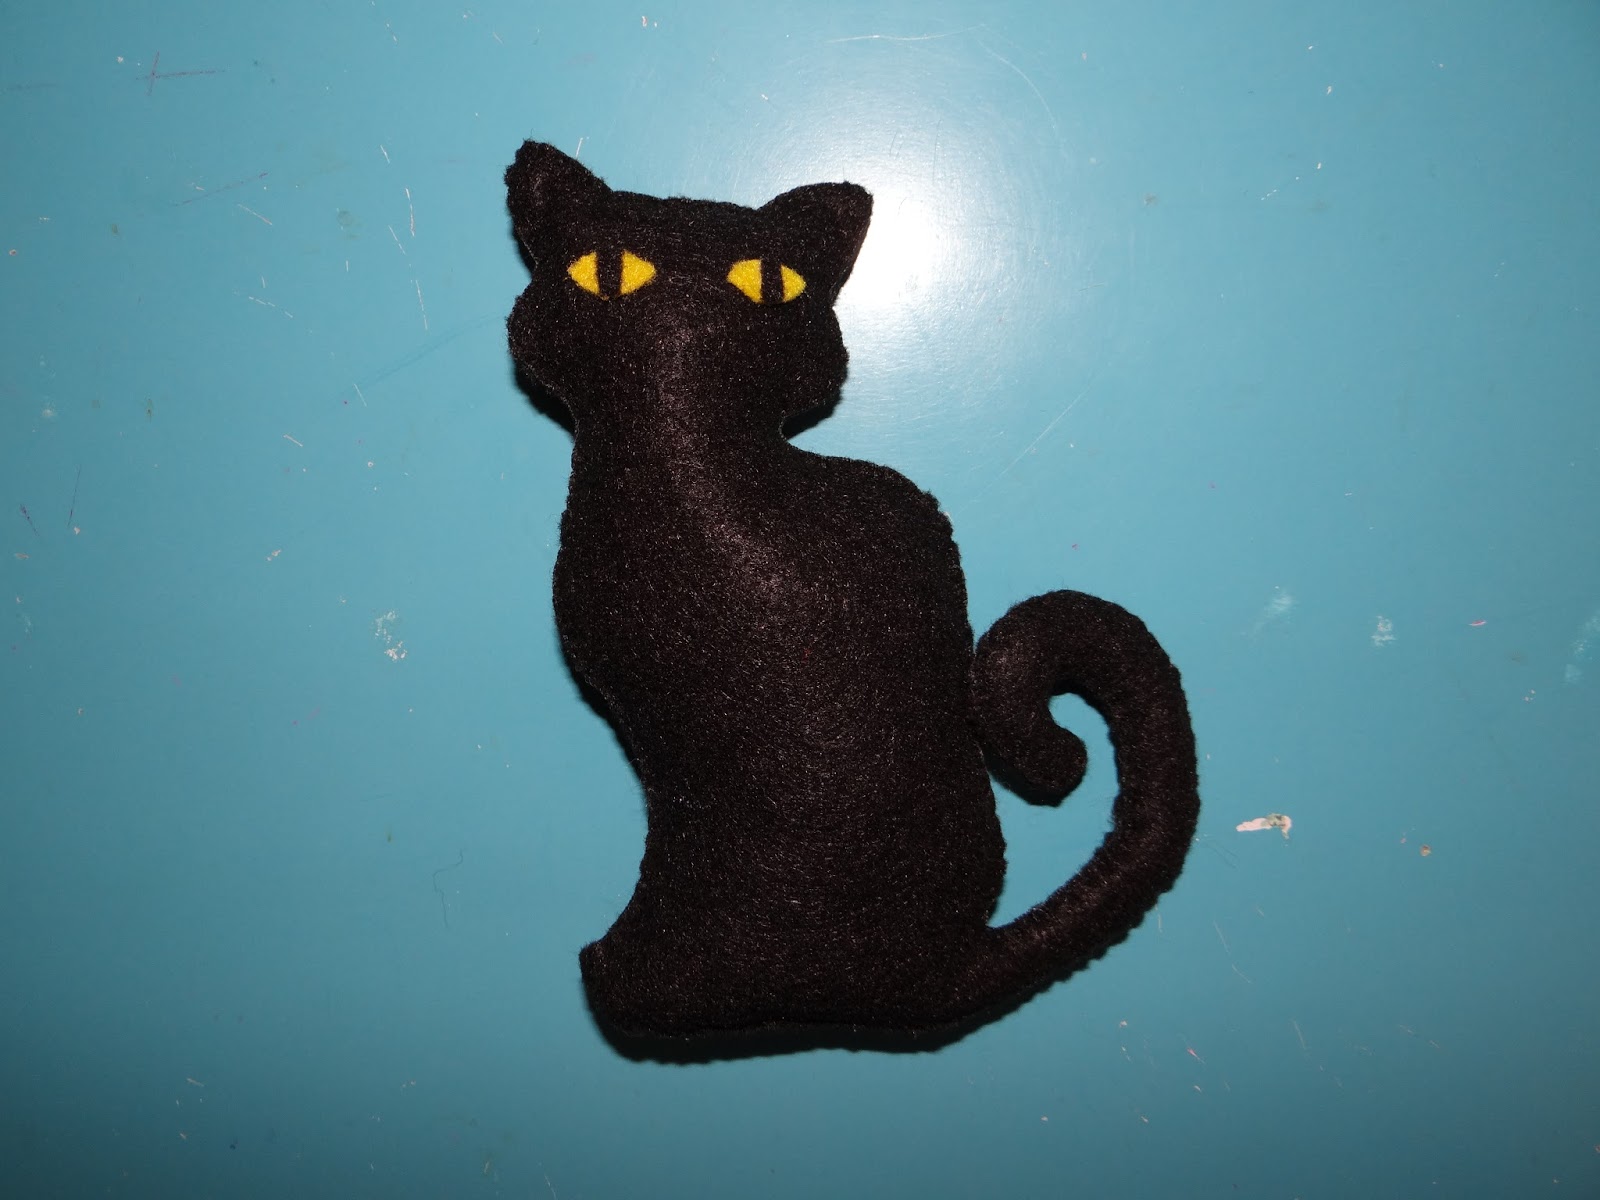
Black Cat Plushie
Materials:
*2 sheets black felt
*Yellow felt
*Metallic marker or chalk
*Needle and thread
*All purpose adhesive
Directions:
*Print out a copy of the template below, sized to your desired size:

*Cut out the template and trace onto the sheets of felt using a metallic marker or chalk. Trace two copies of the template onto black felt.
*Cut out the two pieces, as shown:

*Sew the two halves together, adding stuffing as you go. When I was working on the tail, since it's so thin I was pausing every few stitches to add more stuffing. I used the end of a pen cap to squeeze it inside.

*Finish stuffing and sew shut.

*Cut out two eyes from the yellow felt and two pupils from the black felt. Glue the pupils to the yellow felt to form eyes and then glue the eyes to the cat.
Jack O'Lantern Plushie
Materials:
*1 sheet orange felt
*Yellow felt
*Green felt
*Metallic marker or chalk
*Needle and thread
*All purpose adhesive
Directions:
*Print out a copy of the template below, sized to your desired size:

*Cut out the template pieces with your choice of eyes and mouth and trace onto the sheets of felt using a metallic marker or chalk. Trace two copies of the pumpkin shape onto orange felt, a copy of the stem onto green felt, and two eyes and a mouth onto yellow felt.
*Cut out the pieces, as shown:

*Sew or glue the stem to one of the pumpkin shapes.

*Sew the two pumpkin shapes together, leaving an opening for stuffing.

*Stuff and sew closed.
*Glue on the jack o'lantern's face.

Bat Plushie
Materials:
*1 sheet black felt
*1 sheet purple felt
*White felt
*Crimson felt
*Lilac felt
*Metallic marker or chalk
*Needle and thread
*All purpose adhesive
Directions:
*Print out a few copies of the template below, sized to your desired size:

*Cut out the template and trace onto the sheets of felt using a metallic marker or chalk. Trace two copies of the body onto black, two copies of the outer ear piece onto black, two pupils onto black, four copies of the wing onto purple, two copies of the inner ear on lilac, two eyes onto white, two fangs onto white, and a mouth onto crimson.
*Cut out, as shown below:

*Place two wings back to back and sew together. I used a running stitch for this step. Repeat with the other two wings.

*Sew together the two body pieces, sandwiching in the wings and ears as needed. I used a combination of blanket stitch (when sewing just the two body pieces) and running stitch (when there was a wing or ear sandwiched between the body pieces). Leave an opening for stuffing.

*Stuff and sew closed.

*Glue the pupils onto the eyes and glue two little white fangs onto the mouth and then glue on the bat's face.

Making the Garland
Materials:
*Plushies
*Scrap felt
*Ribbon
Directions:
*Cut strips from scrap felt.

*Glue together the ends to form loops.

*Glue one loop to the back of each plushie and then set aside to dry.

*Once dry, string the plushies onto the ribbon, gluing into place if desired.
No comments:
Post a Comment