Materials:
*1 yard of Flocked Bats Organza Tie Dye Fabric from Joann's Halloween Spirit Collection
*6 feet of ribbon
*Sewing machine
*Thread
Directions (these are the same as the directions for the cape of my Witch Costume):
*Obtain cape fabric of desired length.
*Fold the sides of the fabric down about half and inch or less and sew so that the edges of the cape will not fray.
*Repeat the above procedure for the bottom of the cape.
*Take the ribbon and lay it across the top of the cape. Fold fabric over it and sew the fabric, making sure not to sew the ribbon.
*Once you have finished sewing the top of the cape, adjust the ribbon until you have the desired length for tying on one side, about 6 to 8 inches. Sew the cape material closed over this part of the ribbon.
*Compress the fabric around the ribbon until the fabric covers about 1 1/2 feet of the ribbon, perhaps less if the person you are making a cape for is small. Sew the cape fabric closed over this part of the ribbon. You should have several feet of ribbon hanging out one side of the cape.
*Trim the length of ribbon down to 6 or 8 inches.
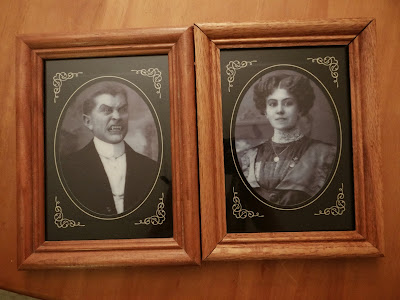
I love the creepy holographic pictures that have been popping up in Halloween decoration sections for the past couple of years, but they always seem to come in these plastic or cardboard frames that I don't find particularly appealing, like in the picture below. To remedy this, I picked up some cheap 5" x 7" frames from the Orono Thrift Shop for 25 cents apiece. With the vampire couple, I just separated the two photos by cutting right down the center of the cardboard, then put them into the frames, which they fit inside perfectly.
Before
After
Dollar Tree has a number of these Halloween holographic photos that come glued to these ugly plastic frames. For those ones, I recommend cutting off the plastic frame, as the glue is so strong that it's very difficult to pull the picture off of the frame. Then slide the pictures into 5"x7" frames and you have a fun, creepy Halloween decoration.
Before
With frame removed
After


.JPG)